
Displaying information in concise tables is an effective way to break down data and make it easily accessible to your audience. Tables can help show comparisons between products or services, or present important statistics in a clear and readable layout. But how do you actually add tables in WordPress?
Unless you know how to code, installing a WordPress table plugin is the best way to create and display tables on your website. In this article, you’ll learn how to use the Visualizer plugin to build tables. We discuss its features and then provide step by step instructions on how to add tables on your site.
By the end of this article, you will be able to confidently add tables in WordPress using Visualizer.
Visualizer – an overview
Visualizer is a free plugin that makes it easy to add tables in WordPress without the need for code. Instead, you’ll use an Excel-like interface to create and manage your tables.
Here are some of its other highlights:
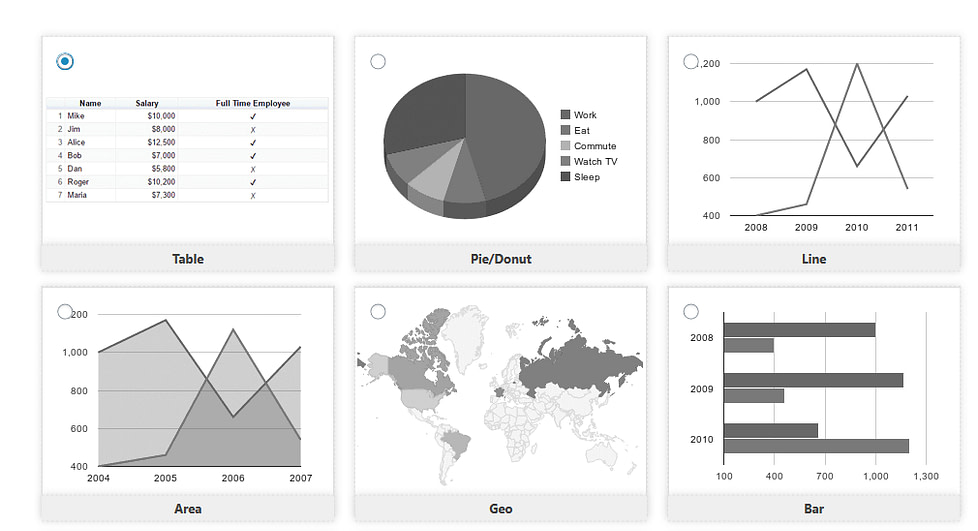
- Intuitive interface with multiple chart types, as well as tables.
- Embed tables into any post, page or text widget using a pre-generated Shortcode.
- Easily edit tables without needing to touch a line of code.
- Add features, like sorting and filtering, to make your tables relevant to your audience.
- Export or import tables from Excel, CSV, HTML, and JSON files.
Visualizer is actually what we use to create tables and charts at Themeisle. To see it in action, you can take a look at the examples in this comparison of the top WordPress table plugins. Notice how you can click on the columns to sort the whole table.
How to set up Visualizer
Visualizer is a free WordPress plugin that can be found in the WordPress official repository. To set up Visualizer, you first need to install the plugin. If you are unsure on how to do this, read our guide on how to install a WordPress plugin here.
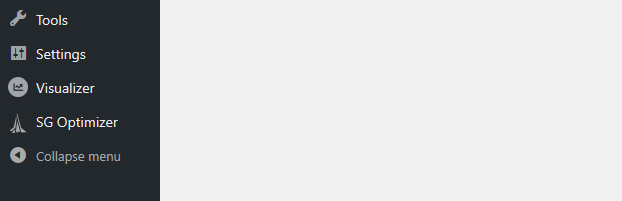
Once you have installed and activated Visualizer, you’ll have a new Visualizer section in your WordPress dashboard sidebar.
Add a new table
To add a new table to your WordPress website, first select Add New from the tabs along the top of the Visualizer interface. Then select the tables option:
Before getting started, go to Advanced option under the chart data on right side of Visualizer interface. There you will now need to click on General settings to:
- Give your table a name
- Add a brief description (this is optional)
Add table content
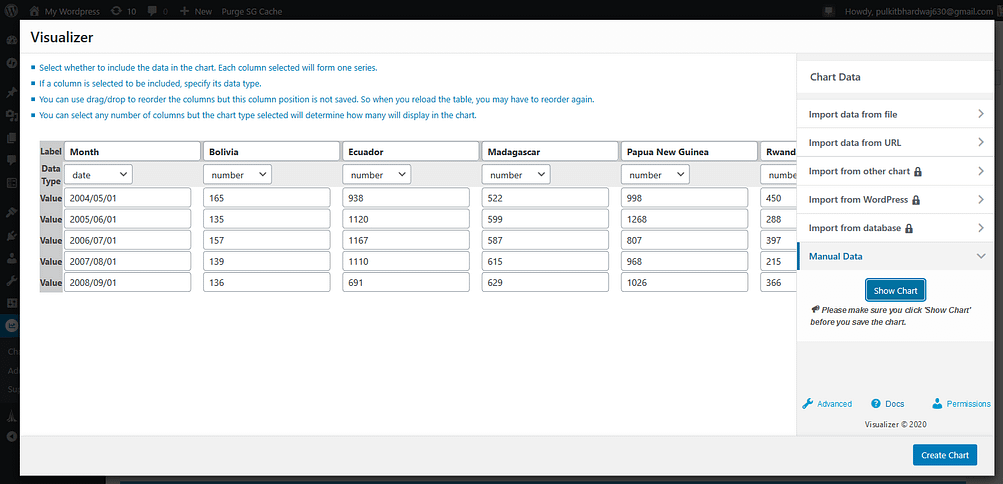
Look at the chart data section on the right side and click on Manual data, and then on edit data. Here you can add content by typing directly into the table. You can select either the text option or the simple option based on the editor you’d like to use.
Alternatively, you can create a table on Google sheets and simply copy/paste the URL for CSV file.
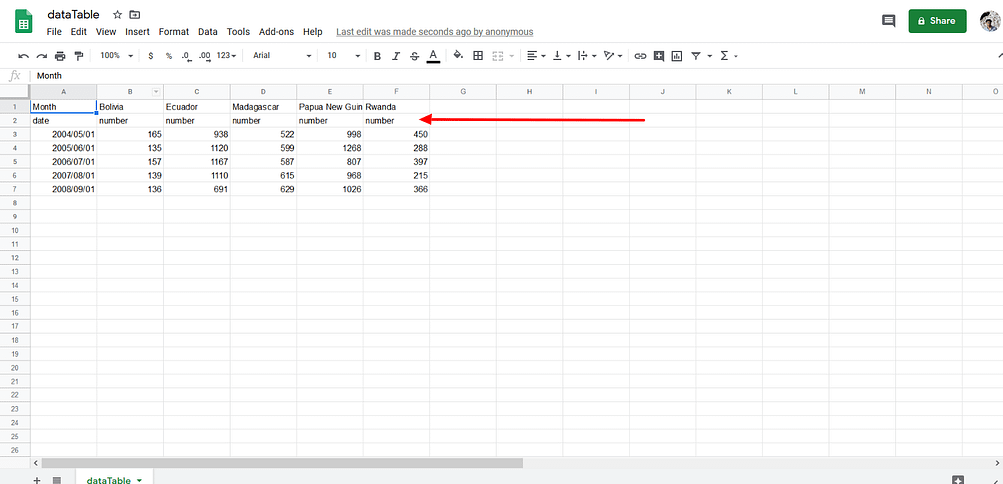
But if you use the CSV import method, don’t forget to add a data row specifying whether that particular column features date, number, string or anything else.
Next, go to the File menu next to the sheets home icon and select the publish to the web option, select file type as .CSV and hit the publish button.
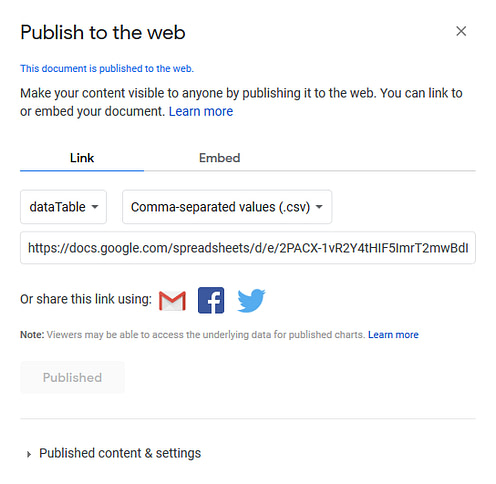
Copy the URL appearing on your screen and paste it under import from CSV tab.
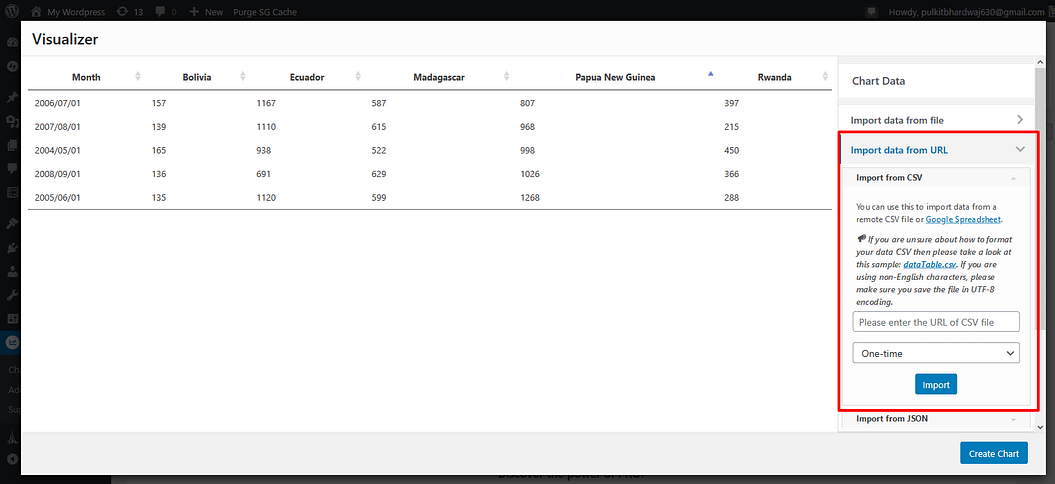
Once you enter the URL and click on import button, you will have a ready-made table. Save it using the create chart button and use the shortcode for publishing it on a specific post or page.
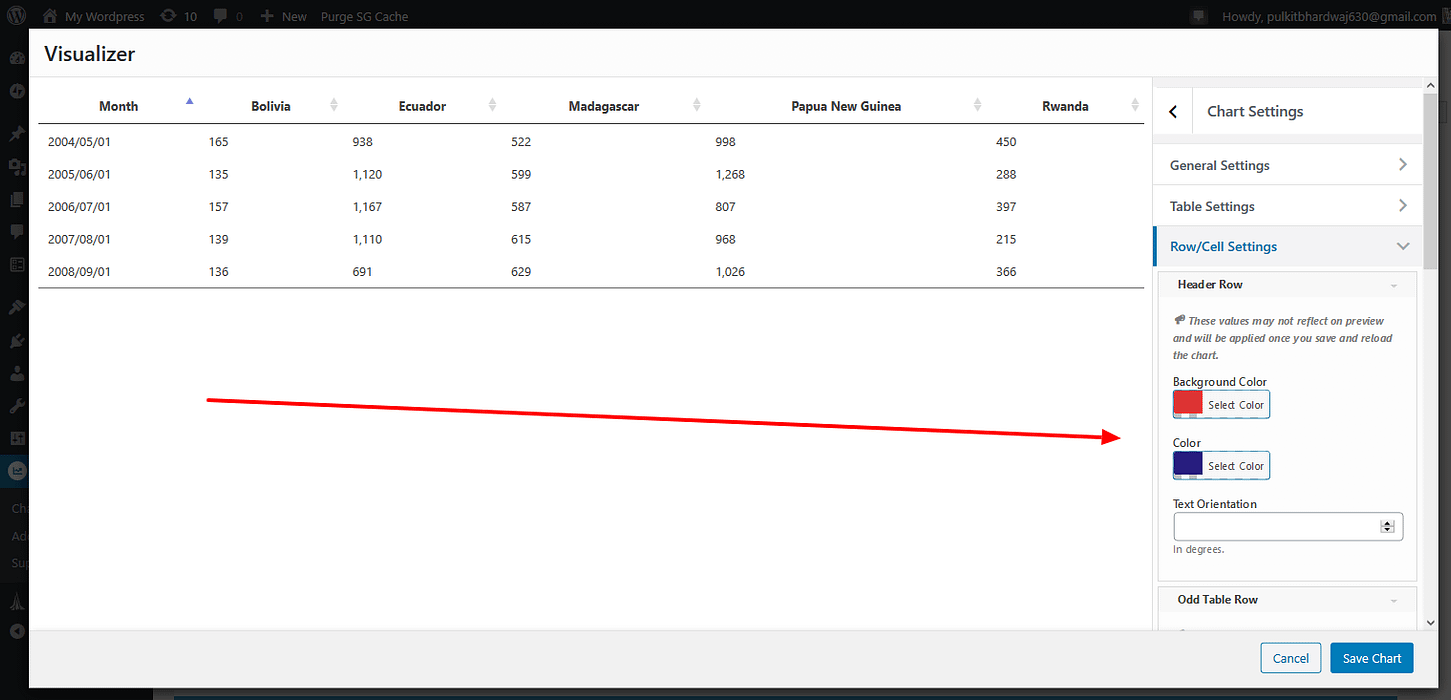
Add background colors
If you want to insert colors into your table, go to Advanced:
- Click on Row/Cell settings
- Then, click directly add colors into the odd rows in the table to make it look fancy.
Edit the structure of the table
Visualizer allows you to easily alter the structure of a table. Under chart settings, you will find a variety of options that enable you to control table height, number of rows per page, pagination type and even the table’s responsiveness.
Re-editing tables
If at any time you want to re-edit any of the tables you have created, select Visualizer> chart libraryfrom your WordPress menu.
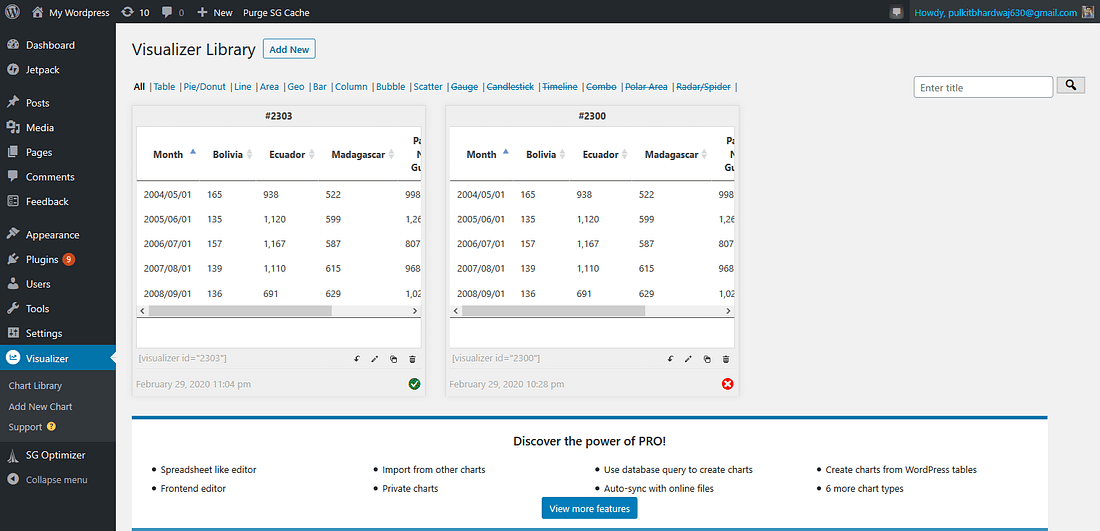
You can now select the appropriate table and click the edit icon just below the table image.
Insert a table into a page or a post
After you have created your table, all that is left to do is to insert it into a page or a post on your website.
To do that, open an existing or new page or post where you would like to display a table. Then simply paste the specific shortcode for your desired table into the editor. You will find the shortcode just beside the editing icon on the table image in chart library.
Other more advanced things to do with Visualizer
While we’ve given you a solid introduction to the core principles above, one of the reasons that Visualizer is so popular is because of how flexible it is.
Once you’ve mastered the basics, these tutorials can help you implement some of the cool, but more niche, features:
- Visualizer detailed guide – this explain how you can do cool things with Visualizer.
- Visualizer documentation – these explain all the possible FAQs about Visualizer.
Final thoughts on how to add tables in WordPress
As you can see, if you are looking to add tables in WordPress, the Visualizer plugin is a great option. With it, you can quickly create professional and stylish tables that will help display important data and information to your audience in easy-to-read layouts. And with numerous customization settings, Visualizer will enable you to design tables to your exact specifications.
And if you want, you can even unlock additional charts and cool features by switching to Visualizer premium.
Have you used Visualizer to add tables in WordPress? Please share your thoughts on the plugin in the comments below.


Or start the conversation in our Facebook group for WordPress professionals. Find answers, share tips, and get help from other WordPress experts. Join now (it’s free)!