
Exit intent pop-ups in WordPress are extremely popular and for good reason. A successful exit intent opt-in form can help grow your email list and turn leaving visitors into lifelong customers, if you’re lucky. But with so many exit intent solutions out there, which WordPress plugin should you use?
In this article we are going to look at how to get up and running with two impressive opt-in form builders: Thrive Leads (premium) and Sumo (free).
📚 Table of Contents:
Sumo (free tool)
Thrive Leads (premium tool)
Both will enable you to create stunning and effective exit intent pop-ups that will help your WordPress website convert against its lead generation goals. Let’s get started with Sumo:
Using Sumo to add exit intent pop-ups 🔌
Here’s the final effect that we’re aiming for with this Sumo guide:
If you are working within a tight budget, then you may well be looking for a free exit intent solution. Luckily, Sumo has a free app, called List Builder, that will enable you to create beautiful exit intent pop-ups in WordPress.
Sumo is a popular lead generation solution that incorporates a suite of tools to help you improve the performance of your website. List Builder is focused specifically on helping websites grow their email list and capture leads with opt-in forms. So without further ado, let’s look at how to set up Sumo and create free exit intent pop-ups on your WordPress website.
How to install Sumo 📩
The first step is to create an account with Sumo. This is quick, easy and free to do.

Once you have registered with Sumo, click on the link ‘Install Sumo’. This will take you to your WordPress website’s dashboard.
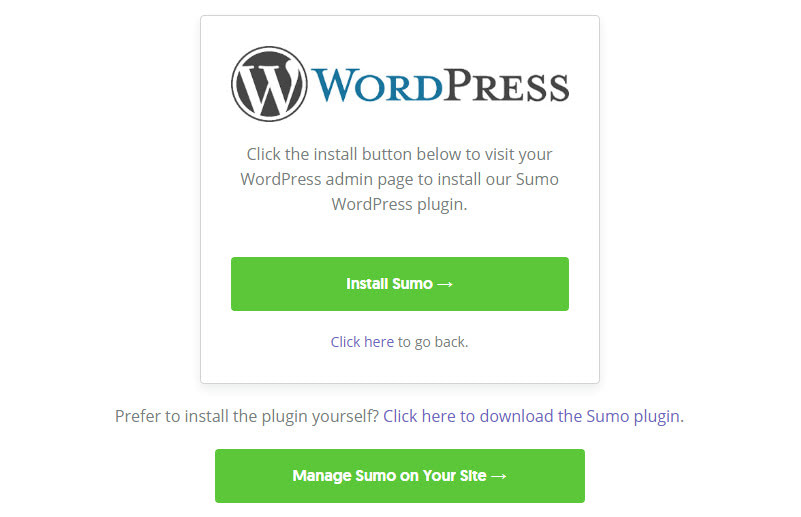
There, you’ll see the standard WordPress plugin installation panel. Just click on ‘Install Now’, then ‘Activate’ to install the Sumo plugin on your website. (Need help installing WordPress plugins, click here.)
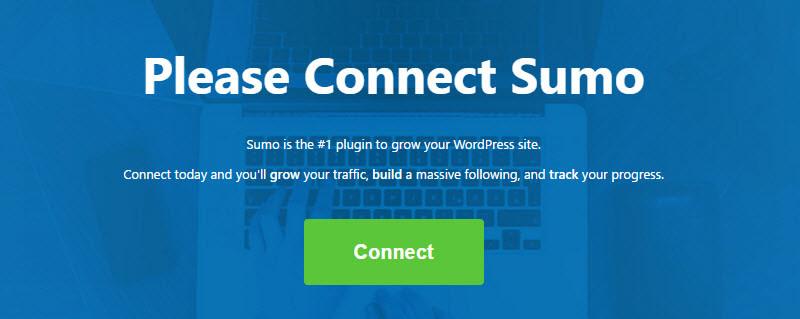
Next, in your WordPress menu, select ‘Sumo’. Click on ‘Connect’ and enter your login details. Sumo is now fully activated on your WordPress website.
Creating exit intent pop-ups with Sumo 🛠️
Once Sumo is installed on your WordPress website, creating an exit intent pop-up is a very easy process. From your WordPress menu, select ‘Sumo > Dashboard’ and then click on ‘My Apps’.
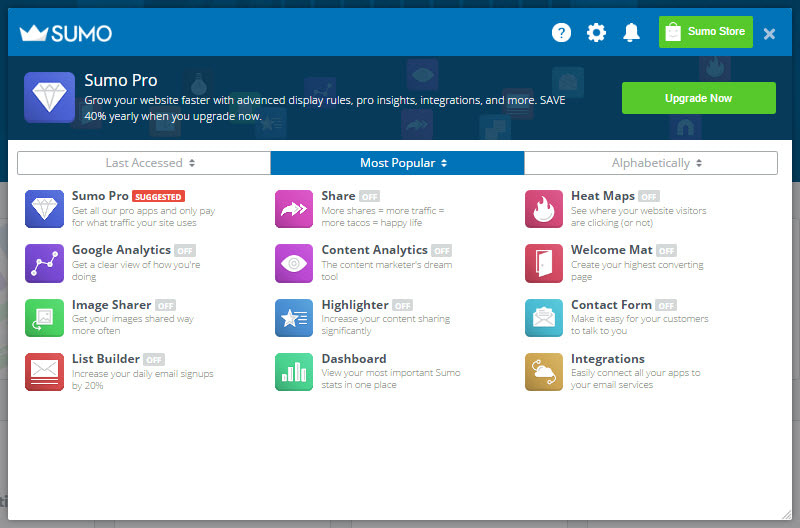
Sumo will now display your ‘Sumo Home’, where you can access and manage your Sumo apps.

Sumo offers a range of apps, but to set up exit intent pop-ups, you only need to turn the ‘List Builder’ app to ‘On’. Once activated, click on the List Builder icon to open the app.
In the List Builder app, select ‘Create New Form’. Sumo will now take you through the process of creating exit intent pop-ups in six clear steps.

Step 1: My goal
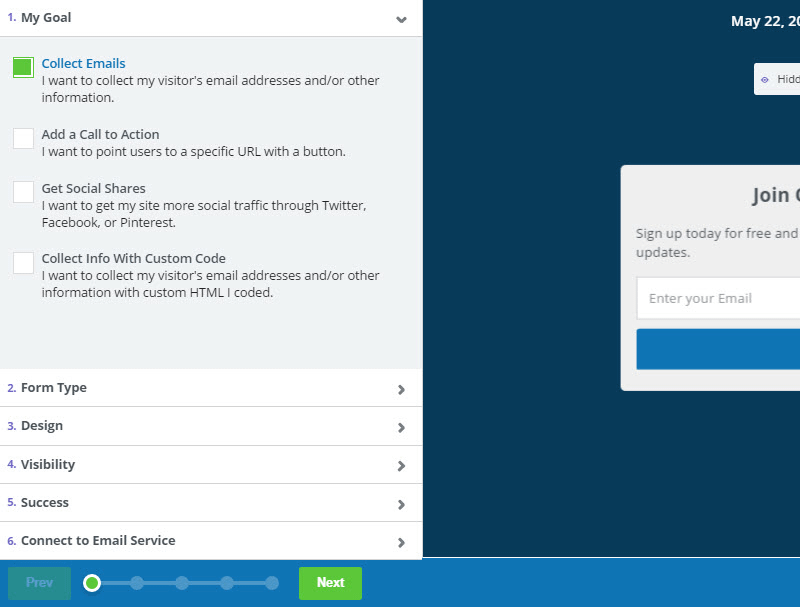
Step one involves you selecting a goal for your exit pop-up. There are four goals to choose from:
- Collect Emails
- Add a Call to Action
- Get Social Shares
- Collect Info with Custom Code
For the purpose of this article, I have chosen ‘Collect Emails’.
Step 2: Form type
Step two displays the different email capture form types Sumo offers. To create an exit intent pop-up you will need to select ‘Pop-up’.
Step 3: Design
Here you can choose the design of your pop-up. Sumo offers a variety of designs and customization options. You can change the size of the pop-up, alter the image, add a background, edit the text, and much more. Importantly, you can also preview your exit pop-up to check it will fit aesthetically with your website and branding.
Here’s the one I’m experimenting with:

Step 4: Visibility
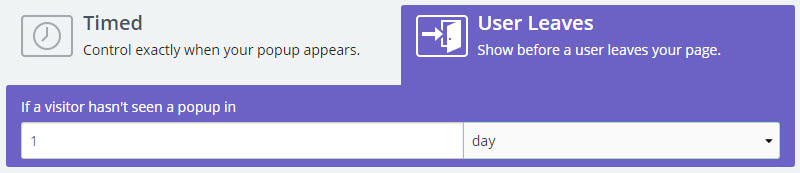
‘Visibility’ covers the display settings for your pop-up. To take control over when and where your exit intent pop-ups are displayed, select ‘Manual Mode’.

Now click on the ‘User Leaves’ to turn your pop-up into an exit intent pop-up. You can then choose how often your visitors are shown a pop-up. For example, select to display an exit intent pop-up to a visitor if they haven’t been shown one in the last 5 days.
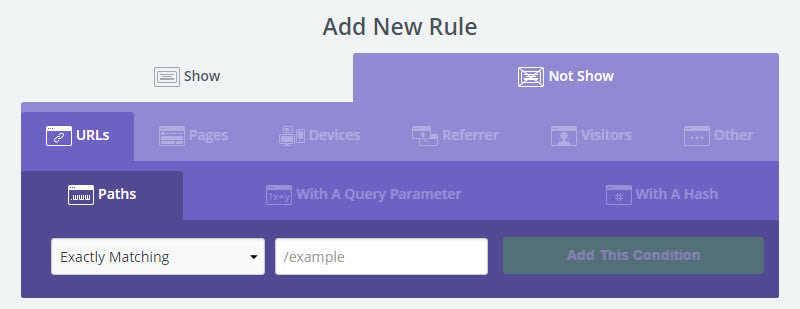
You can also add your own rules as to where you want, or don’t want, your pop-up displayed. For example, you can select specific URLs that you want to keep pop-up free. By setting these conditions, you can juggle the delicate balance of lead generation and user experience.
Step 5: Success
Step five allows you to create a personalized email that subscribers will receive when they sign up to your mailing list. Simply select ‘Add New Email > Welcome Email’ and write your welcome email.
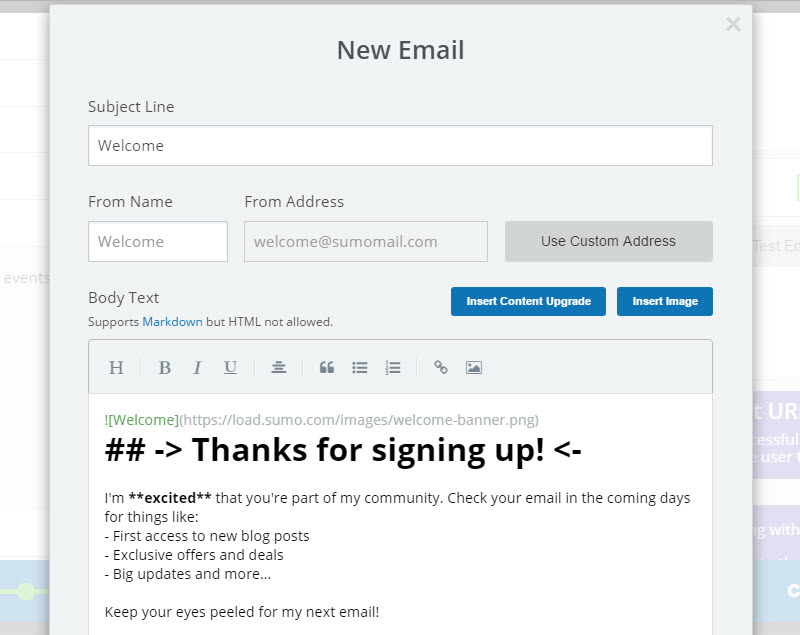
Here, Sumo offers a couple of advanced features, including redirecting visitors to a specific URL and automatically downloading a file after a user subscribes. These options may be helpful if you have offered a lead magnet, like an eBook, in exchange for an email address.
Step 6: Connect to email service
The last step in the process of setting up exit intent pop-ups with Sumo is only available for those who have upgraded to a Pro plan. Unfortunately, it is only possible to integrate your pop-ups with an email service if you are a premium Sumo user.
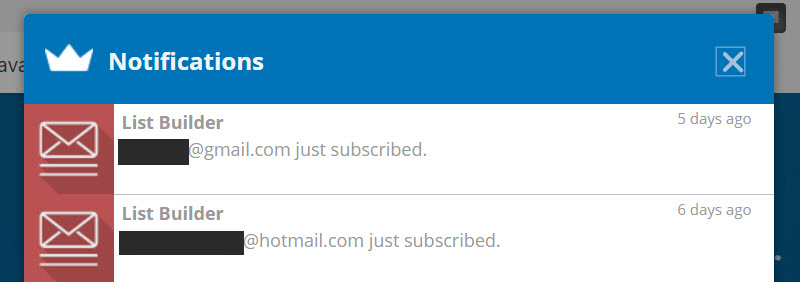
If you use the free ‘Basic’ Sumo plan, Sumo will notify you of new subscribers via ‘Notifications’ within your WordPress dashboard.
You can also download a spreadsheet of your subscribers’ email addresses from within your Sumo account on the Sumo website.
Make your exit intent pop-up ‘live’ 🎇
To display exit intent pop-ups on your WordPress website, simply select ‘Make Live’ from the pop-up’s settings panel. Now, when visitors try to exit your website, they will be shown an email capture pop-up.

If you are looking to get the most out of your opt-in forms, it is worth considering upgrading to Sumo Pro. Sumo offers a range of premium plans, that provide email integration, A/B testing, conversion tracking, an extensive selection of templates, and lots more. However, the free List Builder that Sumo offers is a great option for those just starting out.
Now, let’s move on to Thrive Leads:
Using Thrive Leads to add exit pop-up to your WordPress website 🧗
Here’s the final effect that we’re aiming for with this Thrive Leads guide:
If you want a feature-rich, specialized plugin for adding exit intent pop-ups to your WordPress website then Thrive Leads might be your thing. This premium plugin will enable you to create beautiful opt-in forms, customize targeting options, split test forms, and track analytics.
Thrive Leads SmartExit technology will also make your exit intent pop-ups mobile and desktop friendly. So let’s have a look at getting Thrive Leads up and running on your WordPress website.
How to install Thrive Leads 📤
Firstly, simply purchase the Thrive Leads plugin from Thrive Themes. Then log into Thrive Themes to download the plugin.
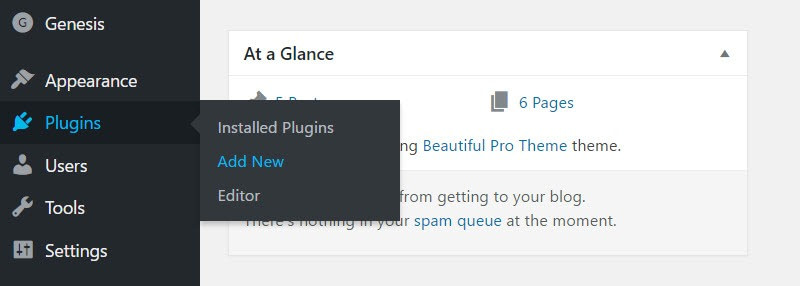
Next log into your WordPress website. Click on ‘Plugins > Add New’.
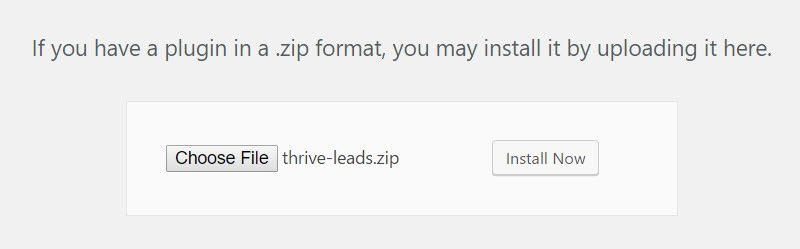
Choose ‘Upload Plugin > Choose File’. Select the Thrive Leads file and select ‘Install Now.
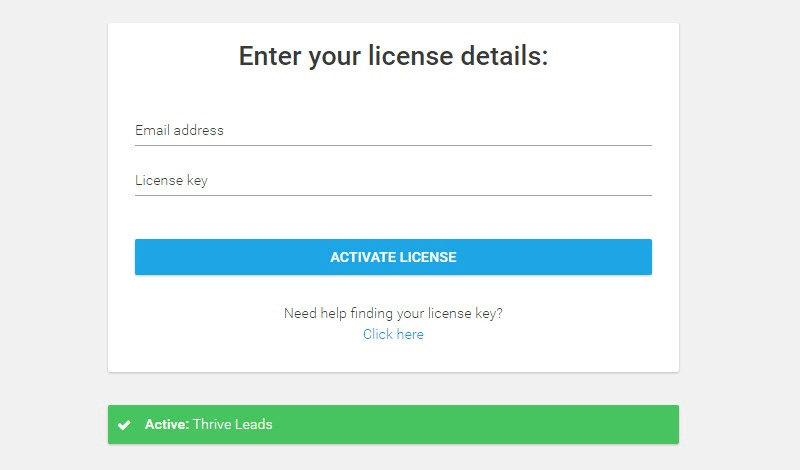
Add your license details, to activate the plugin.
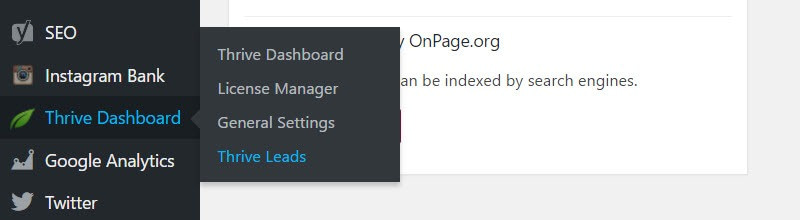
Once activated, a menu for ‘Thrive Dashboard’ will appear within your WordPress menu.
Creating an opt-in form 🏗️
To access the Thrive Leads dashboard select ‘Thrive Dashboard > Thrive Leads’. From here, you can create and edit all your opt-in forms, customize the settings, set up split testing, track your conversions, and much more.
There are numerous steps to creating new exit intent pop-ups but don’t worry, each stage is very straight forward. So let’s get started:
1. Add a new lead group
To create a new opt-in form, firstly you need to create a new group. Next to Lead Group, select ‘Add New’.

Give your new group a name and select ‘Add Lead Group’. Here I have called the group JonesBlogs Newsletter.
2. Choose the type of opt-in form
Now you need to choose the type of opt-in form you would like to display, so within the new group you have just created, click on ‘Add New Type of Opt-in Form’.

Here, there are seven types of opt-in forms that you can choose from. For the purpose of this article, I have selected ‘Lightbox‘. This will enable us to add an overlay opt-in form to our WordPress website (also commonly, but not actually correctly, known as a pop-up).

3. Create a form
Now we have chosen the type of form we want to use we have to select an appropriate design.

On the right-hand side of the Lightbox row, select ‘Add Form’. This will take you to the ‘Lightbox’ page. There, you can create as many forms as you would like, which you can then split test to see which design generates the most conversions.

Select ‘Create Form’ and give it a name. For future split testing purposes, it is best to base the name of the form on its appearance. I have called my form ‘Blue Variation’.
Now click on the pencil icon to add a design. This will open a pop-up where you can choose a template that you think fits best with your website.
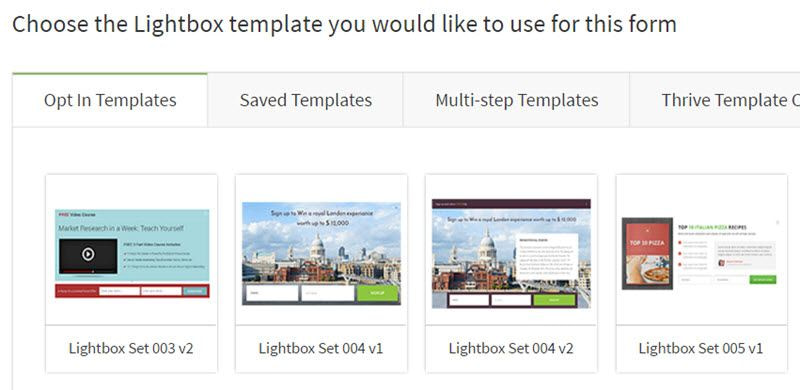
Once you have selected a design, the template will open in the Thrive Themes Editor.
Using the editor to customize your opt-in form ⚒️
Using the Editor to customize the template of your form is extremely easy. But be warned, the numerous options may mean you lose a few hours lost in the world of design!
To use the Editor, simply click on the element you want to edit. This will bring up design options, enabling you to immediately begin changing the text, color, size, dimensions, and lots more. You can also easily move elements around using the simple drag and drop functionality.

If you want to specifically edit the lightbox elements, in the Editor Menu select ‘Lightbox Settings’. This will allow you to alter the background color and image, the overlay color, the size of the lightbox, and many other settings. Once you are happy with your changes click ‘Save Changes’.
Integrating your form with an auto-responder 🤝
Before leaving the Editor you need to integrate your opt-in form with an autoresponder. To do this, click on a text box on the opt-in form. A Lead Generation Options box will appear. Select ‘Connect with Service’.
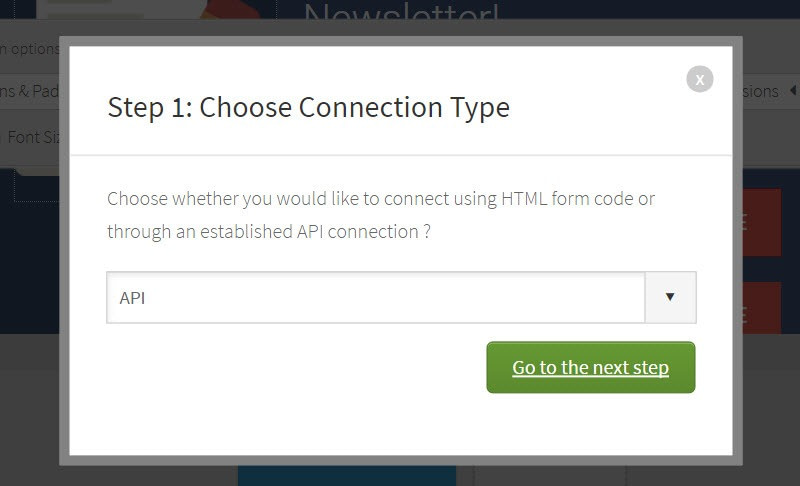
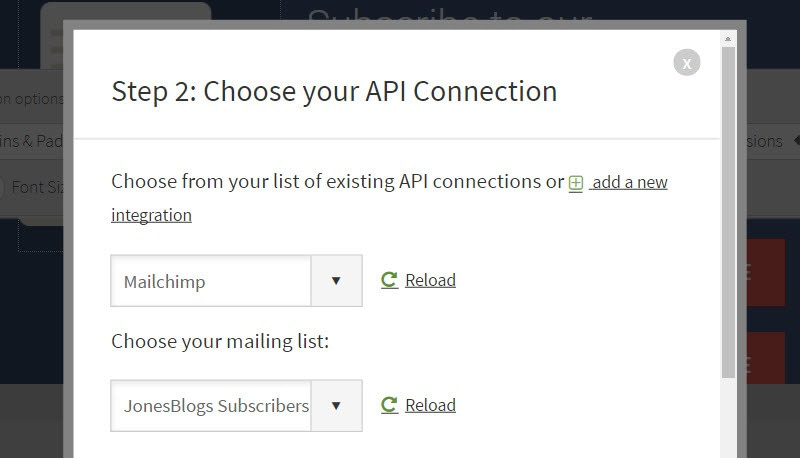
Here, select an API and then follow the instructions, entering your email provider and API key. For those unfamiliar with using an API key, you can create or find your own API key by logging into your email service.
After you have connected your opt-in form to your auto responder, save the changes and then exit the Editor.
Determining your opt-in forms behavior 👮
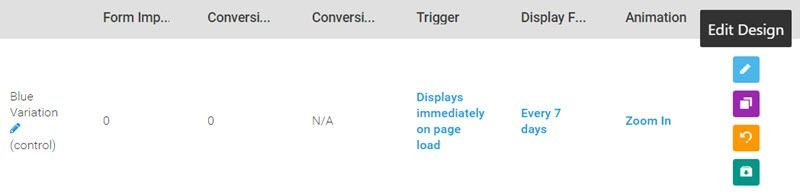
The next step is to determine how your form behaves. Under the Forms section, you can alter the trigger for each form, the frequency it is displayed, and the animation settings.
Select the trigger
Firstly, select the Trigger option for your opt-in form. By default, this will initially be displayed as ‘Displays immediately on load page’.
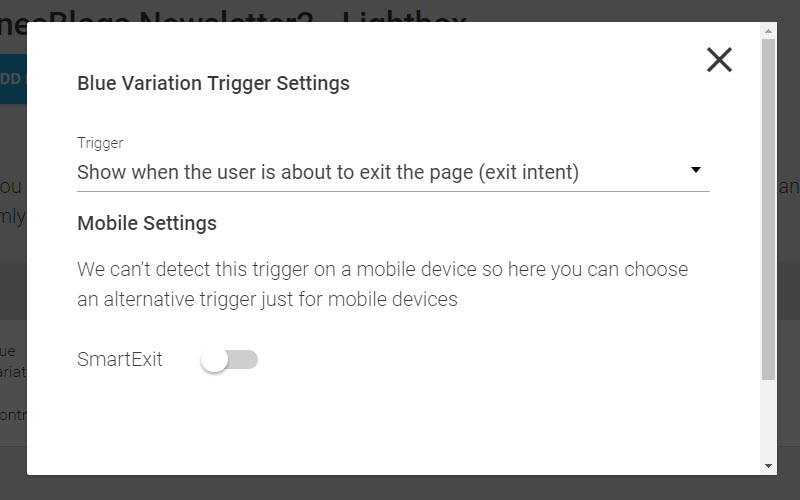
Once clicked on, a pop-up displaying trigger settings will be displayed. It is here you can select the exit intent option, ‘Show when the user is about to exit the page’.
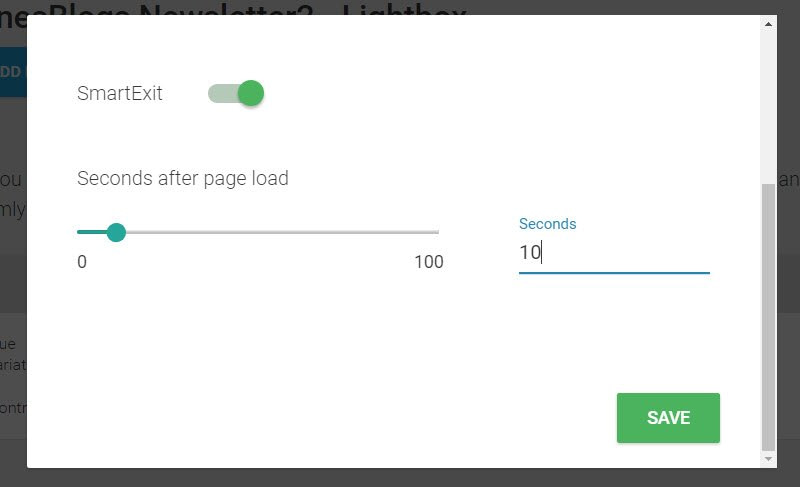
Here you can also select ‘SmartExit‘, which will allow you to apply an alternative trigger for those using mobile devices. After activation, you can then choose how many seconds you would like your opt-in form to be displayed after. Then click ‘Save’.
Alter display frequency and animation settings
Under ‘Display’ you can alter the frequency that the exit intent pop-ups are displayed.
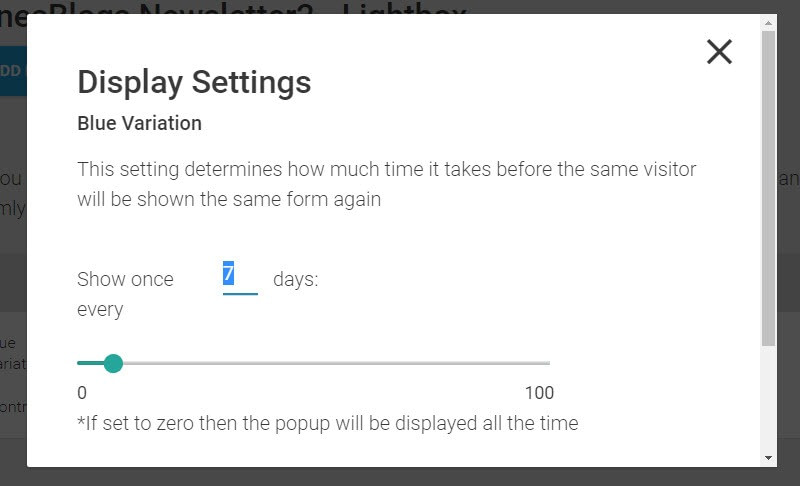
If a visitor has seen an opt-in form but has not signed up, you can determine the time span for re-showing the form to that specific person.
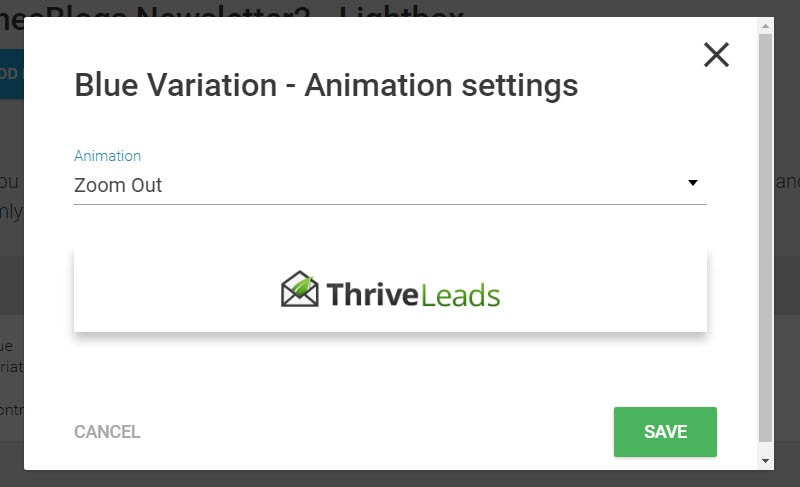
The ‘Animation Settings’ allow you to pick how your exit intent pop-ups will arrive on a visitors page. Choices consist of ‘Zoom In’, ‘3D Flip’, ‘Bounce Down’, and many more. Choose the animation that you feel bests suits the style and design of your site.
Once you are happy with your exit intent pop-up behavior, select ‘Back to Dashboard’.
Customize display options for exit intent pop-ups 🖥️
The last step of adding exit intent pop-ups to your WordPress site is to customize the display options.

In the Thrive Leads Dashboard, select the ‘Display Settings’ icon. A pop-up will now display the in-depth display options that are available. You can choose to display your exit intent pop-ups based on categories, posts, pages, or post type, amongst other options.

For those just starting out with Thrive Leads, select the ‘Basic Settings’ and then click on ‘Front Page’, ‘All Pages’, and ‘All Posts’. Then ‘Save and Close’.
Going live ⚡
Your pop-up is now ready to go live. To display your pop-up on your WordPress website simply activate ‘Display on Desktop’ and ‘Display and Mobile’. Now test to see if your pop-up is working correctly.

Once you have mastered the basics, Thrive Leads has much more to offer. Clone your opt-in forms, run split tests, and monitor your analytics to learn which exit intent pop-ups most appeal to your audience. With great supporting documentation, Thrive Leads is easy to use and will have your WordPress website collecting email addresses in no time at all.
Final thoughts 💭
Both Thrive Leads and Sumo are impressive choices if you are looking to add exit intent pop-ups to your WordPress website. If you need a budget-friendly option, then Sumo is the ideal solution for you.
However, if you are wanting to start off with a fully featured exit-intent plugin, then choose Thrive Leads.
Which one will you pick?
Are you ready to give exit intent pop-ups a try? Please share your thoughts on either of the plugins in the comments below.


Or start the conversation in our Facebook group for WordPress professionals. Find answers, share tips, and get help from other WordPress experts. Join now (it’s free)!