
Looking to clone a WordPress website? In this post, we’ll guide you through the process using the free Duplicator plugin. It allows you to create operational copies on any compatible web server. Join us to explore the reasons and get a four-step tutorial. Let’s get started!
Key Takeaways
- Make sure you’ve got a new web host or local setup ready, but hold off on installing WordPress.
- Use the Duplicator plugin to pack your site into two neat files, making the whole cloning bit a breeze.
- Our easy-to-follow process: pack up your site, upload it on the server, prepare your database, and run the installer to wrap things up.
📚 Table of contents:
- Step 1: Create a copy of your site and download it
- Step 2: Upload the copy of your site to your server
- Step 3: Set up a database for your website’s clone
- Step 4: Run the Duplicator installer and finish the cloning process
How to clone a WordPress website using Duplicator (in four simple steps)
Before moving on to the first step, you’ll need to set up an account at a different web host or create a local environment to host your site’s clone. However, don’t set up WordPress there yet – we’ll take care of that together during the cloning process.
Step 1: Create a copy of your site and download it 🖨️
First, you’ll need to install and activate the Duplicator plugin on your original site. Then, go to your dashboard and look for the new Duplicator tab. Click on it and choose the Create New option:
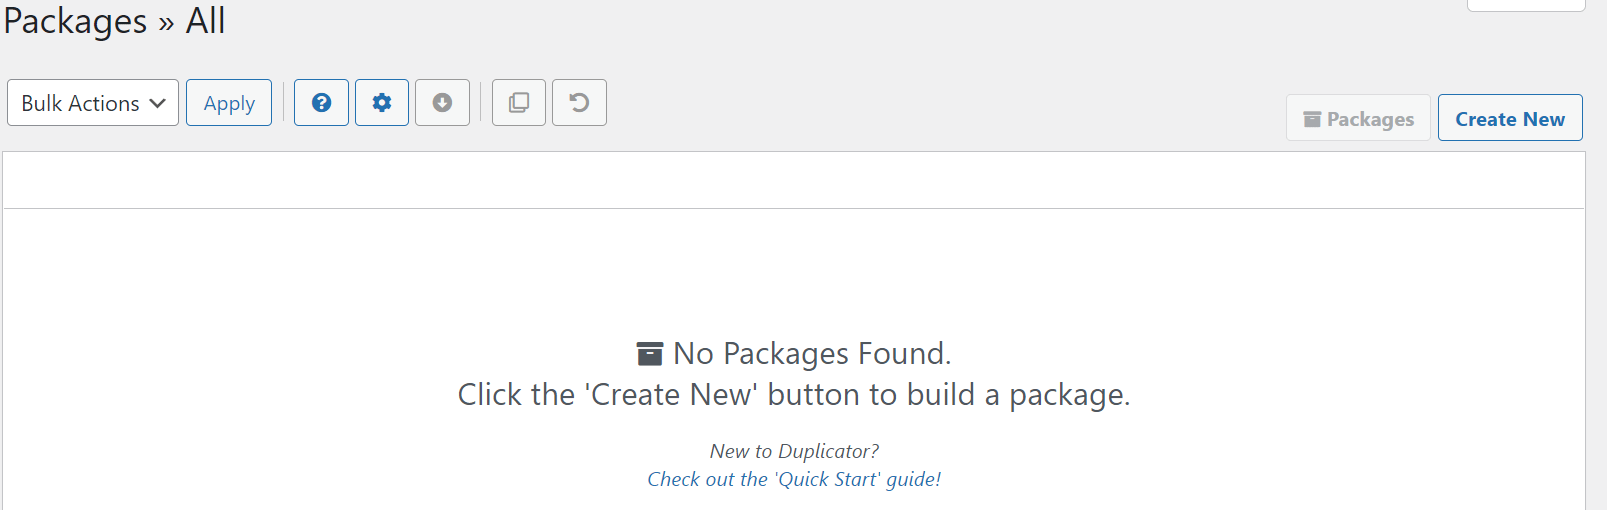
A Duplicator ‘package’ is a pair of files that sets up a clone of your website on a new server with a standalone installer. The plugin lets you create as many of these packages as you want.
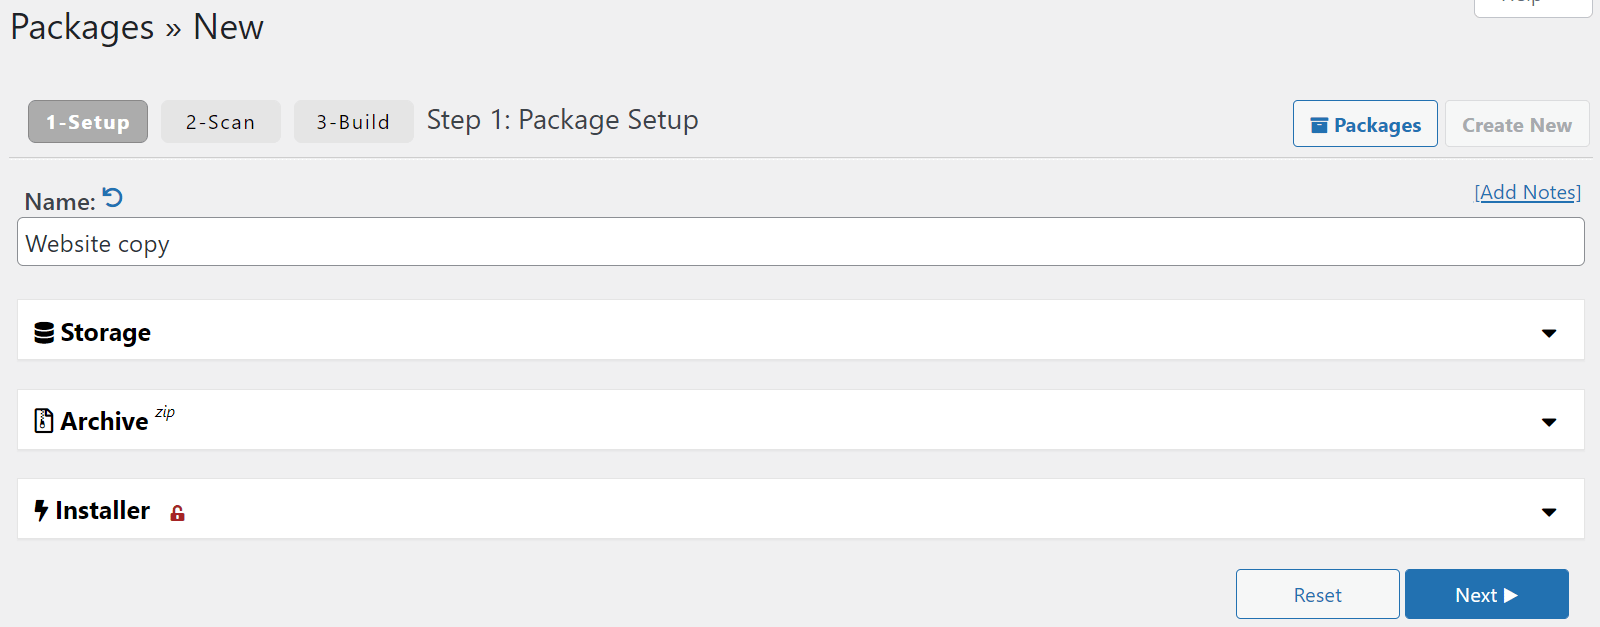
First, enter a name for identification purposes. You can also choose from the different storage options available, select archive and database files, and modify installer settings. When you’re happy with your selections, click on Next:
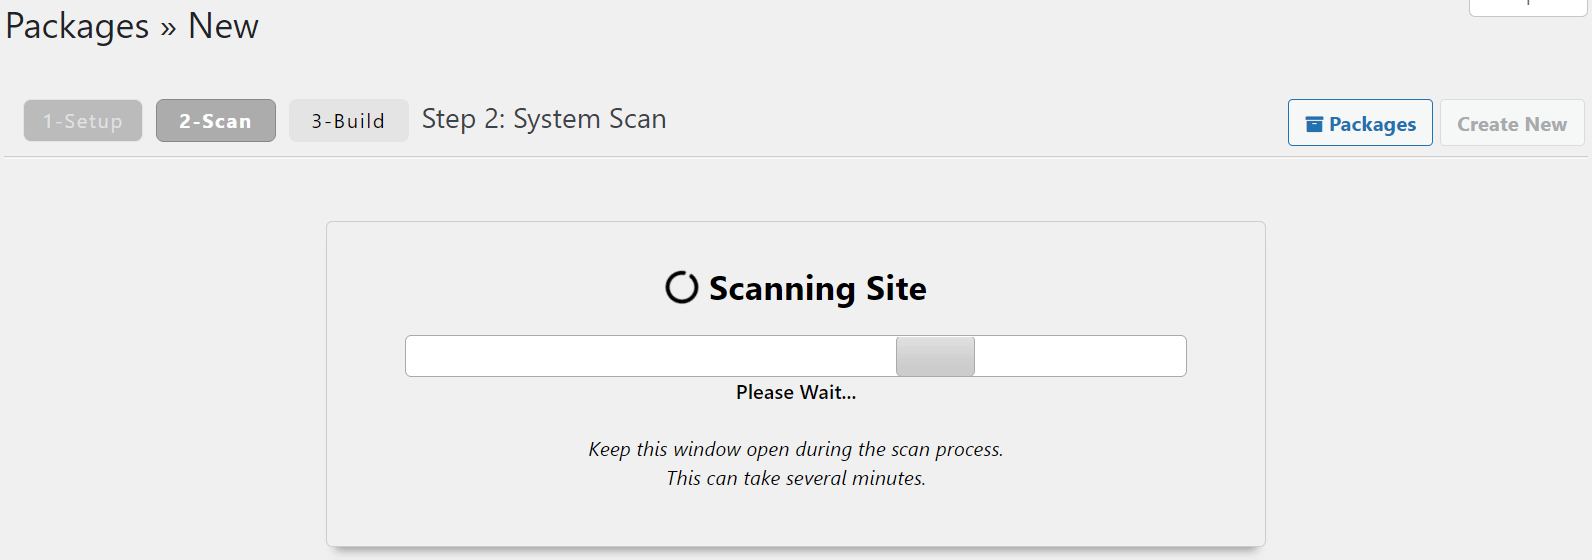
At this stage, Duplicator will scan your website for any issues:
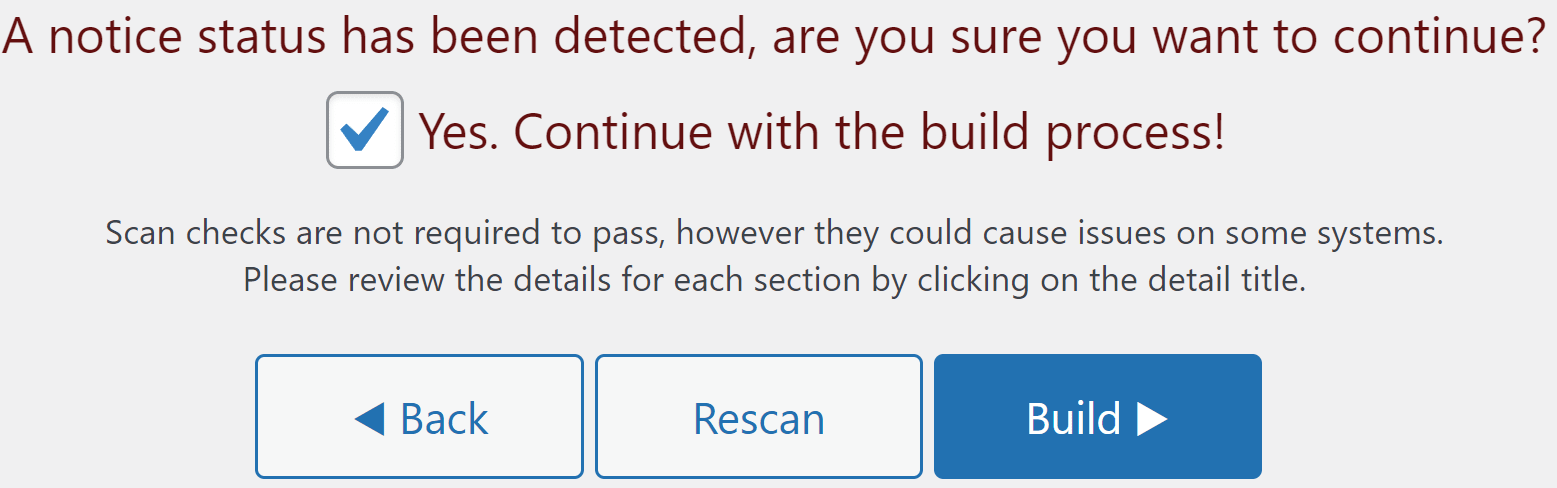
It’s normal for a warning or two to pop up here, depending on your web host and the size of your site. If this happens, just check the box that reads Yes. Continue with the build process! at the bottom of the page and then click on Build:
Now give the plugin some time to work. When the process is done, you can download the two files we mentioned earlier:
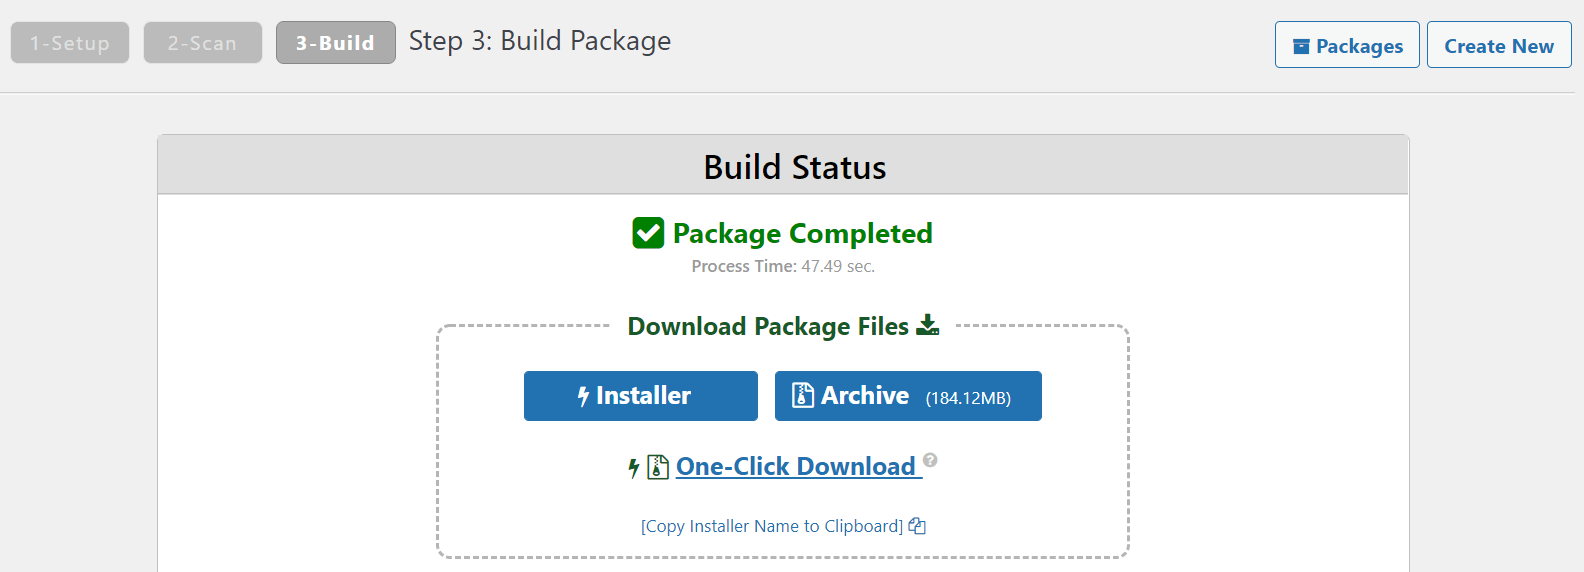
Download them to your computer as you would any other file and keep note of where they’re saved. You’ll need them again in a moment.
Step 2: Upload the copy of your site to your server 💻
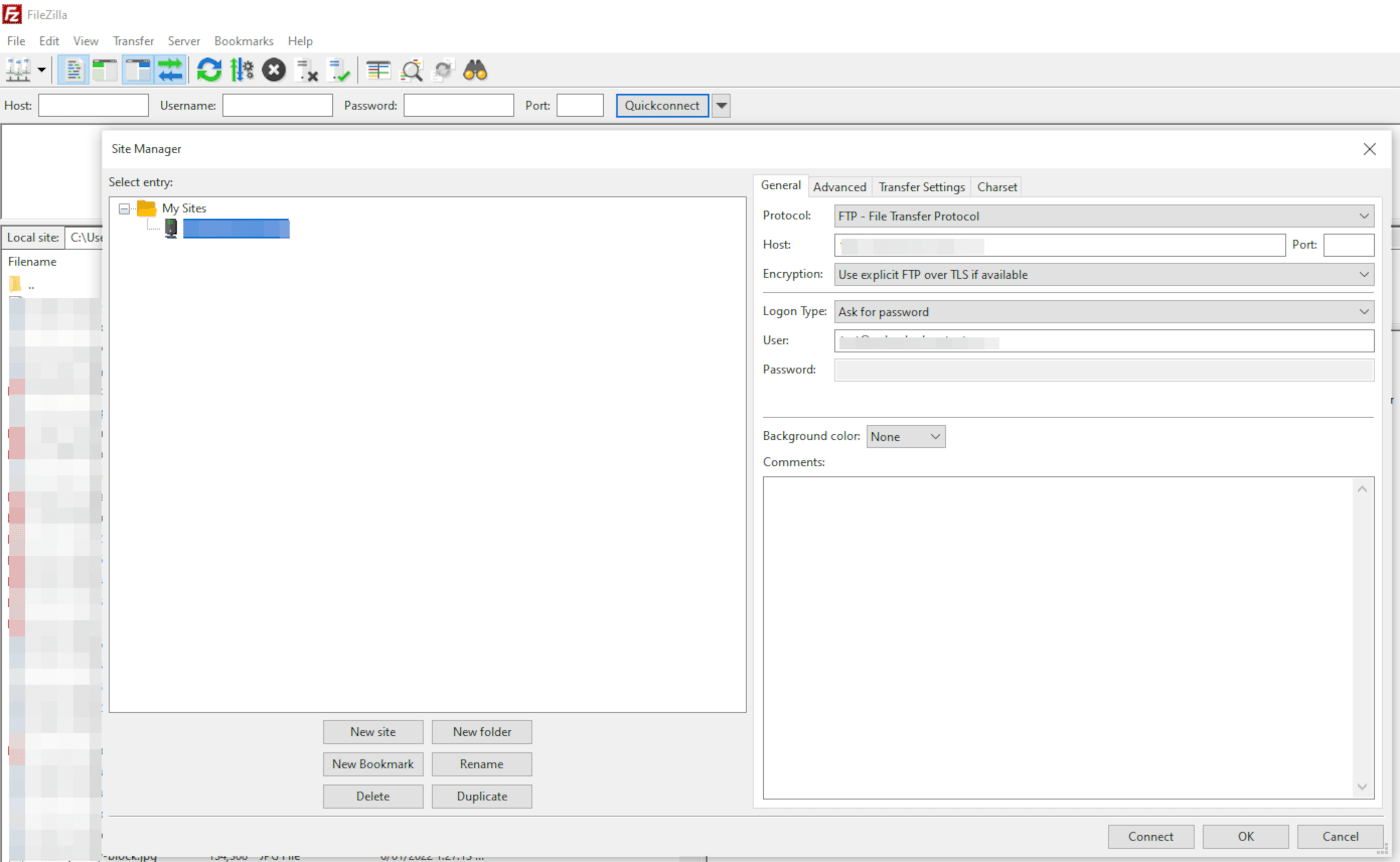
The next step is to upload both of the files you downloaded to your new server. To do this, you’ll want to use a File Transfer Protocol (FTP) client. If you don’t have one set up yet, we recommend FileZilla.
You’ll need to log into your new server via FTP, using the credentials you obtained when you signed up with your web host:
Once you’re in, copy both files to your server’s root directory. This is usually called www or public_html. Then, proceed to the next step.
Step 3: Set up a database for your website’s clone 🗄️
Every WordPress website needs a corresponding database to store its information, and your clone is no exception. In this step, we’re going to set up an empty database where your cloned site will reside in preparation for step number four. That way, you can then use the Duplicator installer to import the contents of your original site’s database to your new one.
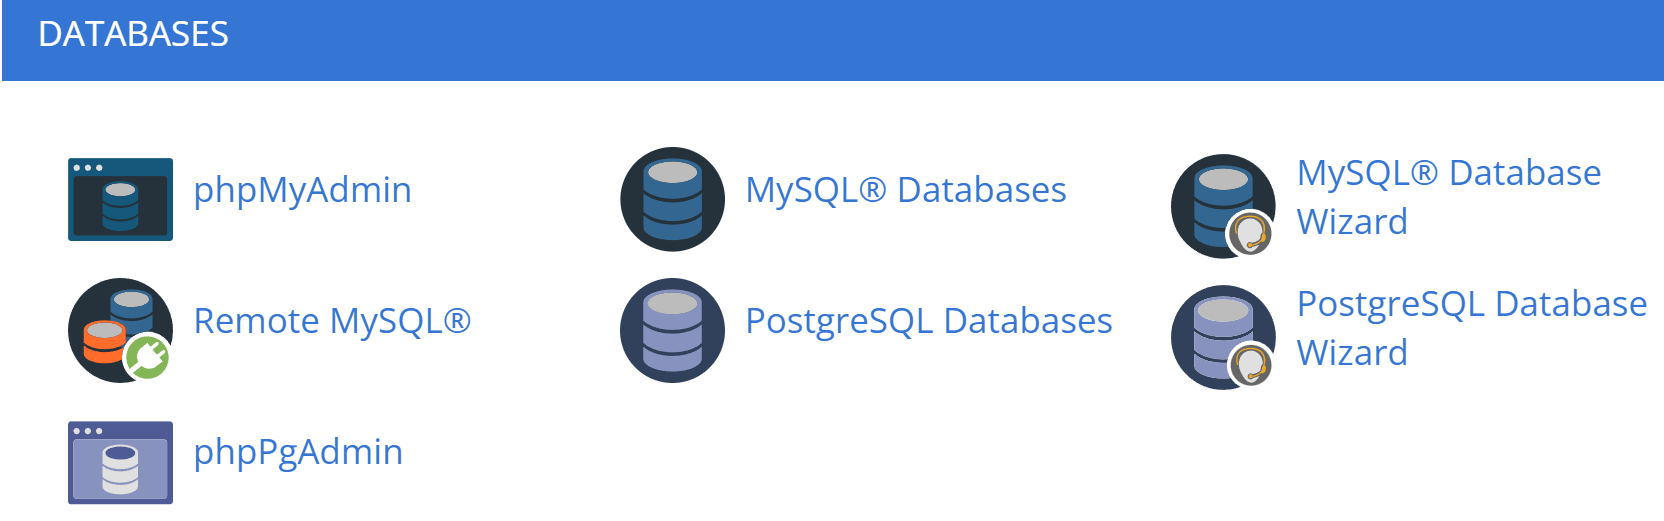
If you’re using a standard web host, you’ll find several options related to databases within your cPanel dashboard. We’re looking for the one called MySQL Databases:
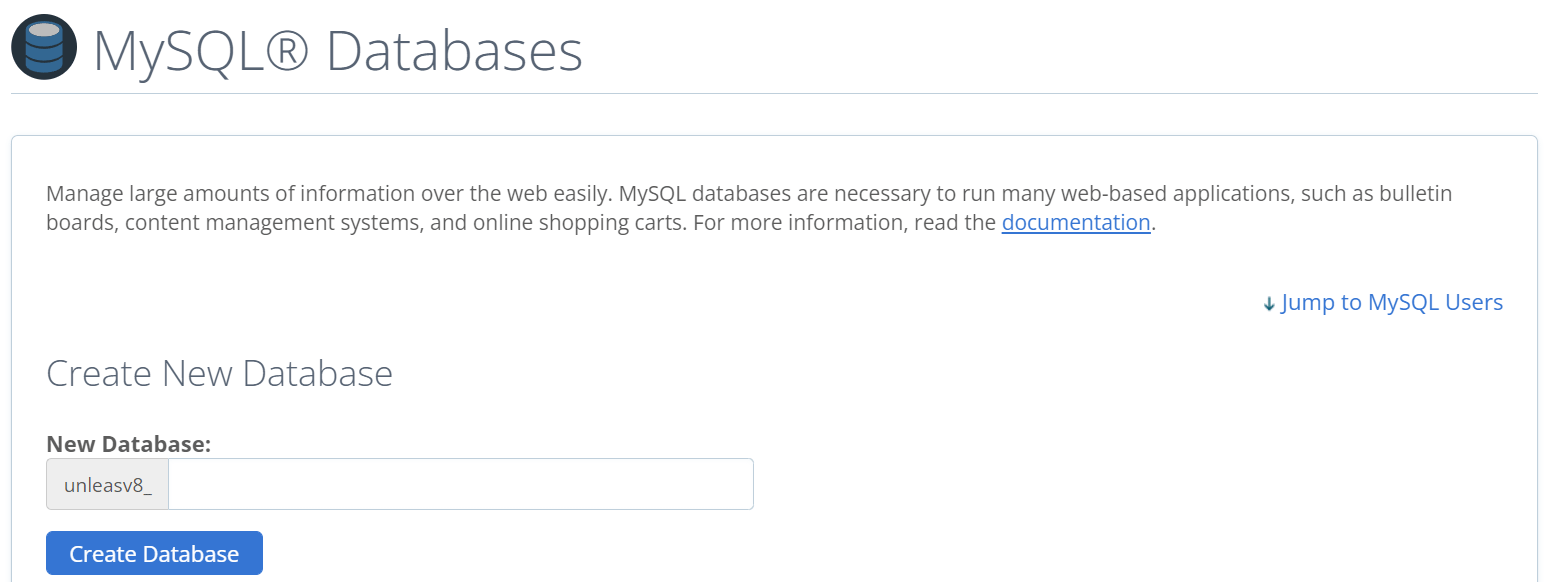
Once you’re in, look for the section to create a new database. Pick a name (preferably something related to your website) and confirm your choice by clicking on the Create Database button:
Now, scroll down until you find the Add New User section. Pick a name for your user and a password, then confirm your choice. Now, head to the option that reads Add User to Database, locate the user you’ve just created, and select your new database from the drop-down menu:
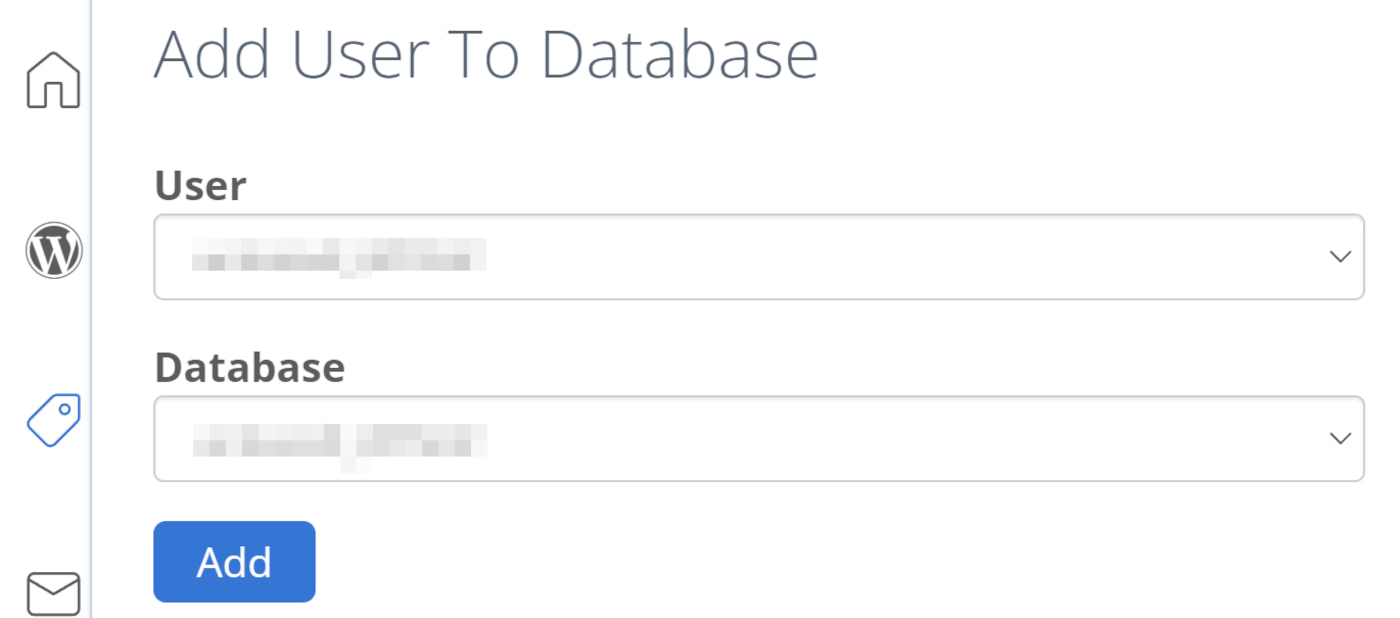
At this stage, the tool will ask you to confirm which privileges you want your new user to have. Make sure to tick the option that says All Privileges, which will grant full access. Now, save the name of your database and your user’s information – you’ll need it in a minute.
Step 4: Run the Duplicator installer and finish the cloning process ⚙️
Now that both files are on your root server, access your new website through your browser and add /installer.php to its URL, as in the example below:
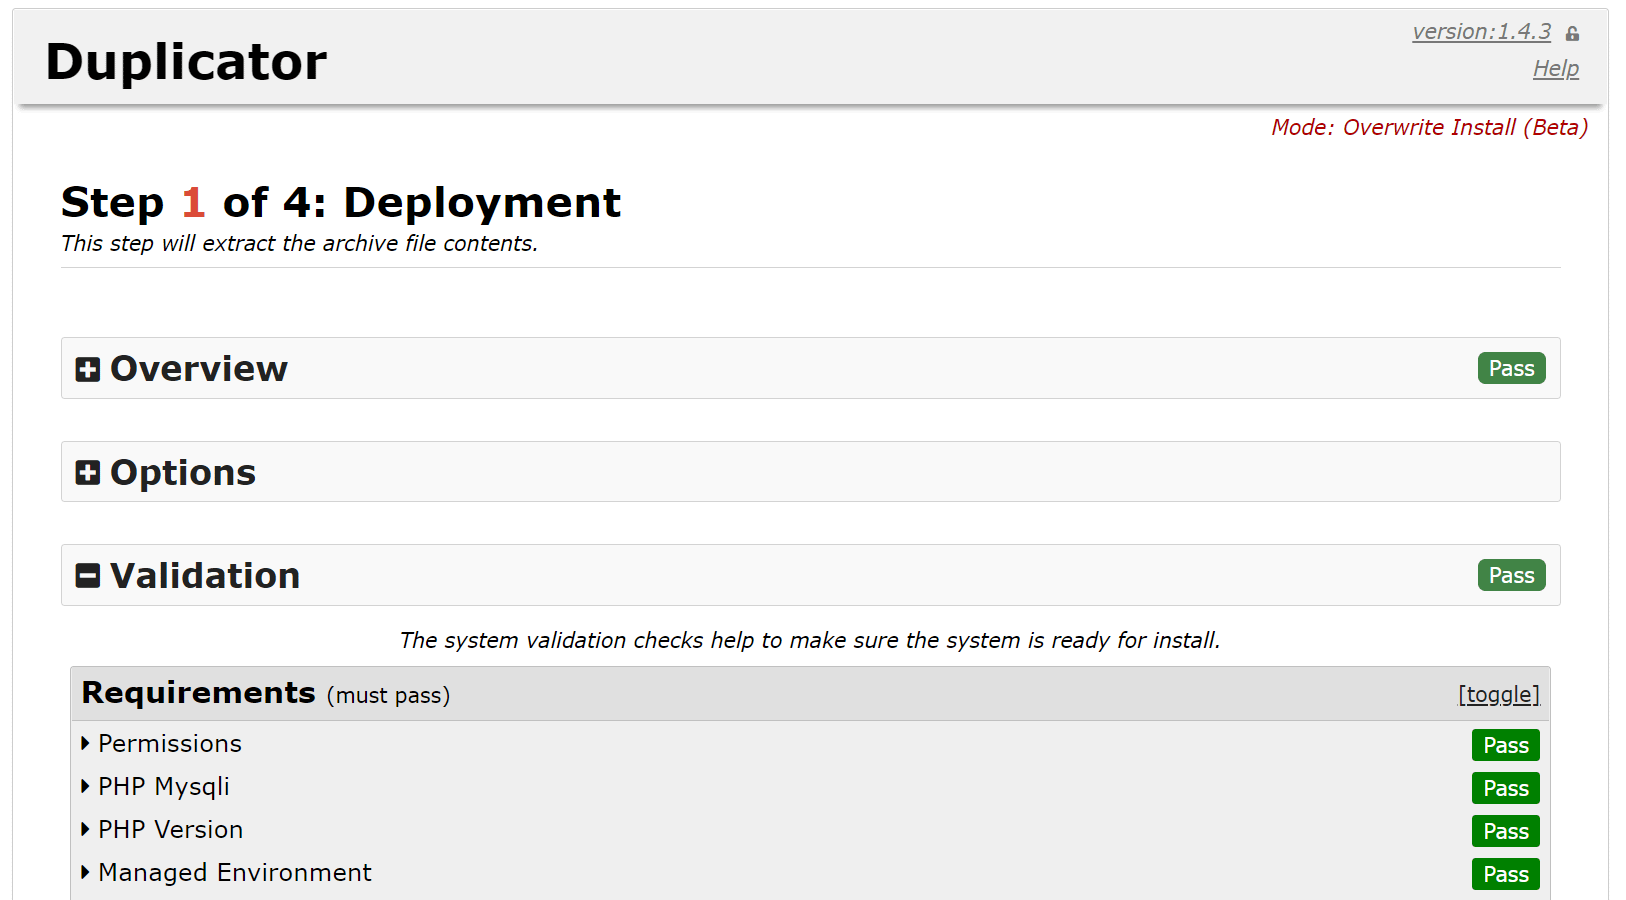
http://www.wordpressclonesite.com/installer.phpThis will enable you to access the installer file you downloaded during step one and start the cloning process. At this stage, Duplicator will tell you if there are any problems with your files, and it will ask for confirmation that you want to proceed:
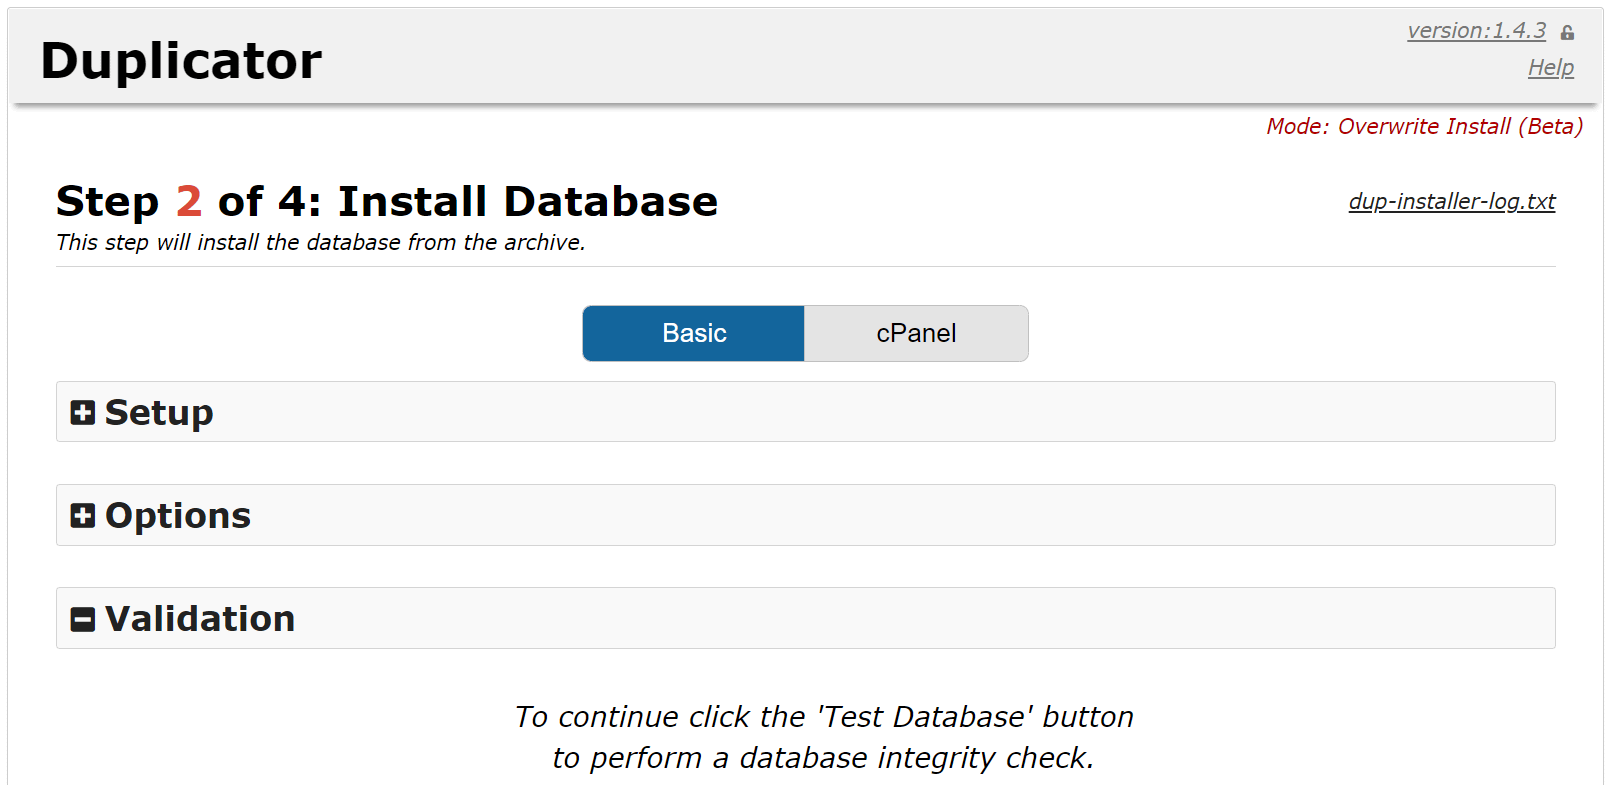
After you click on Next, Duplicator will take a while to extract your files. When it’s done, it will ask you to enter the details for your new database. Click on Next when you’re ready, and the plugin will import your old database into your new one:
Finally, Duplicator will ask you to confirm your ‘new’ site’s URL, installation path, and title. Fill out these fields and click on Next one final time.
To wrap things up, the installer will ask you to update your permalink structure, test that your cloned website is working correctly, and delete both the installer and the archive files. To do so, click on each of the buttons that it shows you and let Duplicator do the work for you.
Afterward, you can pat yourself on the back. You’ve just learned how to clone a WordPress website!
Why you might want to clone a WordPress website
Firstly, let’s talk about what the term ‘cloning’ means in this context. Cloning your site is different from backing it up. Although the two processes might seem similar, they serve very different purposes.
Cloning involves creating a fully operational copy of your site in a specific location. In contrast, backing up your website results in a ‘dormant’ copy of your files that you can store for safekeeping.
Cloning your WordPress site can come in handy in several ways, including:
- When you need a staging website: Testing major updates live is a risky business. Therefore, having a clone of your site enables you test your changes before updating your live website.
- For migration purposes: If you’re looking to change web hosts, you can take your WordPress site and set it up exactly as it was before on a new server.
- Changing your domain name: Switching your domain name involves ‘cloning’ your site to a new location on your server.
Furthermore, the cloning process is relatively straightforward. In the next section, we’ll walk you through it in detail.
Conclusion 🧐
Cloning your WordPress site might sound like a tall order, but it’s nothing you need to be scared of. While there are a few extra steps involved, there are no insurmountable challenges. Furthermore, the Duplicator plugin makes most of the process as simple as clicking a few buttons.
👉 This is all it takes to clone a WordPress website with Duplicator:
- Create a copy of your site and download it 🖨️
- Upload a copy of your website to your new web host 💻
- Set up a database for your website’s clone 🗄️
- Run the Duplicator installer and finish the cloning process ⚙️
Do you have any questions about cloning a WordPress website with Duplicator? Ask away in the comments section below!


HI – will Duplicator work on a hosting platform that doesn’t have WordPress Installer in CPanel?
Brilliant, thanks. I wanted to set up a cloned site so I could test some new messaging, menus and images before putting it live. I’m hosting on 1and1.co.uk which has the necessary PHP/MySQL/Webserver support. The only glitch was that on my Mac the downloaded archive was being decompressed automatically, so when I uploaded it and ran installer.php it failed because my archive was zero bytes.
I worked out that installer.php is expecting the zipped archive, but Safari automatically expands archive files on download. First I tried recompressing it, but this didn’t work as it doesn’t keep the files in the same order/location as the original archive, so the installer fails.
But if you go to Safari Preferences, General tab and uncheck ‘Open “safe” files after downloading’ and download the Archive file again, then it’ll download the .zip untouched. You can then upload the Archive intact and the installer works perfectly. Reset the “safe” file option afterwards to restore normal browser download behaviour.
I hope this helps someone as I couldn’t find any information on this anywhere – but I eventually worked it out for myself.
Hi!
I’m a true beginner and this was pretty easy to follow. However, I got stopped at step #4: http://www.mywebsite.com/installer.php has returned an HTTP Error 500 message for the past 30 minutes. The installer and archives appear in my public_html file, and I completed step 3. Do you have any pointers?
Thanks!
Monica
Or start the conversation in our Facebook group for WordPress professionals. Find answers, share tips, and get help from other WordPress experts. Join now (it’s free)!