
Wondering what the deal is with WordPress private posts? When creating a WordPress page or post, you may have looked over that little “Visibility” area in the Publish module. Underneath it, you see three radio buttons: Public, Password Protected, and Private.
So what’s with that “private” option? If you’re publishing a blog post, don’t you want the whole world to see it? Well, not all the time, seeing as how WordPress private posts are wonderful for internal corporate communications, restricted content, and documentation that regular customers might not need to see.
Private WordPress posts lock all unauthorized users out of that content. Only certain logged-in users can navigate to the post and view what’s on it.
An advantage of a private WordPress post is the power you have when granting user access. For instance, you don’t need to let all users see the post. If you have a blog post with SEO guidelines for your writers, you might restrict entry for those who aren’t listed as Authors.
The process is simple for creating private posts. So, we’ll walk through a tutorial on making a post private, right after explaining some of the instances where WordPress private posts can come in handy.
Some situations where WordPress private posts come in handy
Here are some situations where private posts can be helpful:
- For a product or service launch – One of the advantages of a private post or page is that it still gets published. Since several stakeholders are often involved with new ideas and product launches, it makes sense to place the post in a live environment, while also locking out all guests. The admins have full control over which stakeholders see the private page.
- For content or design tweaks – Although a sandbox setting is the preferred method for developers, many bloggers enjoy publishing posts and formatting articles with a live post. There’s no need to hit the Preview button, and it gives you a real-world test into how content appears. Not only that, but you can run the content by your editors in that published form.
- For an exclusive community – Some forums and membership communities are private because of exclusivity. Others involve special people in an organization.
- For internal training and reference pages – This is one of the most common ways to use WordPress private posts. A writing guide, customer support training module, or something of the sort, doesn’t need the highest security. However, website visitors don’t need to see this information.
- For a private blog – Some folks like to journal without the pressure of other people seeing it. A private WordPress post gives you an official publication atmosphere as opposed to previewing the post and storing it as a draft. In addition, it still gives you the option to share posts with friends or family.
- Specialized content – You may want to lock content that’s reserved for special users. Although it’s entirely possible to share private posts with specific user groups, your best bet is to go with a content gateway plugin or membership site. Think of the private post option as the poor man’s content gate.
Are private posts a good option for sensitive information?
By default, anyone with a user role of Editor or Administrator can see all the private posts on your site. They also have control over changing the privacy settings. Keep this in mind when working in an environment with multiple editors or admins. There might be someone who shouldn’t be reading the private post, or they may accidentally (or purposefully) make the post public without you knowing.
Furthermore, private posts aren’t ironclad safes. I don’t recommend publishing any sensitive information using WordPress private posts. For instance, lawyers and real estate agents shouldn’t publish contracts. Similarly, eCommerce companies should avoid publishing any customer information.
Overall, private posts generate hidden parts of your website – not completely protected parts. It’s more of an advantage when you’d like to not bother users, while still maintaining a fluid work environment.
Are the images in private posts still private?
All images are technically available to the public, even when you publish them as part of private posts. Anyone can obtain these images if they have the image URL. Although it’s not probable, it’s certainly possible. Finally, all Authors on your site can view the images in the media library.
How to create private posts in WordPress
Certain user roles can view and edit private posts. These roles include:
- Administrator – Can view, create, edit, and delete any private post, regardless of who made it.
- Editor – Can view, create, edit, and delete any private post, regardless of who made it.
- Author – Can view, create, edit, and delete their own posts. Authors cannot view or edit private posts created by other users, though.
- Step 1: Create a new post/page or edit an old one
- Step 2a: Edit the post’s visibility in classic editor
- Step 2b: Edit the post’s visibility in block editor
- Step 3: Publish the post and check its privacy
- Step 4: Share the post with certain user groups (optional)
Step 1: Create a new post/page or edit an old one
I’m sure most people know how to add or edit a post, but I wanted to let you know that it’s possible to make a private post from a new one or one that’s already published and public.
This is what it looks like in the Classic Editor:

And below is what it looks like in the Block Editor:

Step 2a: Edit the post’s visibility in classic editor
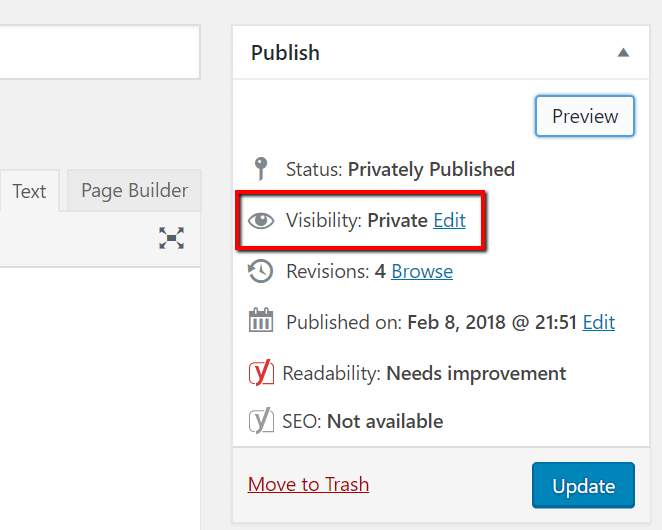
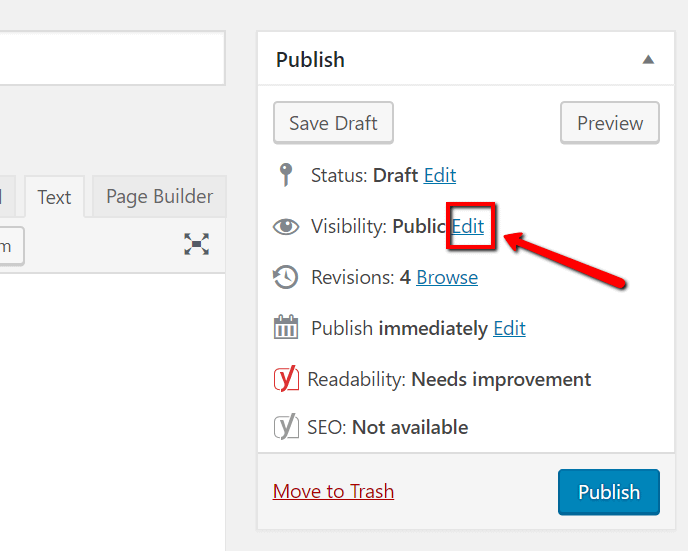
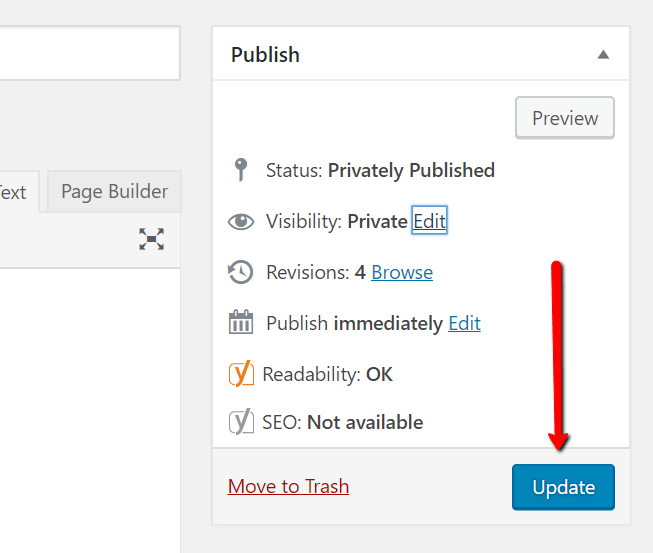
Go to the Publish module on your post.
Find the Visibility section and click on the Edit link.
Switch the Public radio button to the one that reads Private. Click on the OK button to lock it in.
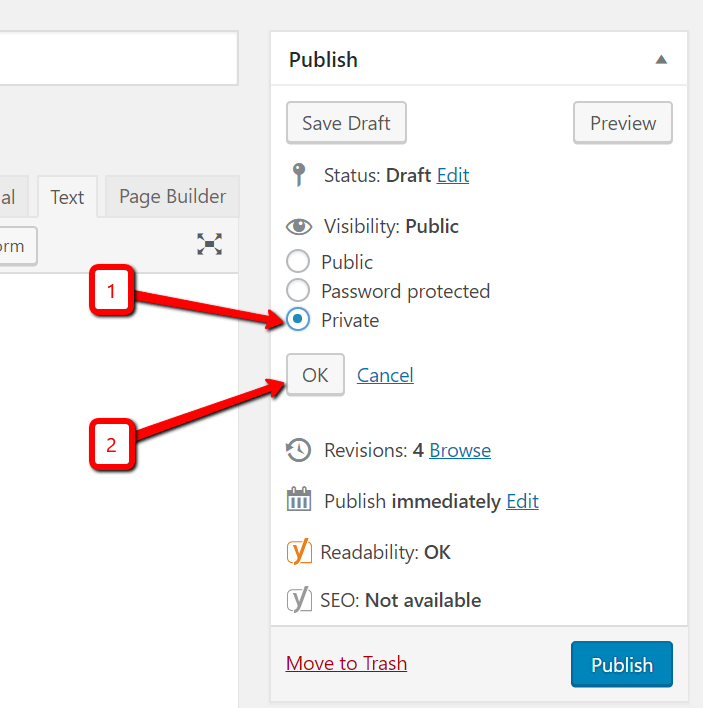
If this is a new post, click the Publish button. If it’s an old one, you’ll see the Update button.
Step 2b: Edit the post’s visibility in block editor
In the Block Editor the Visibility section does not have the Edit link. You simply click on the name of the status – Public – and that will open up the drop down menu with the radio buttons, where you can switch it to Private.

After you click the Private radio button, you will get a popup window asking you if you would like to privately publish the post. This will happen regardless of if the post is new or if you are updating an already published post. Simply click OK to confirm.

Step 3: Publish the post and check its privacy
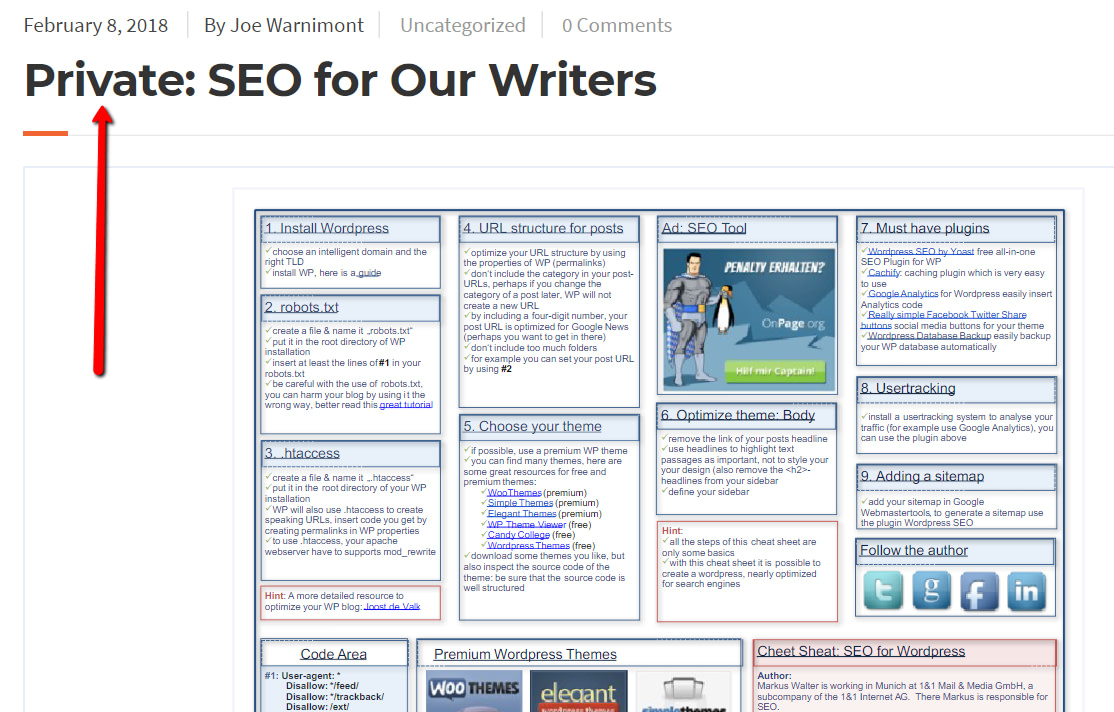
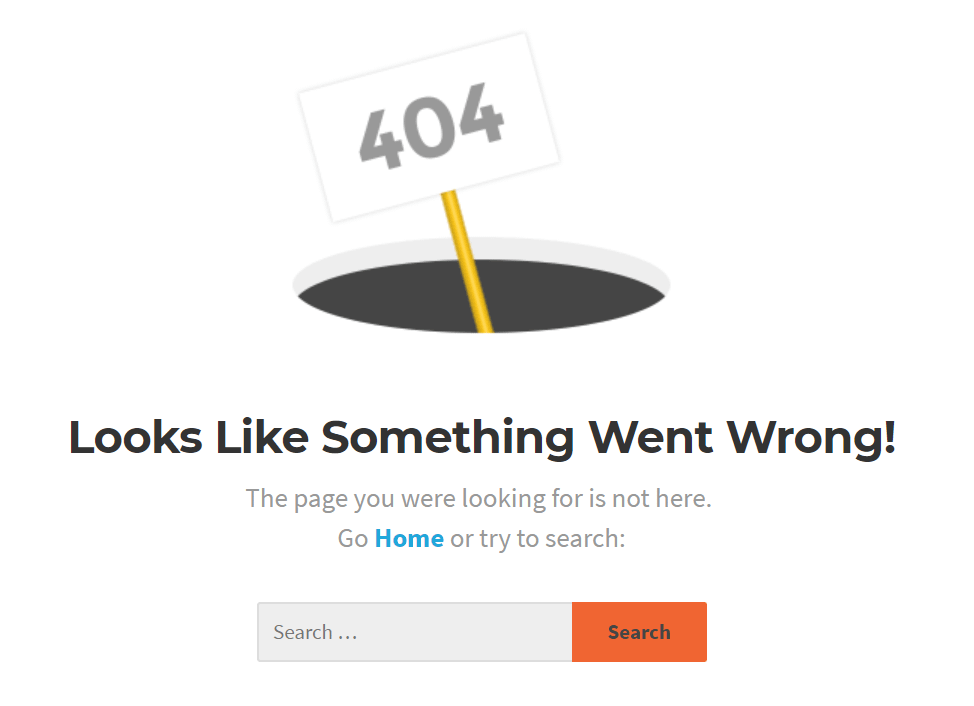
You can test WordPress private posts by logging in as an Admin or Editor. If you see the “Private:” text before the title, only the Admin and Editors can see it.

Your site will direct other users to a 404 page.
Step 4: Share the post with certain user groups (optional)
By default, only Admins and Editors can view private posts. However, if you’d like to show your content to specific user groups (like family members or colleagues,) the WP JV Post Reading plugin helps you out with that.
Conclusion 🧐
If you’re a little bit more advanced in your WordPress knowledge, you can also use WordPress user roles and the User Role Editor plugin to give additional user roles access to the read_private_posts and read_private_pages capabilities.
This will allow those user roles to view private posts and pages, as well.
That’s it! If you have any questions about WordPress private posts, share your thoughts in the comments.


Or start the conversation in our Facebook group for WordPress professionals. Find answers, share tips, and get help from other WordPress experts. Join now (it’s free)!