
So, you’ve decided to transfer from Wix to WordPress, but you’re worried about what’s going to happen to all of your posts and pages. For example, are you going to have to re-create them or, even worse, start from scratch?
Our advice is not to worry, we’re here to help! One of the best ways to transfer your content from Wix to WordPress is by importing your blog posts via RSS. This is a great way to migrate your site without losing your content, and the process is likely easier than you think.
In this post, we’ll offer a step-by-step rundown on how to switch your site from Wix to WordPress, while keeping your content in one piece.
Let’s jump right in!
What to consider when you transfer from Wix to WordPress
While your blog may have been central to the ‘draw’ of your website, there are other elements to consider as well when migrating. After all, the content itself is only one part of the overall strategy of your website. Some additional elements to think about include:
- Other important pages on your website, such as sales landing pages and contact forms.
- Your navigation menus and site structure.
- All of the images and video found across your posts and pages.
Of course, there’s also the design and layout of your website. While it may be tricky to duplicate the exact style of your previous site, it’s likely you can find a solution that you’re happy with (albeit with a compromise on the process.) In the next section, you’ll find a step-by-step guide to help you from start to finish.
How to properly transfer from Wix to WordPress (in 5 steps)
Before you can export Wix to WordPress, you’ll need to make sure you have a fresh WordPress install ready to receive your Wix content. If you don’t have that yet, take a quick detour to choose a WordPress host and then follow these steps to install WordPress.
If you’re using a custom domain name, you’ll also want to point your domain towards your new WordPress site. If you got your domain name for free from Wix, you can follow these instructions. Otherwise, consult your domain registrar for help.
Once you’re ready, it’s time to get started by heading to your Wix dashboard.
- Export your content from Wix
- Import your content into WordPress
- Move your Wix images to WordPress
- Convert your Wix pages to WordPress
- Create your main navigation menu
1. Export your content from Wix
Migrating from Wix to WordPress is a challenge, mainly because Wix is a closed system (unlike WordPress’ open-source structure). As such, there’s no direct way to migrate content from one to the other. However, you can migrate your Wix RSS feed, so you won’t have to manually recreate every post.
To begin, Wix requires you to add an RSS button to your site before you can get to the specific URL. To do this, navigate to your Wix Editor, then go to Add > Blog > RSS Button:
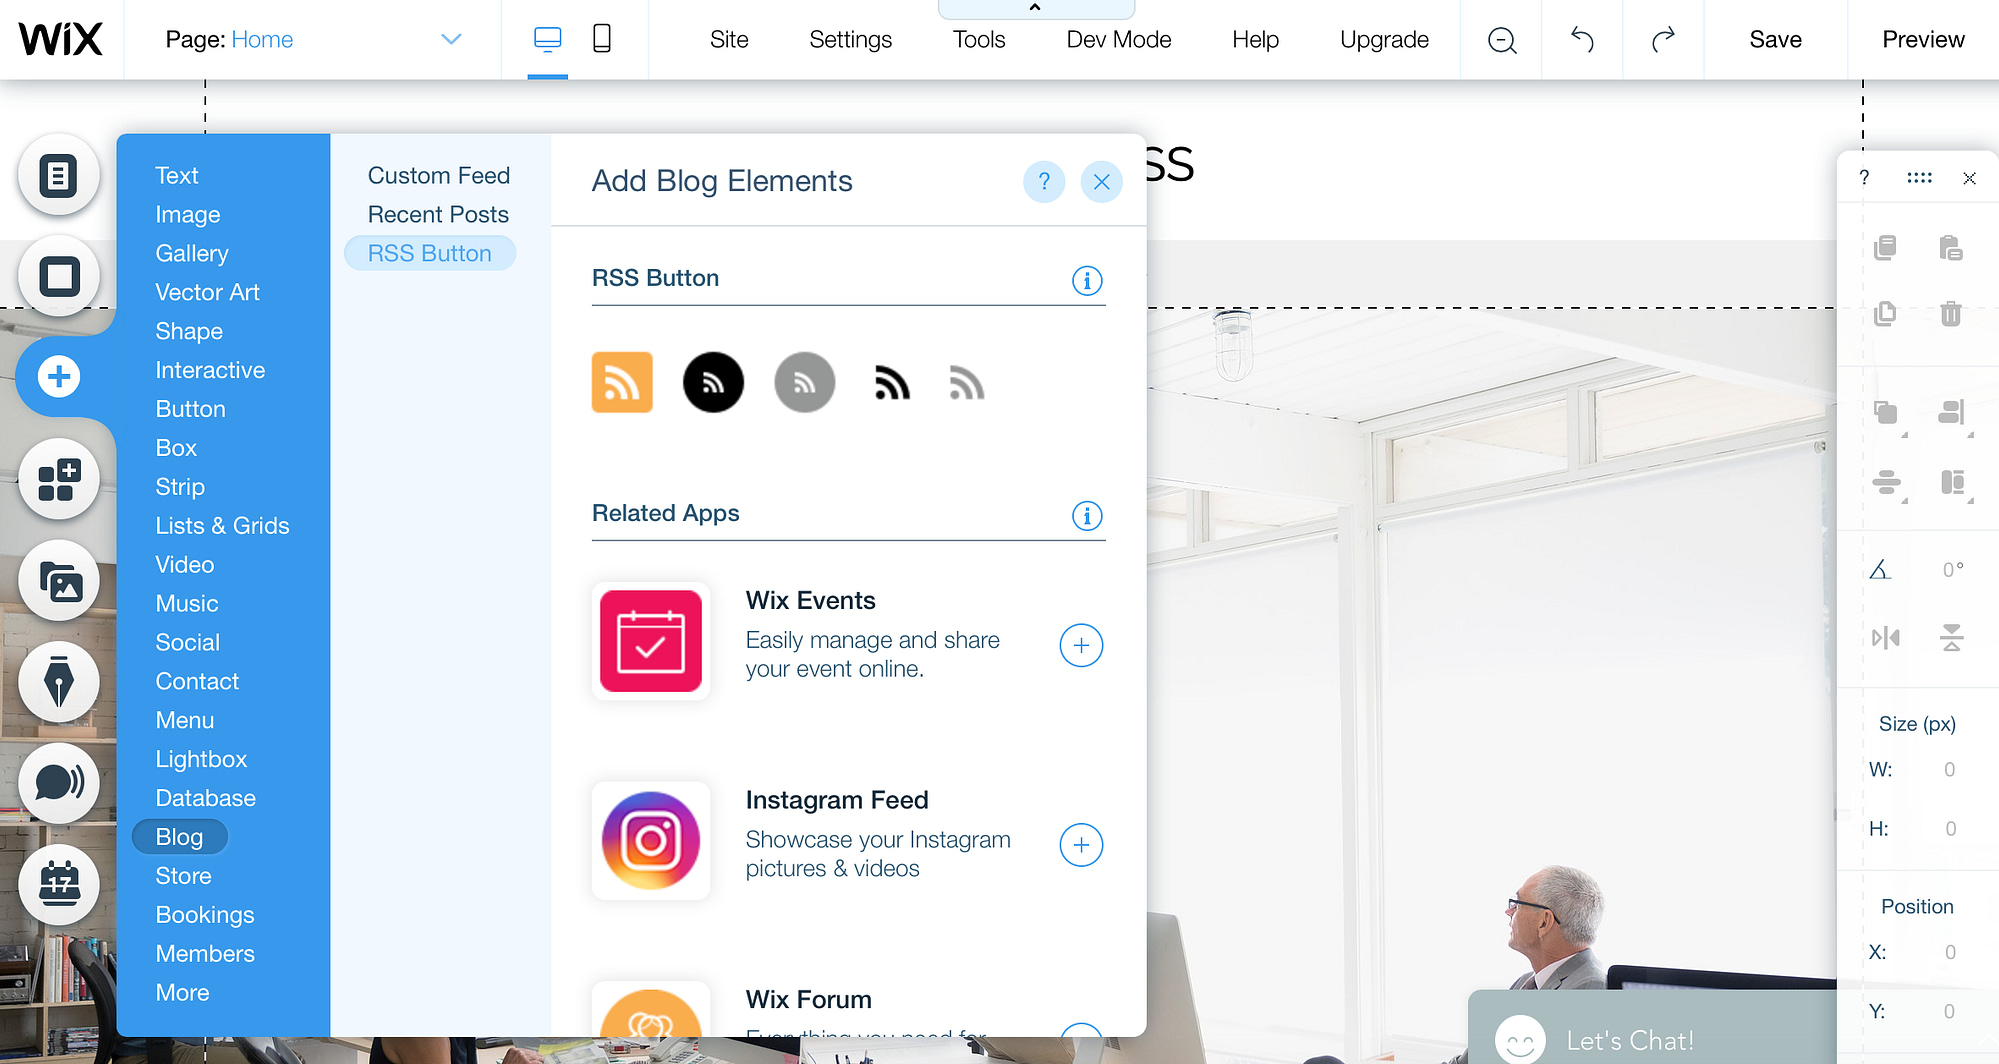
Go ahead and add the button to your page.
Next, locate your RSS feed file by adding /feed.xml or /blog-feed.xml to the end of your website URL. For example, yoursite.com/blog-feed.xml.
This will bring up a page full of code. Right-click anywhere on the page, select Save As, and save the file to your computer.
Keep this file handy because you’ll need it in the next step to import your Wix content to WordPress.
2. Import your content into WordPress
With your Wix RSS file at the ready, log into WordPress, then navigate to Tools > Import:
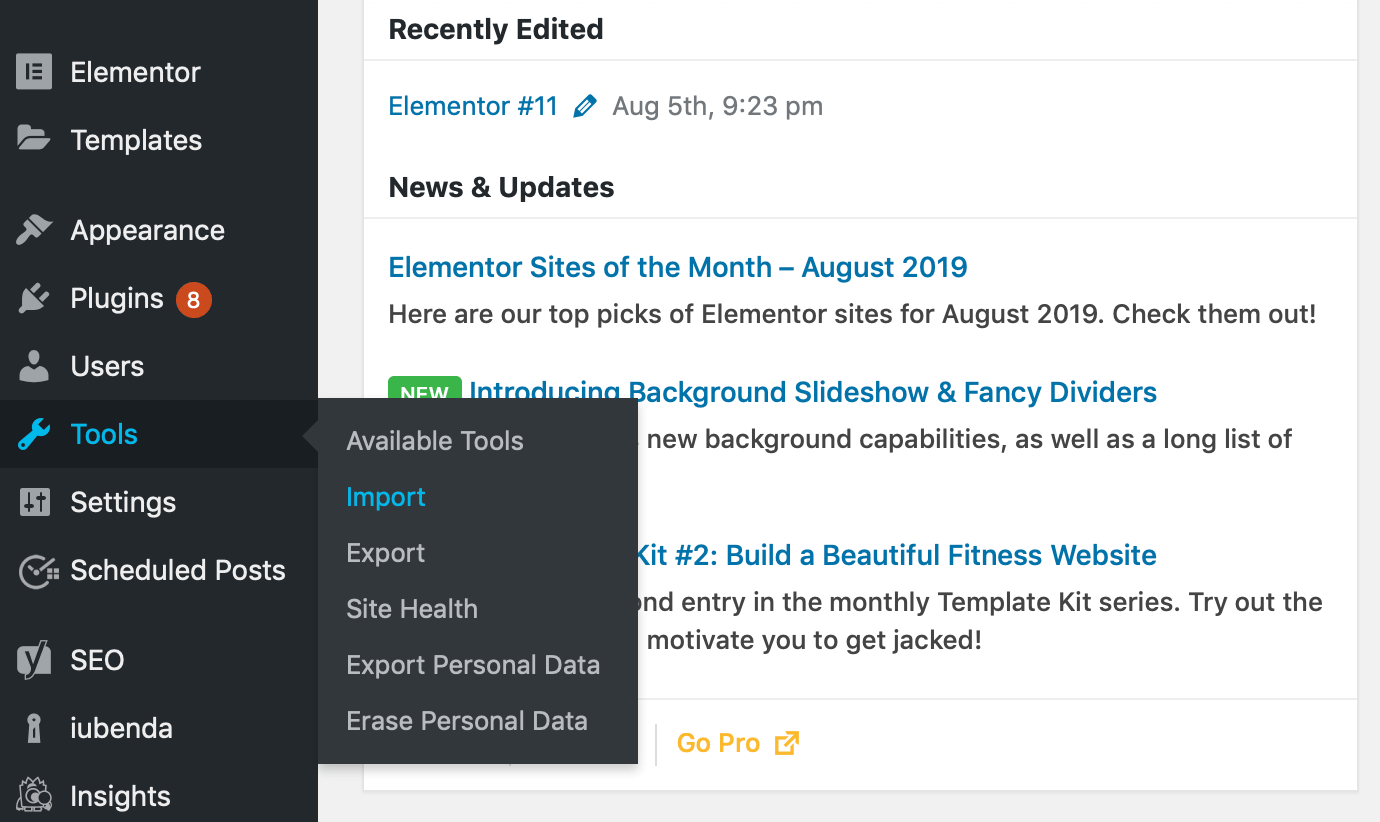
There are a number of platforms here, but we’re interested in the RSS tool. Click Install Now under this heading, followed by the Run Importer link when it appears.
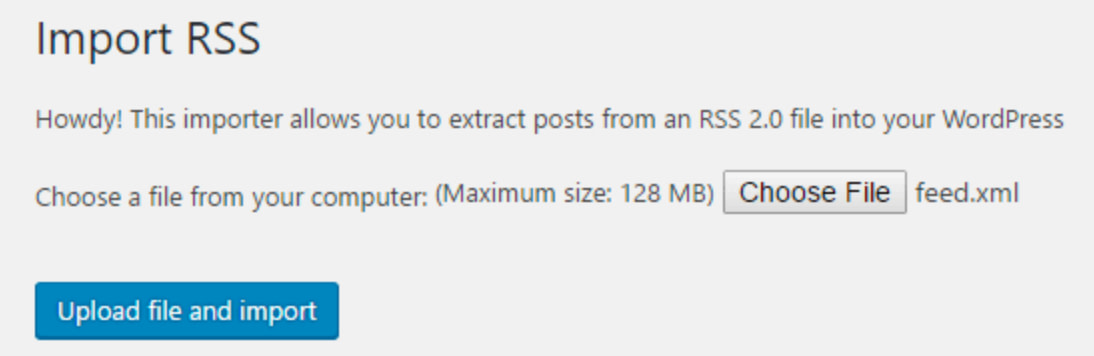
Next, click on the Choose File button and select the RSS feed file that you saved to your computer. Then, click on Upload file and import:
Depending on the size of your file, you may need to wait for a few minutes. However, once the upload is complete, your posts will now be ready to view on your new WordPress website.
To do so from the WordPress back end, head to the Posts > All Posts screen. As you may notice, although the content of your posts is present and correct, the accompanying images will still be hosted with Wix. This is something we’ll fix in the next step.
3. Move your Wix images to WordPress
The next thing to do is to move your images. Thankfully, there’s a plugin to help make this process easier – Auto Upload Images:
Once you’ve successfully installed and activated the plugin, you’ll want to open each post and save it. Through some under-the-hood jiggery-pokery, all of the images for your posts will import into your Media Library.
Of course, this could take some time if you have a lot of assets to import. A useful trick to make this process faster is to go to Posts > All Posts, then click on the Screen Options drop-down at the top:

You can change the number of items per page under the Pagination section. The highest you can set this number to is 999, but this should be enough to help increase your efficiency.
By clicking on Apply, WordPress will reload the page to show 999 posts at one time. From there, you can select all of your posts on this page by ticking the All Items checkbox, before selecting Edit from the Bulk Actions drop-down menu:
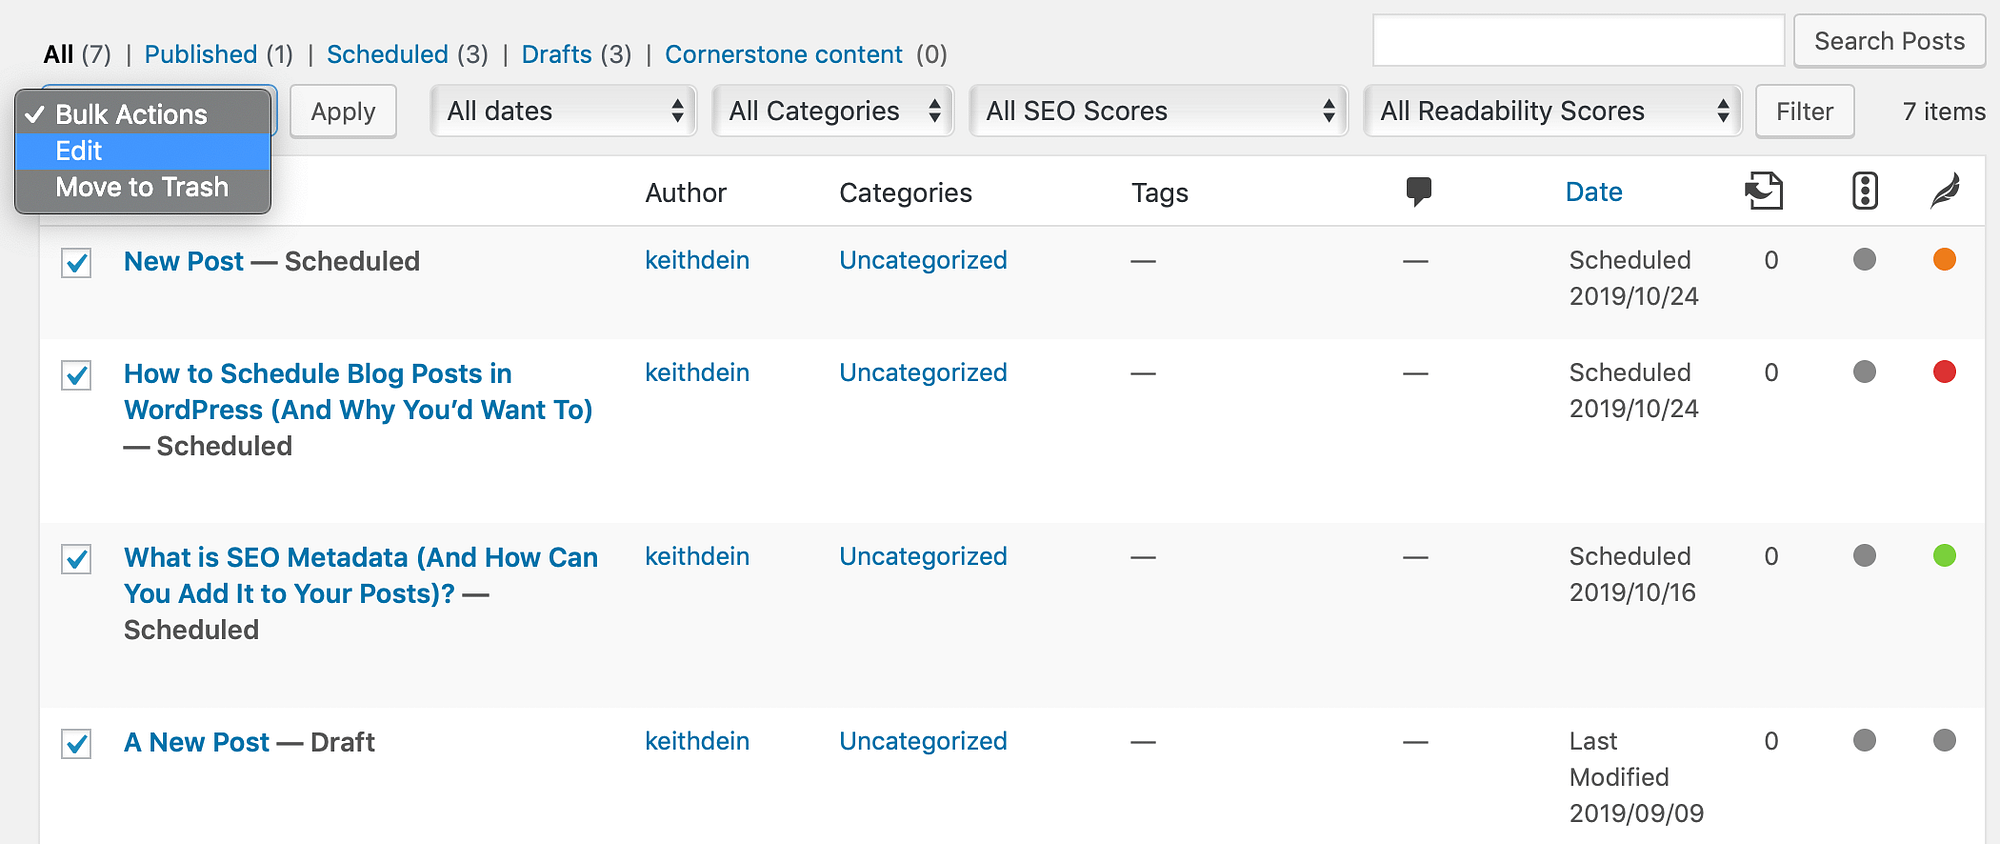
This will bring up a screen with a list of all of the selected posts. Now, simply click the Update button for each one, and the Auto Upload Images plugin will update your posts to include images from your Wix website.
4. Convert your Wix pages to WordPress
Your next step is to recreate each page from your Wix site on your new WordPress one. Unfortunately, Wix does not offer an automated way to import pages, but doing this manually may be easier than you think.
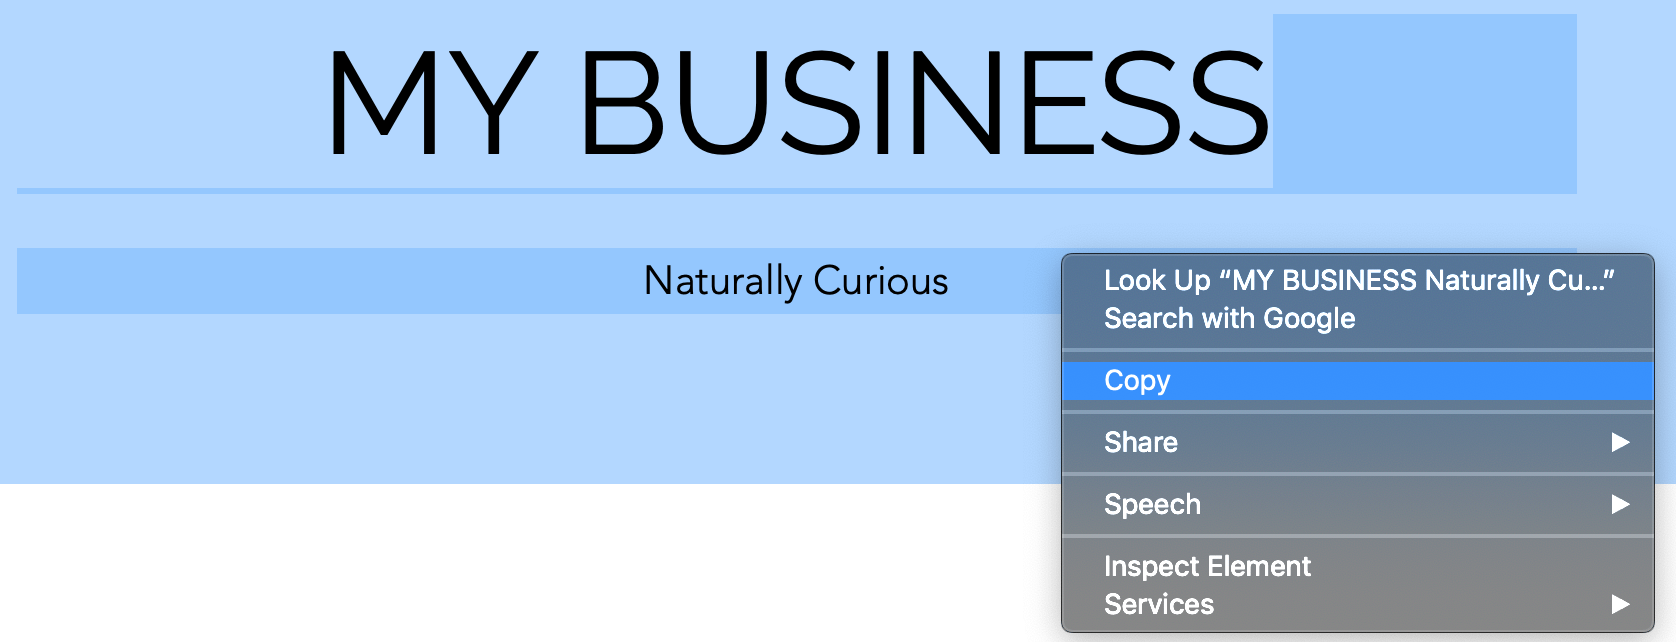
First, navigate to the page on your Wix site you’d like to copy. Highlight all of the content, except the page title, then right-click and select Copy:
Next, return to your WordPress admin and go to Pages > Add New. You can type the title in at the top of the page. Then, right-click below it and select Paste:

With your content in place, you can now style the page to your liking using the WordPress block editor – we’ll discuss some next steps later. In addition, it’s a good idea to carefully review each page to make sure everything has copied over correctly, and the presentation and formatting is the best it can be. After you’ve published each page to your website, you’re ready to work on your navigation.
5. Create your main navigation menu
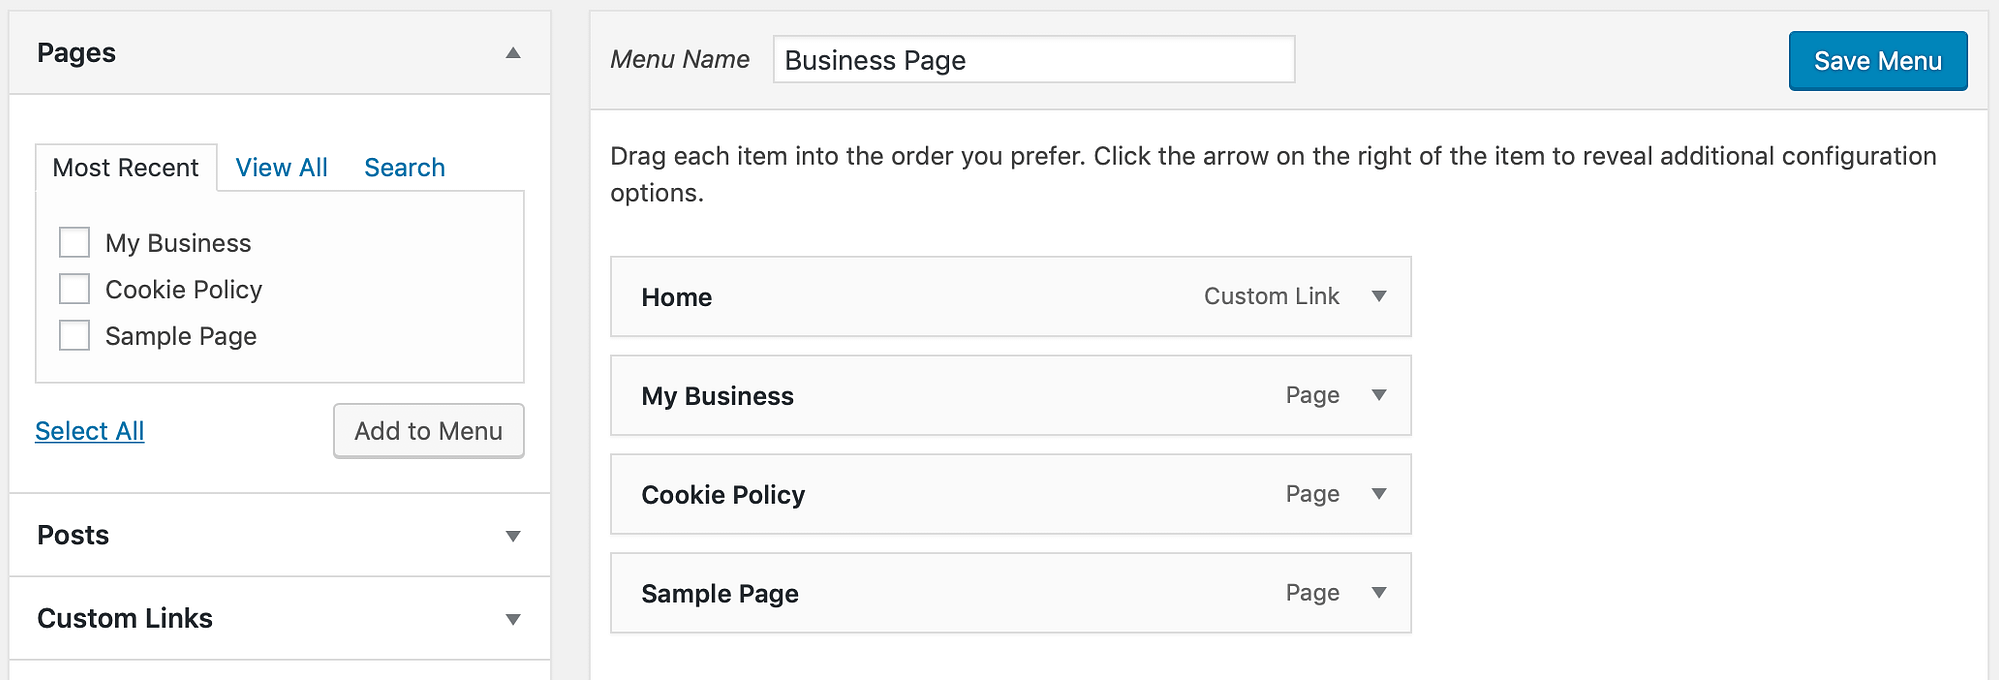
Finally, you’ll want to build a way for your visitors to easily navigate your website. To create a navigation menu, start by going to Appearance > Menus within WordPress. Type in the name of your menu – which is just for your reference only – then click the Create Menu button:
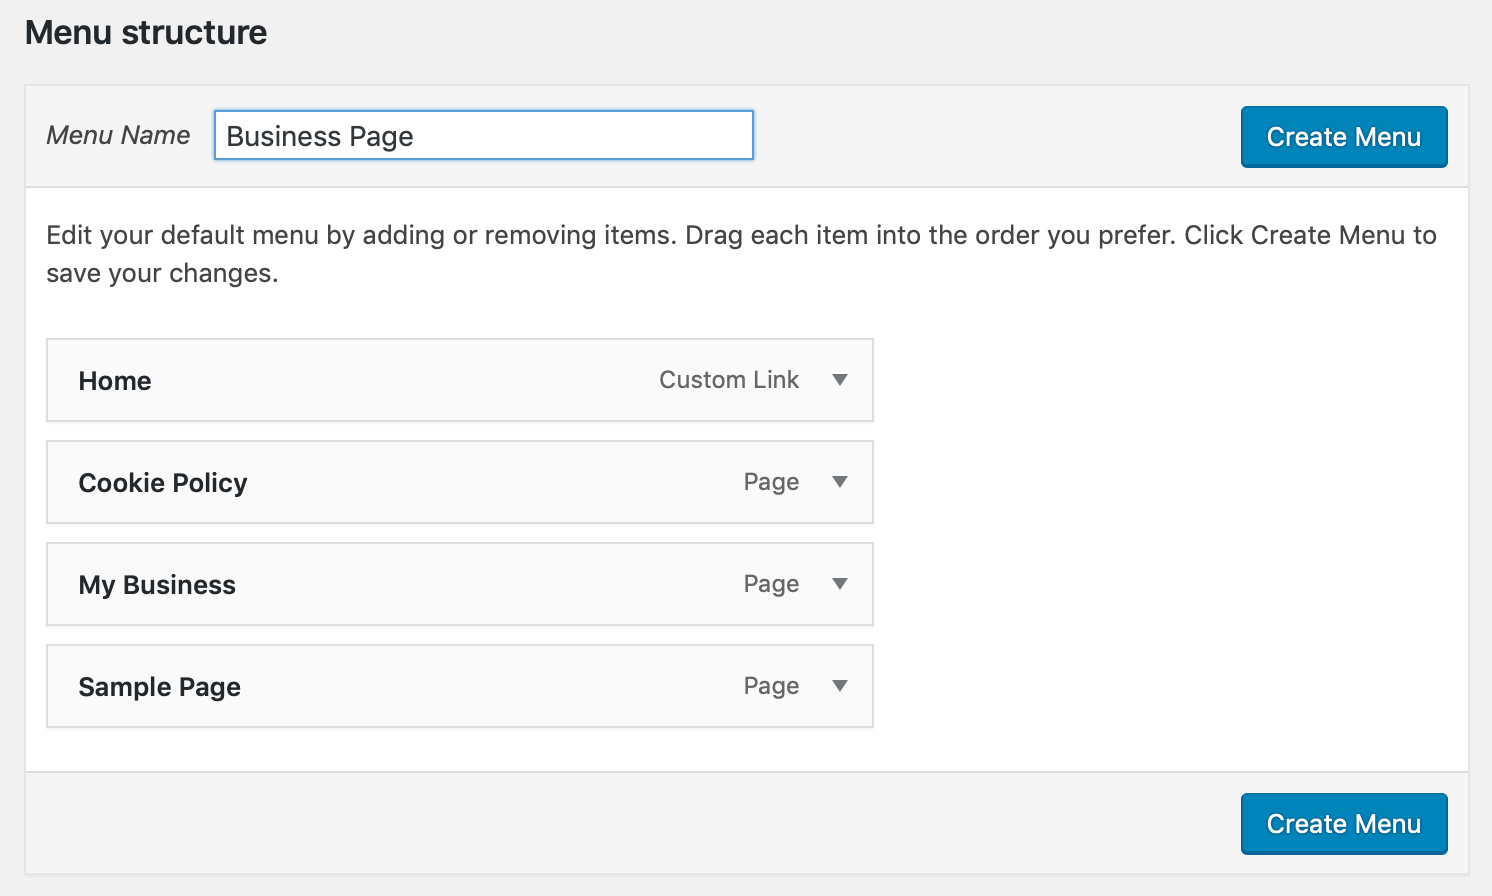
You can then select which pages you want to include by looking at the sidebar, selecting the posts and pages from each list, and clicking Add to Menu. When you’re finished, click the blue Save Menu button:
With that, you have created your navigation menu, and you have successfully migrated your website from Wix to WordPress – congratulations!
Some next steps to consider
Now you’re an official WordPress site owner, you’ll likely have a few extra tasks to carry out. After all, you’ve only carried out the barebones when it comes to creating your site.
To begin with, you’ll want to brush up on understanding WordPress as a beginner to the platform.
We also discussed design, and how this isn’t imported from Wix. WordPress uses ‘themes,’ which are design templates that are becoming increasingly customizable. You’ll find thousands of them to suit your budget and needs, and this is a great opportunity to give your site a fresh lick of paint. You can probably find one that matches your Wix site, or you can opt to go in a new direction.
You’ll also want to expand the functionality of the core WordPress software, and you can do so using plugins. These are add-ons that let you implement security features, contact forms, social media icons, and much more.
Finally, you may want to undertake some ‘unglamorous’ yet necessary tasks. We’re thinking about redirecting your old website to your new one, increasing traffic levels, and making money from your site.
Conclusion 🏁
In this post, we’ve provided a step-by-step guide you can use to migrate your website from Wix to WordPress. To quickly recap, the steps are:
- Export your content from Wix. 📤
- Import your content into WordPress. 📥
- Move your images from Wix to WordPress. 🖼️
- Convert your Wix pages into WordPress-friendly formats. 👨💻
- Create your navigation menus. 🖱️
Do you have a question about how to transfer from Wix to WordPress? Let us know in the comments section below!


Or start the conversation in our Facebook group for WordPress professionals. Find answers, share tips, and get help from other WordPress experts. Join now (it’s free)!