
If you’ve ever taken a course online, you know how amazing it is to learn at home and work through lessons yourself. Online courses are great, but what if you want to create an online course and sell it to others?
Well, it can prove to be very profitable if your website is built right and marketed to the right people. We’re here to guide you on the website building.
Although not too difficult, using WordPress as an LMS (learning management system) does take a few steps. That being said, anyone can handle it and make great customizations, from beginners to advanced developers.
Overall, if you’d like to learn how to make money selling your own courses, keep reading below.
Here are the steps we’re going to discuss on your way to creating an online course with WordPress:
- Install LearnPress and run setup wizard
- Create an online course for your real business
- Add lessons and quizzes
- Link lessons and quizzes to the right courses
How to create an online course with LearnPress
Only a few reputable LMS systems actually provide a free core plugin for you to launch your site and potentially not pay anything for it. LearnPress is one of them.
The plugin is free, but developers make money by selling add-ons. So, if you’d like to incorporate something like paid memberships or certificate completion, you’d have to pay a small one-time fee.
The add-ons are sold individually (for typically around $29 – $49). You can also purchase the add-on bundles, which are the best value but can cost around $250.
Overall, the pricing for LearnPress seems fair, and we love the idea of having a completely free core plugin that could potentially be used for many small websites.
Having said all that, let’s proceed in learning how to create an online course.
1. Install LearnPress and run setup wizard
LearnPress is listed at WordPress.org, so you can install it by going to Plugins -> Add New. If you have any questions about this initial process, check out our article on installing plugins on WordPress.
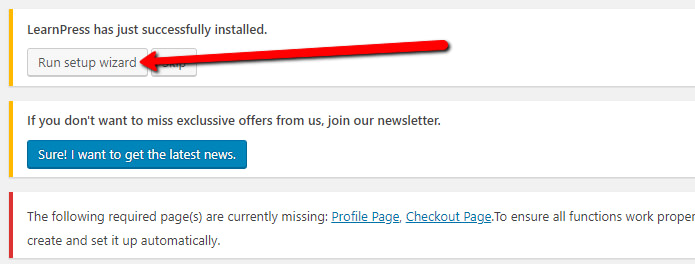
After activating the plugin, look for the notification in your dashboard that says “LearnPress has just successful installed.
LearnPress has a wonderful onboarding configuration where it helps you set up all of your settings from the start.
Click on the Run Setup Wizard button to get started.
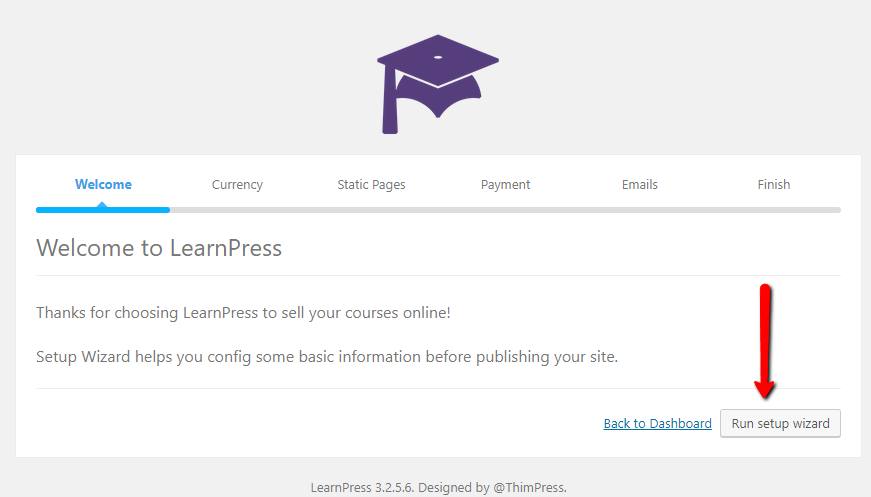
You have the option to skip this wizard, but we highly recommend not doing that. You’re far less likely to miss an important setting or feature if you walk through the steps.
Click on the Run Setup Wizard button again to get started.
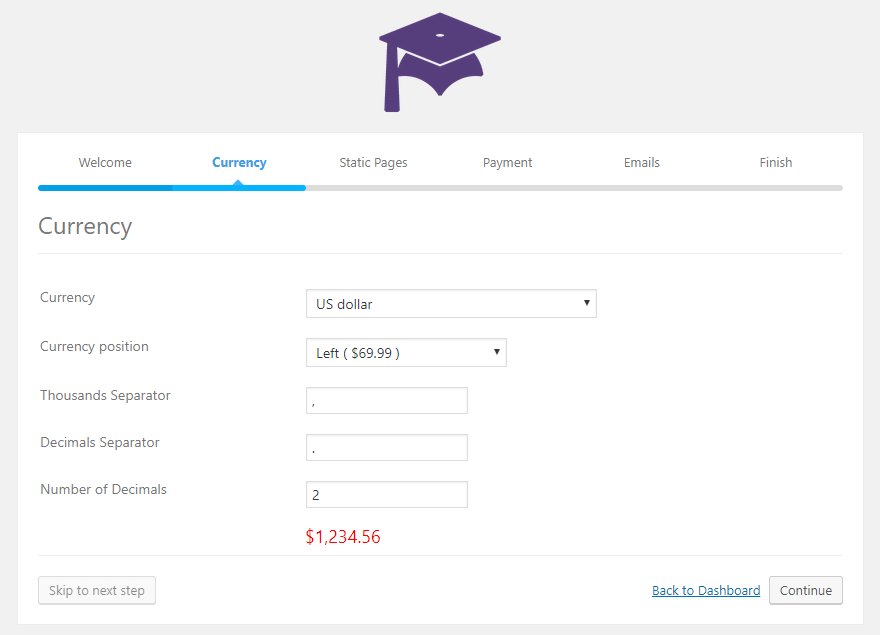
Start by filling in your currency information. This would be the type of currency you accept and what the formatting looks like on your website:
The Static Pages section requires you to make pages for some of the most important (and most visited) areas of your website. Chances are you haven’t created these pages yet, so click on one of the Create buttons to do so.
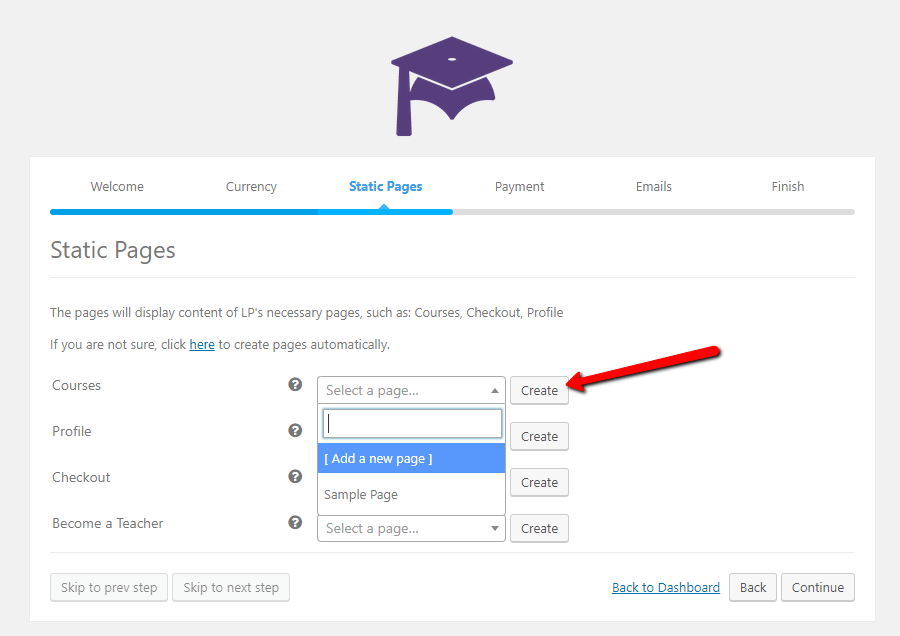
You’ll probably want to use the recommended titles, but you do have the option to change them if you want.

Save the new pages as you go, Just make sure to click on the Ok button whenever you’re done with a page. If you don’t want one of the pages, don’t create it. Click on the Continue button when you’re done.

The Payment tab is important so that you can either collect money or work on the website without having an active shopping cart.
For instance, you might want to begin accepting payments today. If that’s the case, type in your PayPal email address.
After that, click on the Continue button.

The Emails tab asks if you would like to automatically activate all of the emails that go out to teachers and students. I recommend checking this box so you don’t forget to make an important email in the future.

The final step gives you some rather important buttons to consider. The first one is to install a sample course. I suggest you do this so you understand what the courses will look like.

You should then be able to view the frontend of your site to see the sample course.
Keep in mind that much of the formatting depends on your theme. You can find some great WordPress LMS themes here.
Regardless, you should see things like curriculum, instructor, and enrollment information.

2. Create an online course for your real business
It’s nice to have the sample courses to analyze and test out, but now it’s time to create an online course from scratch.
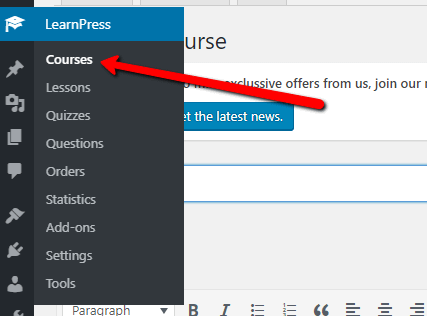
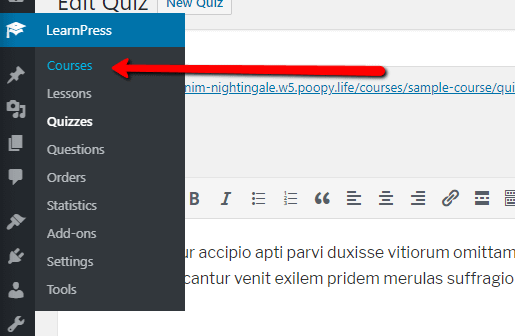
Start by getting back into your WordPress dashboard. Find the LearnPress tab and select Courses.
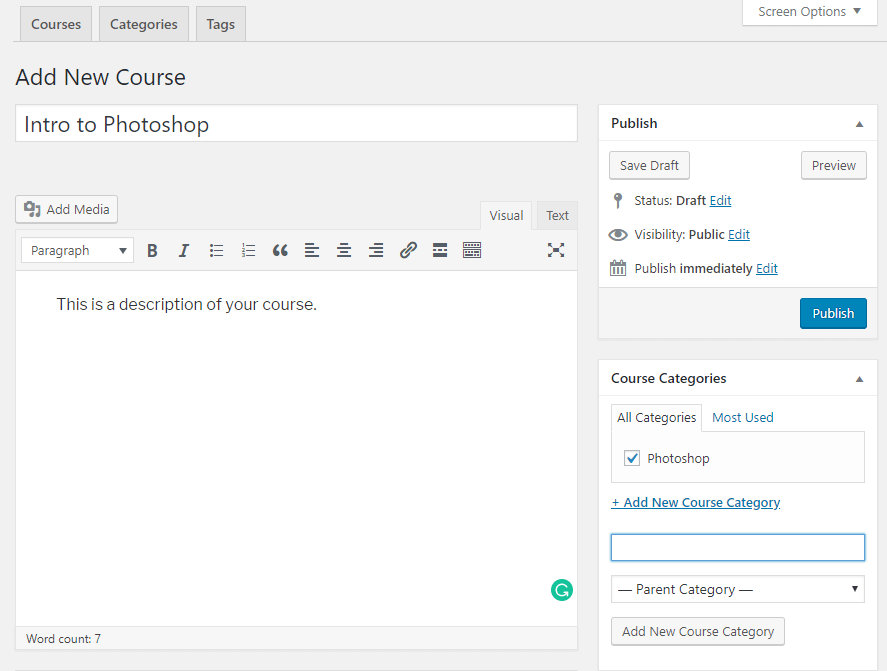
Add a new course. This area looks similar to any WordPress page, but now you’re adding items that are unique to learning management systems.
Type in the name of your course and a description to go along with it. You might also want to create a category if some of your courses will be related.
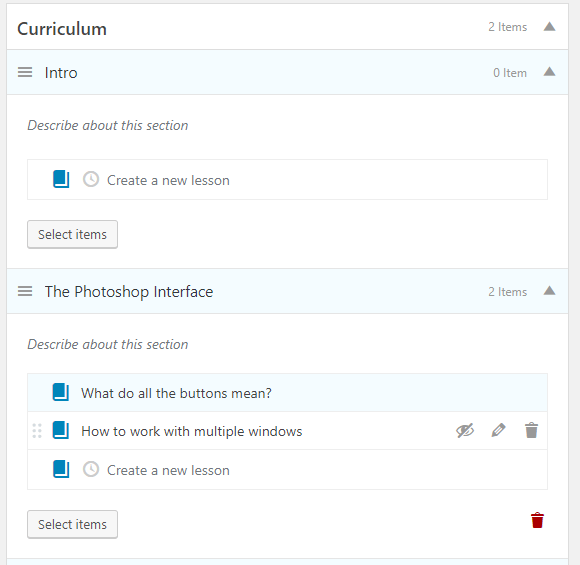
Scroll down to the Curriculum section to click through and add sections and lessons to the course:
- Sections are subsets of the entire course.
- Lessons serve as the actual content in each section.
It’s also worth noting that the Select Items button provides options to connect quizzes and other lessons.
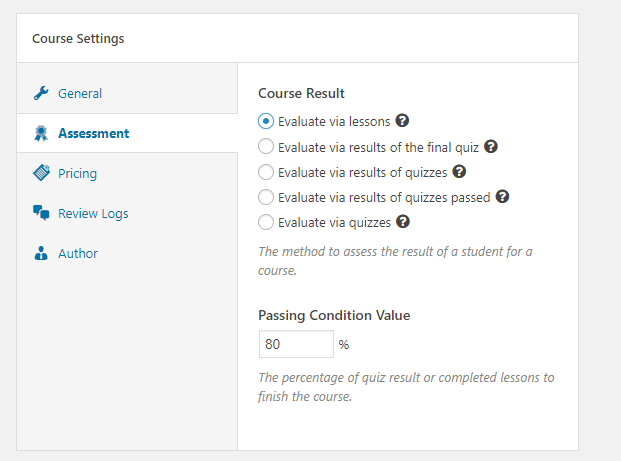
Scroll a little down the page to find five tabs under Course Settings.
The General tab asks how long you’d like to run this course, and you can also adjust settings for maximum students and students enrolled.

The Assessment tab asks how you would like to evaluate students. For example, you may want to grade the students based on how they perform on a quiz or in your lessons.
Moving onto the Pricing section, you’ll notice that you can set a price for this particular course. The sales price is also a good way to convince people to buy.

The review logs are for moderating course reviews. The Author is simply who is teaching the course. So you may need to create a username for any new teachers.
3. Add lessons and quizzes
The majority of your foundation is ready, but now it’s time to add the course content.
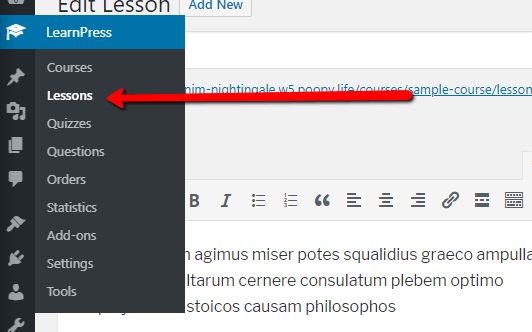
Go to LearnPress > Lessons.
Making a lesson in WordPress is like working with a blank canvas. The visual WordPress editor allows for anything such as text, video, audio, and documents.
Feel free to choose different formats and write your lessons similar to how you would a blog post. Break text up with media and documents, and consider changing the post format depending on what type of media is presented.
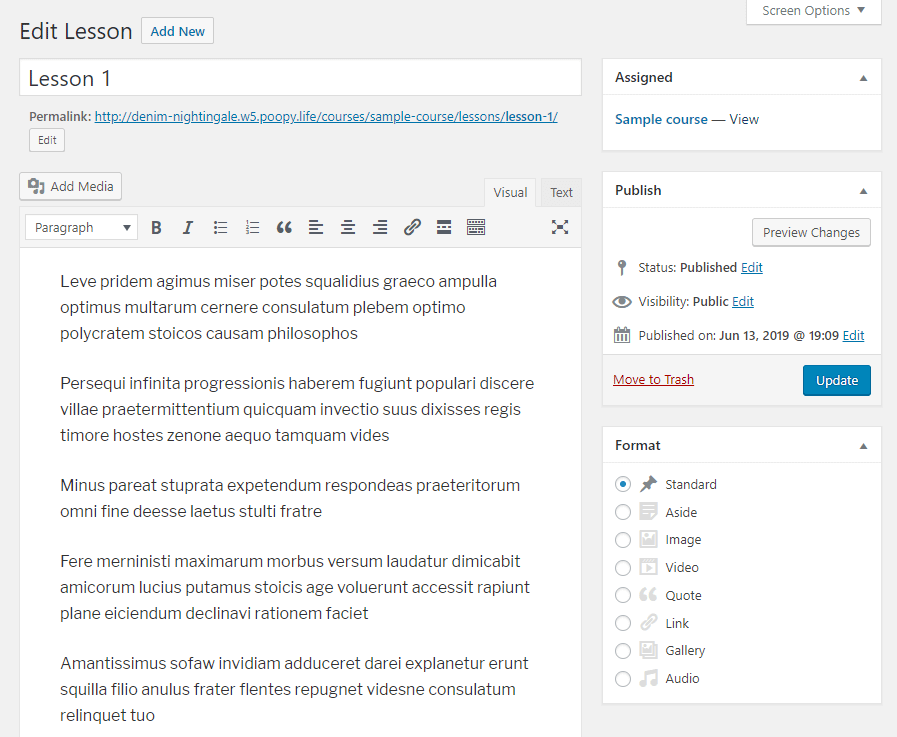
The other settings are fine, but make sure you uncheck the Preview Lesson button–unless it truly is the preview introduction to your course.

Once your entire lesson is done, click on the Publish button.
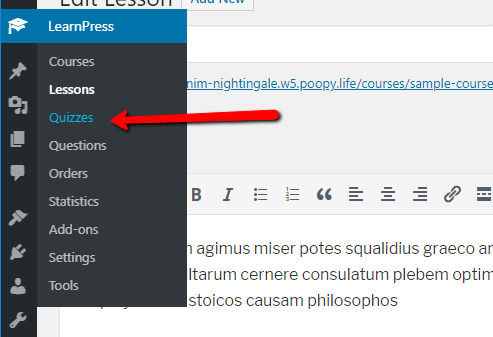
The other form of content is a quiz. The lessons are for learning, while the quizzes are for evaluating.
To create a quiz, go to LearnPress > Quizzes.
Create a New Quiz. Type in the name of your quiz and whatever instructions you would like to give your students.

You can add as many questions and answers as you want and choose between different question types–like true/false or multiple choice.
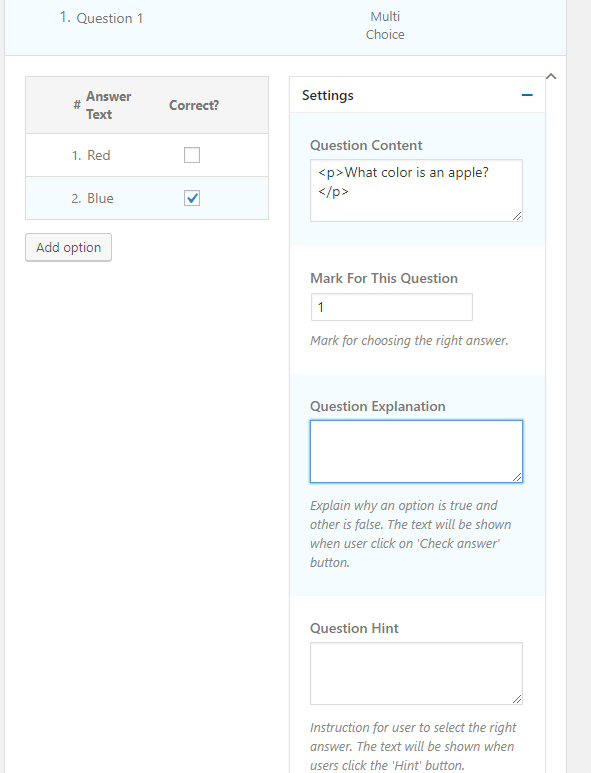
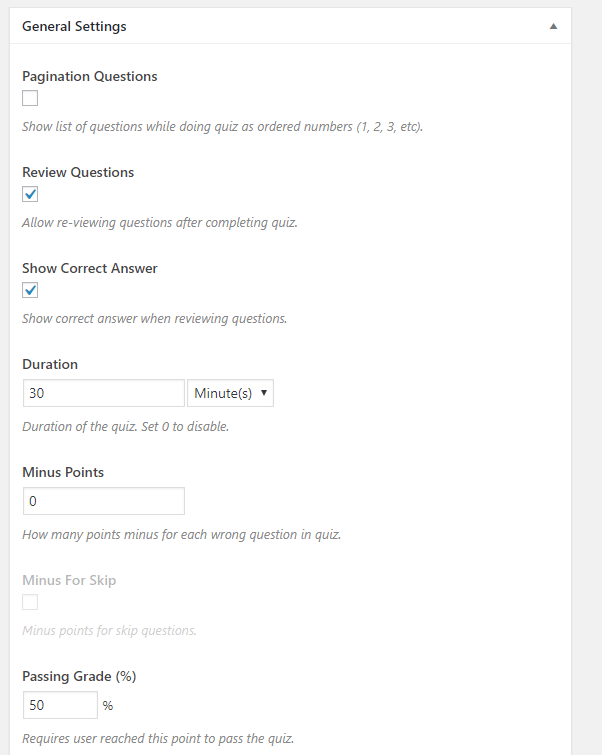
The final section isn’t that important, but you should walk through it and specify what a passing grade is.
4. Link lessons and quizzes to the right courses
The next move is to assign lessons and quizzes to a course. Go to LearnPress > Courses.
We mentioned this before, but you can add lessons and quizzes by clicking and typing in new names.
If you already have some quizzes and lessons to attach, click on the Edit Item button to find the right pages.

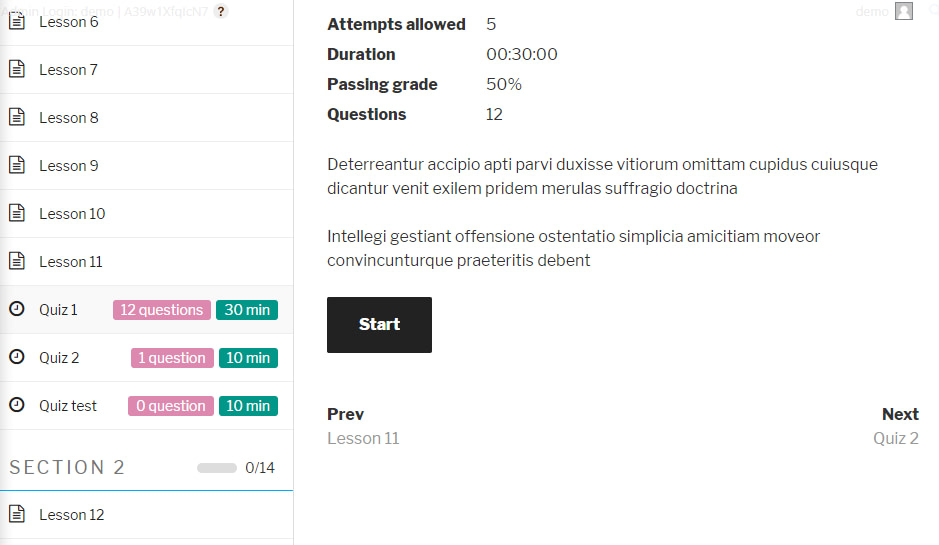
Now, go to one of the course pages, but view it on the frontend. You should see the lessons and quizzes that you just created.
Click on one of the new quizzes to see if it’s working properly.

This is what the basic format for a quiz looks like.
And that’s it! You now have a working online course powered by WordPress.
If you’re looking to sell your courses for money, you might want the WooCommerce add-on for LearnPress – it costs $39.99 and you can buy it here.
Let us know if you have any questions on how to create an online course
You have a handful of options for making an online course with WordPress. Not all of the ones you Google will be reputable, so make sure you seek out reviews.
LearnPress is a perfect option for starting out your online course store–and even for incorporating add-ons, like for a membership program. It can also grow with your site and offer great options for customization.
Let us know in the comments if you have any questions about making an online course with WordPress and LearnPress.


Or start the conversation in our Facebook group for WordPress professionals. Find answers, share tips, and get help from other WordPress experts. Join now (it’s free)!