
A favicon is the tiny image you’ll see at the left-hand side of any browser tab. By default, your site will only include a generic picture, so it’s up to you to add something custom. Doing this will help your site appear more trustworthy, assist with your branding, and make your pages easier to identify.
In this post, we’ll start with a quick explanation for why you should take the time to use a WordPress favicon. Then we’ll show you how to create one, and offer some advice for doing so effectively. Let’s get to work!
Why you need to create a WordPress favicon
If you check out a series of tabs in any browser, you’ll see that each one includes both the name of the page in question, and a small image:

This image – the favicon – identifies the site in question. You’ve probably never given them much thought, given their ubiquity. However, when you create your own website, it won’t have its own custom favicon. Instead, your pages’ tabs will feature a nondescript default image:

These icons are bland, not very memorable, and can make your site come off as unprofessional. Therefore, creating a custom WordPress favicon is one of the first things you’ll want to do for your site.
Using a carefully-chosen favicon also makes your pages easier for users to identify. Plus, it plays a role in ensuring your site is memorable, as well as strengthening your branding.
It’s also not that difficult to add a favicon to WordPress, making this one of the best “low hanging fruit” actions you can take for your site.
How to add a favicon to your WordPress website (in 3 steps)
Throughout the next few sections, we’re going to discuss how you can create a WordPress favicon and add it to your website. Let’s get started!
Step 1: Plan out your favicon’s design
Before actually creating and uploading your favicon, it pays to do a bit of planning. This tiny image will be representing you and your website, so you don’t want to slap something together in a hurry.
The first thing you’ll need to do is decide whether to use existing imagery or create something new. For example, if you already have a logo accurately representing your website or business, you may want to use it as your favicon.
However, keep in mind that favicons are very small, and therefore can’t contain much detail. If your existing logo is complex, it will likely need to be simplified in order to look good in a browser tab.
On the other hand, you can also create an entirely new image. It’s still best to use elements of your site’s or business’ branding here. This means choosing to incorporate colors, fonts, and/or icons that are already a part of your larger website’s design.
It can help at this stage to sketch out some possibilities for your favicon, either on paper or in a simple image editing program. Remember – your design needs to be very simple, not include unnecessary elements, and visually represent your brand at a glance.
Step 2: Create your favicon
Once you’ve settled on a design concept, it’s time to actually create the favicon image. If you’re using an existing logo, and you’re lucky enough to have a clear, simplified version on hand, this step is simple.
Otherwise, you’ll need to design your favicon. There are a few ways you can approach this task:
- Hire a designer to create it for you. This may seem like overkill for such a small and basic image, but spending a little money can result in a higher-quality, professional result. Plus, the designer may be able to offer advice about how to optimize and size your image for various delivery methods.
- Design your favicon from scratch, using a program such as Photoshop. If you have solid design skills – or time to spare – creating your favicon by hand offers you complete control.
- Use a favicon creator to streamline the process. If you don’t want to hire a pro, but aren’t comfortable doing it all yourself, there are plenty of tools that can help bridge the gap. Many are free, and let you either design your favicon using a blank template, or upload and edit a pre-existing image.
With the last point in mind, Faviconer is a simple in-browser tool that can get the job done:
You’ll even see your design in the browser tab for the website, letting you know what it will look like in context.
Other benefits of these favicon creation tools are the help you’ll get in keeping your image simple, and the various sizing options you’ll have access to. Browsers and devices vary, but most require favicons to be 16 x 16 or 32 x 32 pixels. This means you can create a larger image (512 x 512 pixels is standard for WordPress), and scale it down as necessary.
Step 3: Add your WordPress favicon to your site and optimize it
Once you have a favicon ready to go, there are a few ways you can add it to your site.
Use the WordPress Customizer – Fine for most uses
The simplest is to navigate to Appearance > Customize in your dashboard, and select the Site Identity tab:
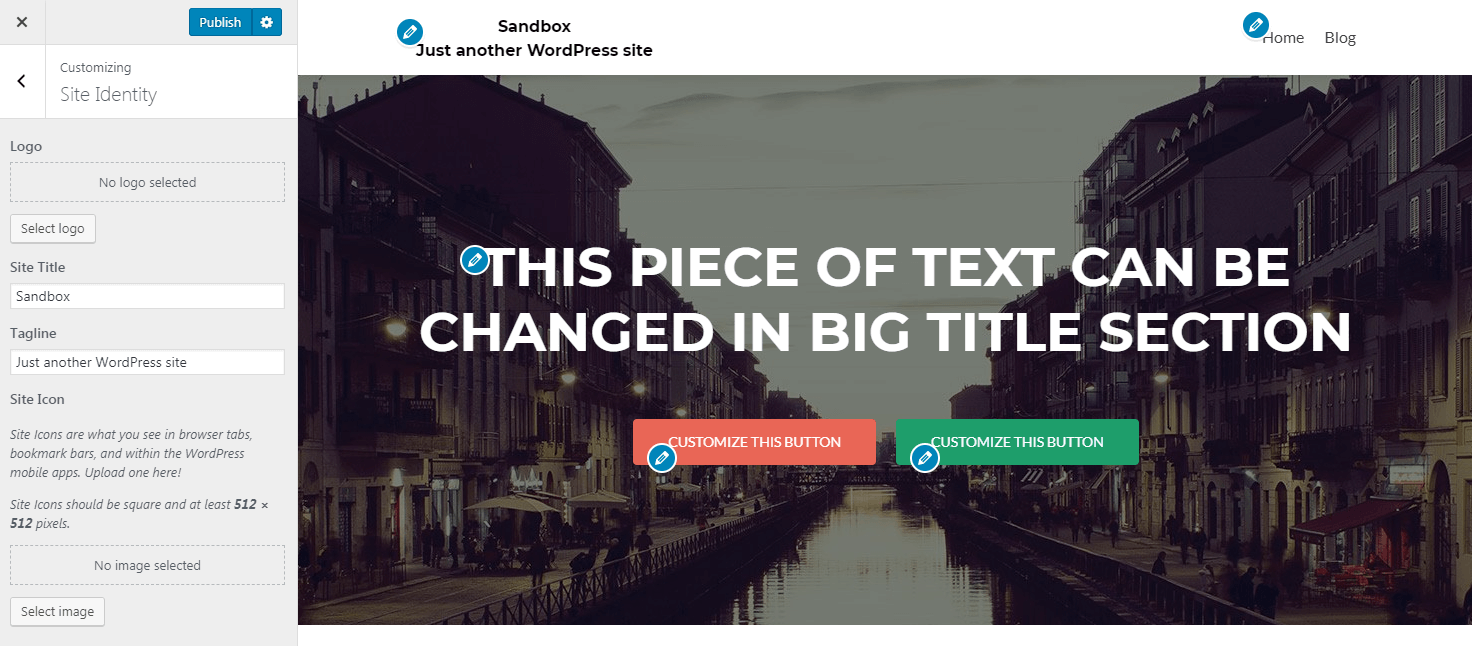
Along with some basic options, you’ll find a section here called Site Icon. Here, you can upload a 512 x 512 pixel version of your image, to be used as both a favicon and mobile app icon.
Use a free plugin – Ensures compatibility with all devices
While the above process works perfectly fine, it’s worth keeping in mind that your WordPress favicon will be displayed across a wide range of devices. This includes a huge variety of screen sizes and resolutions.
If you want to improve the chances of your favicon being displayed in an optimal way no matter how it’s viewed, it may be worth installing a plugin such as Favicon by RealFaviconGenerator:
This plugin helps you quickly generate many versions of your favicon, optimized for various browsers, devices, and so on. If you navigate to the new Appearance > Favicon section of your WordPress dashboard after installing the plugin, you’ll be able to upload a master image:

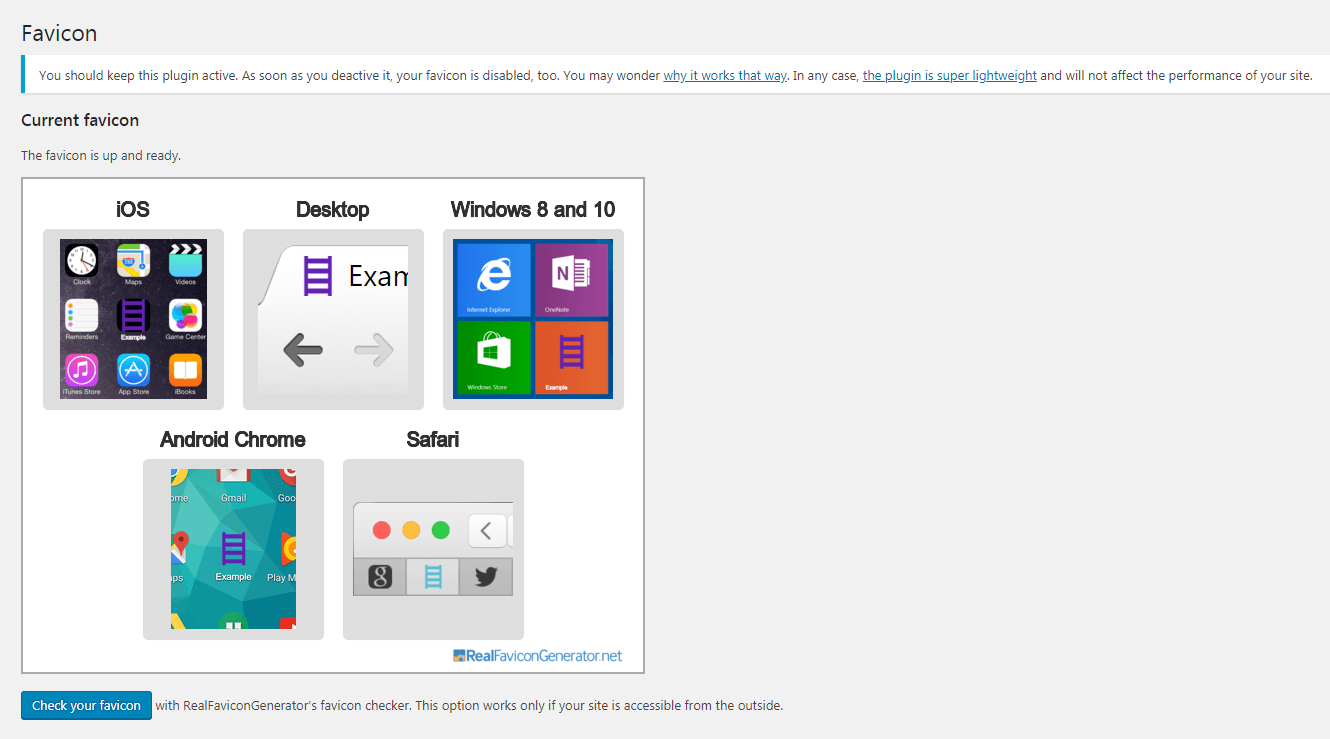
Then you’ll be taken to a page where you can customize your favicon for different uses:

You’ll find plenty of suggestions here for ways to tweak each version of your WordPress favicon. You can even upload entirely new images to use on certain devices if your master image isn’t suitable. Plus, you’ll see previews of what your favicon will look like in various contexts.
After, you can select the button at the bottom of the page to generate your favicons and return to your dashboard:
Overall, if you want to ensure your favicon represents your brand well no matter the end device, it pays to take a few extra steps to ensure it’s fully optimized.
Conclusion
It can be easy to focus so much on the big aspects of designing your website, such as choosing a theme and building pages, that you forget about the smaller details. Including a simple, yet effective WordPress favicon is key if you don’t want your pages to look generic in browser tabs and on mobile devices.
As you’ve seen, the process of putting together a WordPress favicon only takes three steps:
- Plan out your favicon’s design.
- Create your favicon, from scratch or using a creation tool such as Faviconer.
- Add your WordPress favicon to your site and optimize it, using the WordPress Customizer or a plugin like Favicon by RealFaviconGenerator.
Do you have any questions about how to design or optimize your WordPress favicon? Ask away in the comments section below!


Or start the conversation in our Facebook group for WordPress professionals. Find answers, share tips, and get help from other WordPress experts. Join now (it’s free)!