
You have a grand idea, but you’re not sure how to move forward with your new blog, online business, or product. Should you start paying for hosting even though the business concept isn’t there yet and no one is going to come to your website? Or should you go through the process of installing WordPress locally with a development environment like XAMPP just to test out a new plugin or theme? If you’d rather not spend cash for a testing site, and you’re not keen on running a local WordPress install, you still have the option to create a WordPress test site with full functionality.
How is this done? By using a free, online sandbox service! That’s right, there are several ways to launch a quick WordPress website for testing purposes, all for free.
The best options for creating a free WordPress test site are:
- 000webhost: a web host with a free plan; powered by Hostinger (pick the free plan to be redirected to 000webhost)
- WPSandbox: a free testing, staging, and sandbox service with WordPress Admin access
- WP Test: a bonus tool for adding WordPress demo data to your test site (so you’d still utilize 000webhost or WPSandbox); it’s ideal for running tests on plugins, themes, and other integrations in a more realistic environment
The first two let you create a free WordPress test site, and the third is best to complement one of those sites. Here’s a deeper overview of when to use them and what you get:
Overall, 000webhost, WPSandbox, and WP Test offer the easiest ways for all types of users to create WordPress test sites. And in this post, we’ll show you exactly how they work!
When should you use tools like 000webhost, WPSandbox, and WP Test?
Because WordPress is so popular, you have a bunch of options to create a WordPress test site. In fact, we’ve written about how to create local WordPress development sites with tools like: WAMP, XAMPP, DesktopServer, Docker, Flywheel Local.
And those are all great options if you want a more permanent development site and to always work from the same computer.
However, all those methods have their limitations as well. And that’s when we start recommending options like 000webhost and WPSandbox.
Traditional WordPress sandboxing methods (like WAMP and XAMPP):
- Require some technical knowledge, making them impractical for a casual user who just wants to test a few things.
- Take a couple minutes to create a new site, which can be frustrating if you need to create WordPress test sites often.
- Are tied to a single computer, which means that if you travel a lot, you might not be able to access them.
Solutions like 000webhost and WPSandbox, on the other hand, are cloud-based (you just need a browser), dead simple, and only take a couple seconds to spin up a new install. That makes them great for a rapid, temporary (sometimes permanent, if you pay for it) WordPress testing environment.
To get started with a free WordPress test site, follow the in-depth guides below!
Method 1: make a testing site with 000webhost
Since 000webhost is powered by Hostinger, you can go directly to the Hostinger website to create an account; simply choose the Free Website Hosting option to open the 000webhost solution. If you select a paid plan it keeps you on the Hostinger website.
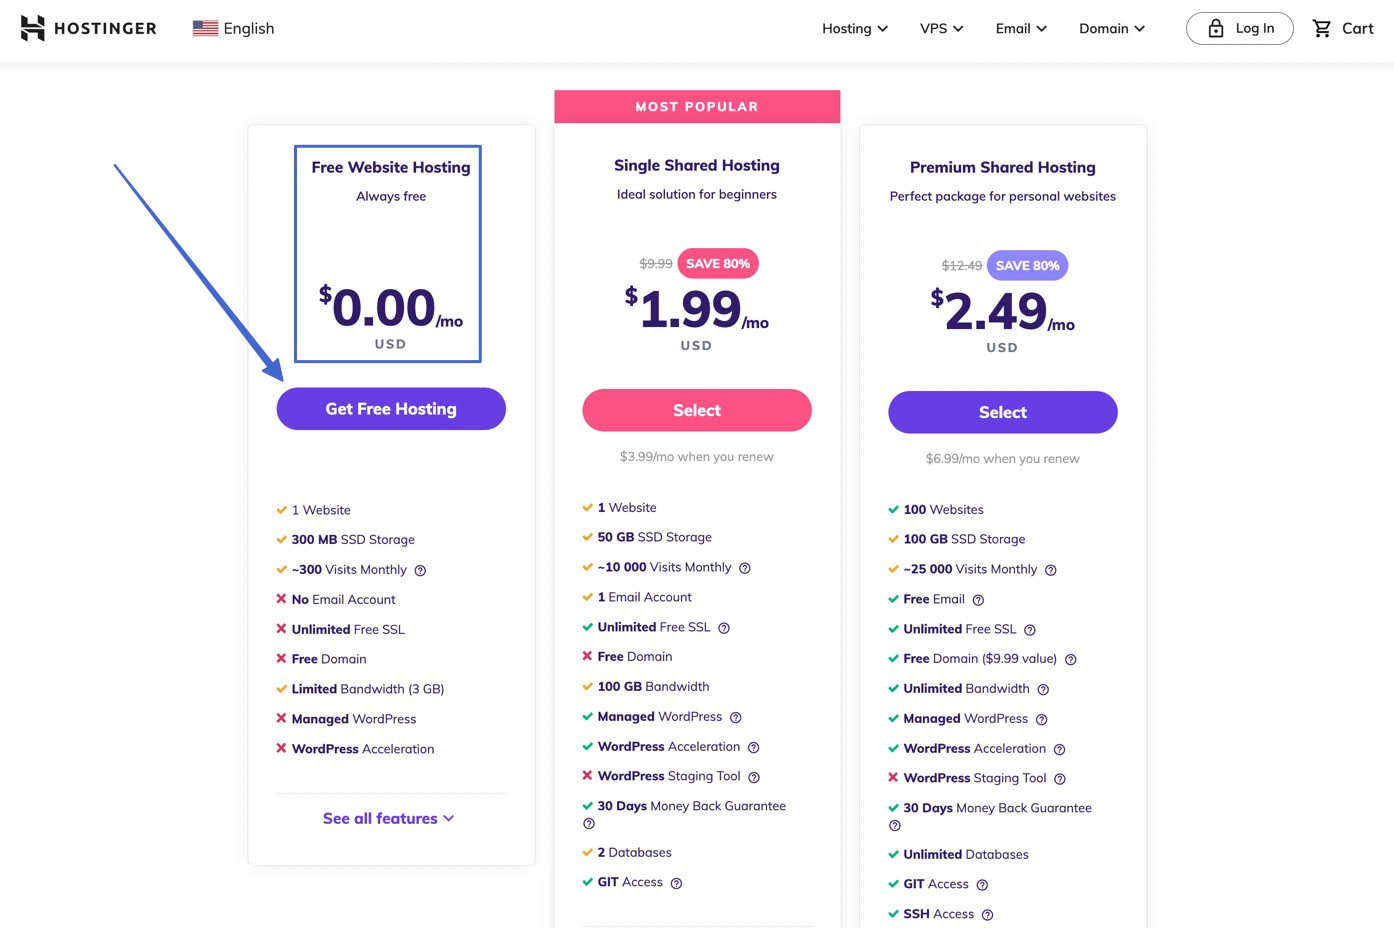
Note: The Free Website Hosting plan is an excellent choice for WordPress testing, but it is limited to 300 MB SSD storage, 300 visits per month, and 3 GB bandwidth. Although the plan limits you to 1 website, you can always make extra accounts for more.
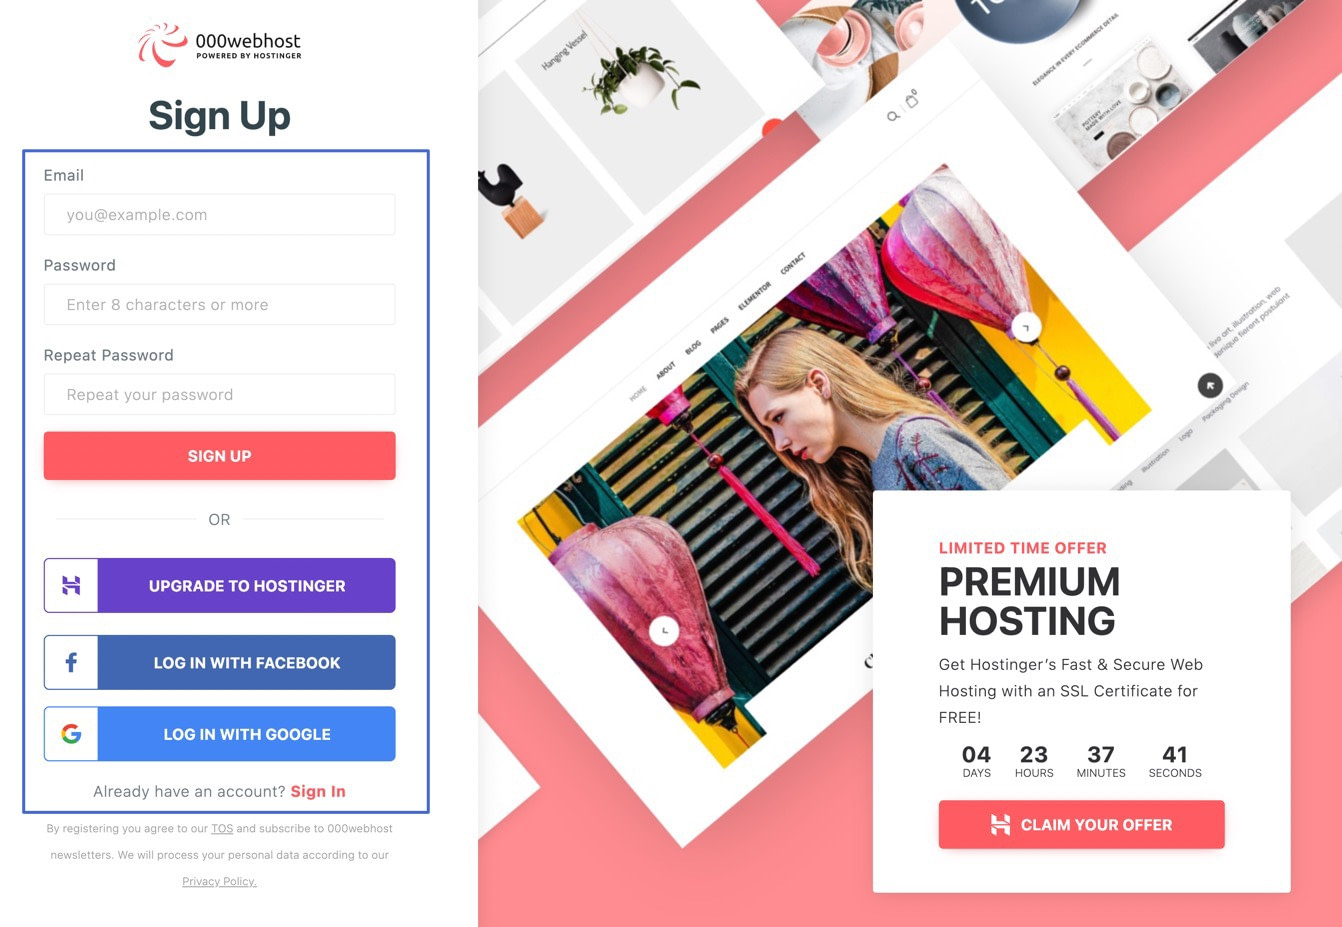
Hostinger sends you to the 000webhost Sign Up page. Type in the desired login credentials (email and password) for your free hosting account. Click the Sign Up button to proceed. They also let you sign up with some social options.
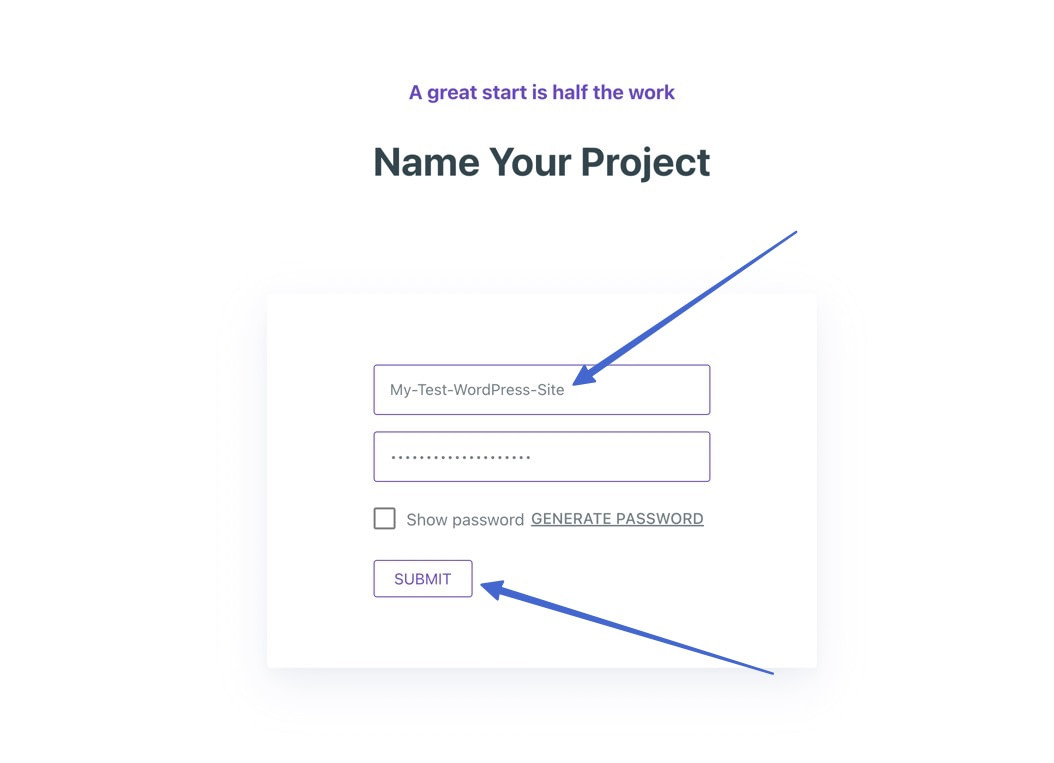
You can skip directly to the dashboard, which then prompts you to start a new project. Begin by naming your project. A project inside 000webhost functions as the initial name and subdomain of your website, so it’s best to choose the name wisely.
Keep in mind that you must use hyphens instead of spaces in your project title to proceed. You also must generate a password for the new project. Click Submit.
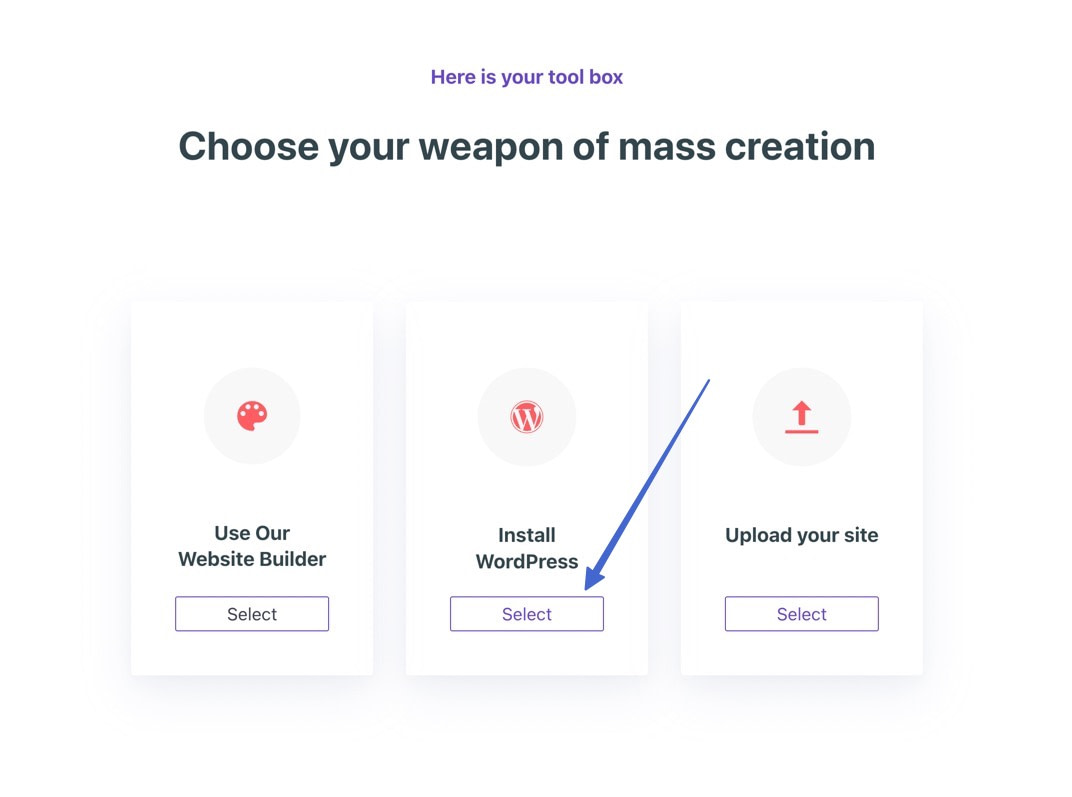
You’re asked to either use the website builder, install WordPress, or upload your site. Click Select under Install WordPress.
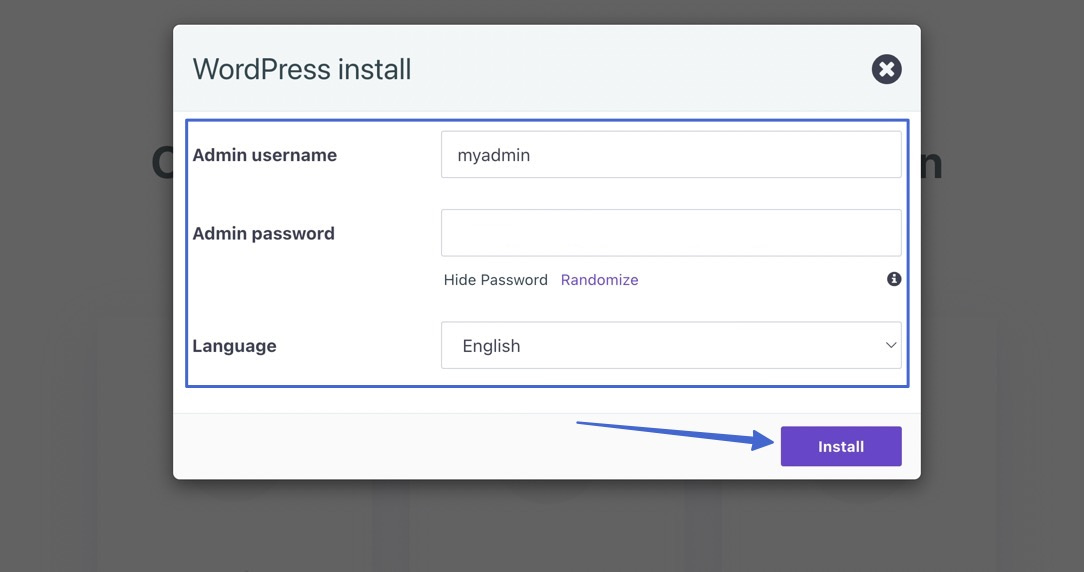
It’s also necessary to create an admin username and password to log into your WordPress backend. Make sure you save these credentials somewhere, as they are different than the 000webhost credentials. Click Install.
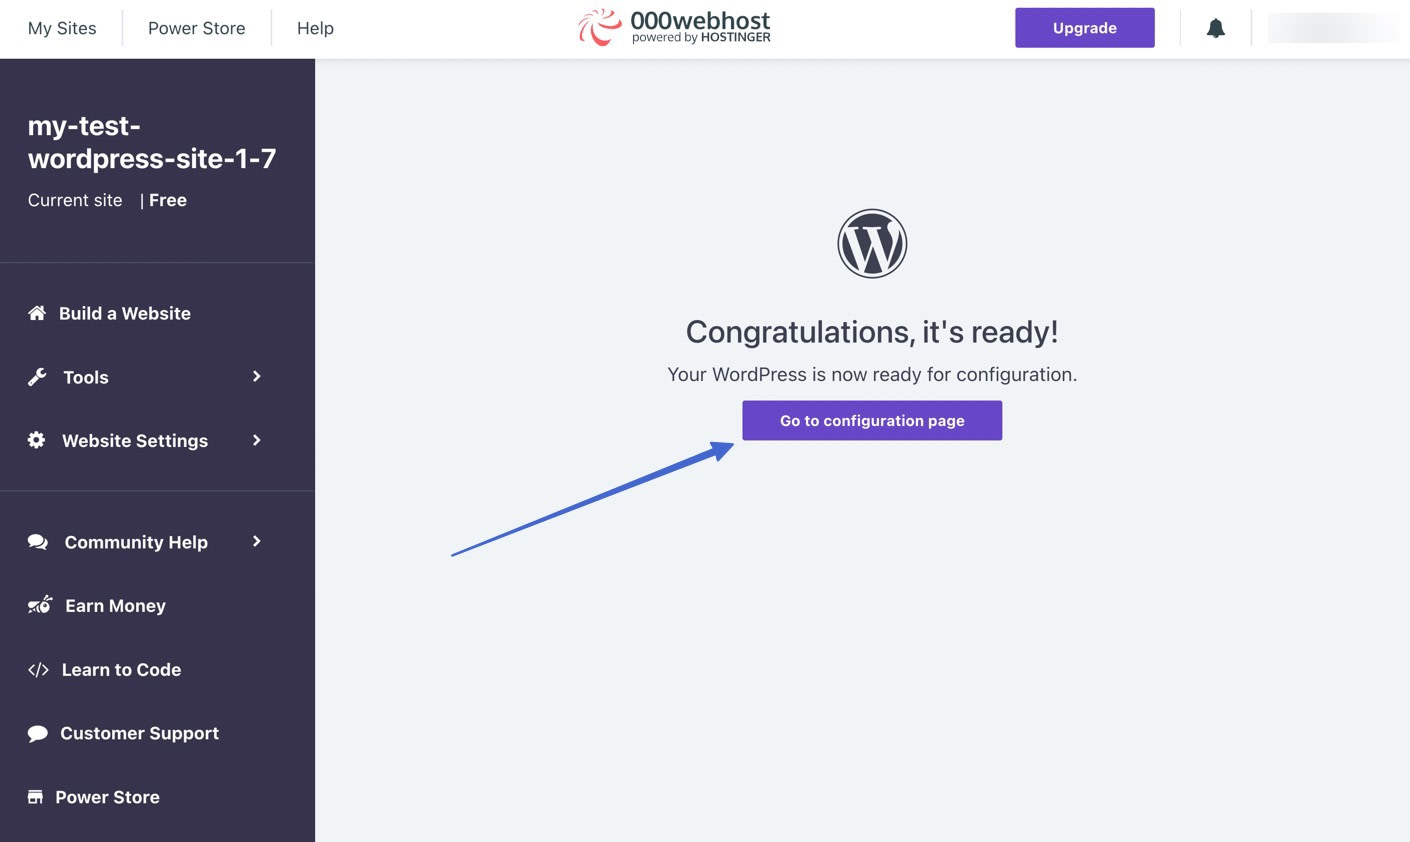
Within a few minutes, you’ll see a message that WordPress is installed. Click the Go to configuration page button to proceed.
Log into the admin area of your WordPress test site using those credentials you just made. Click Log In.

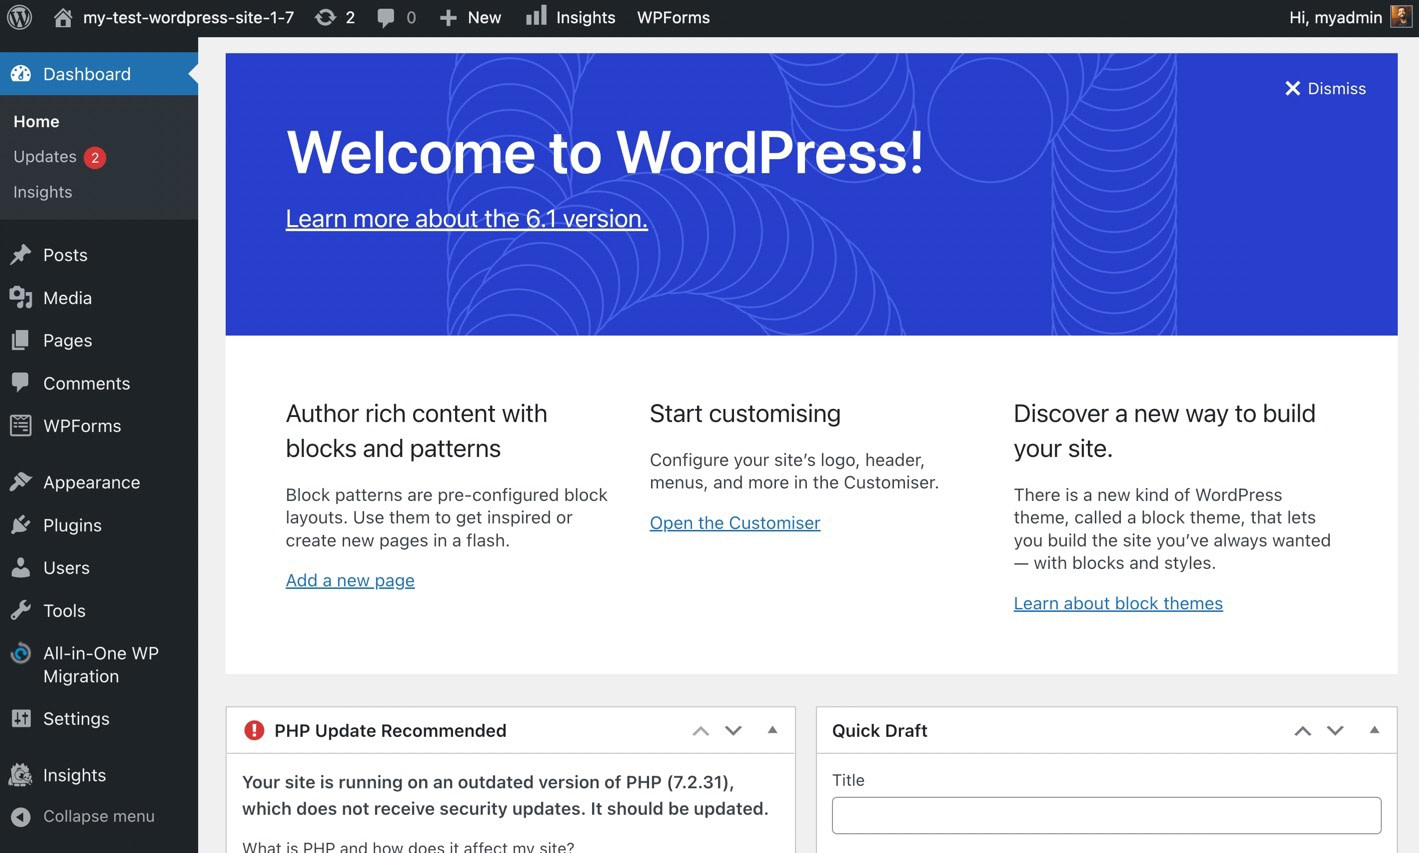
That’s it! You should now see a free WordPress dashboard that’s ready for you to install plugins, work with themes, upload media, and create pages.
And, of course, you can always click the Visit Site button to view the frontend of your WordPress site.
Finally, all hosting management is done back in the 000webhost dashboard. Go back there and click on My Sites to find your free WordPress test site listed. Select the Manage Website button to access everything from disk space statistics to file and database management.

Method 2: create a testing site with WPSandbox
The next way to make a WordPress test site involves skipping the entire hosting process. Instead, you generate a free, temporary test site with WPSandbox.
This allows for a faster configuration process (no need to create/remember host login credentials), and it creates a website that you don’t have to care for at all; mess around with it all you want for 8 hours, then forget about it. WPSandbox deletes the website after those 8 hours. You can come back to WPSandbox to create a new test site whenever you need it.
It’s like an on-demand test site creator, without the need to get your own hosting.
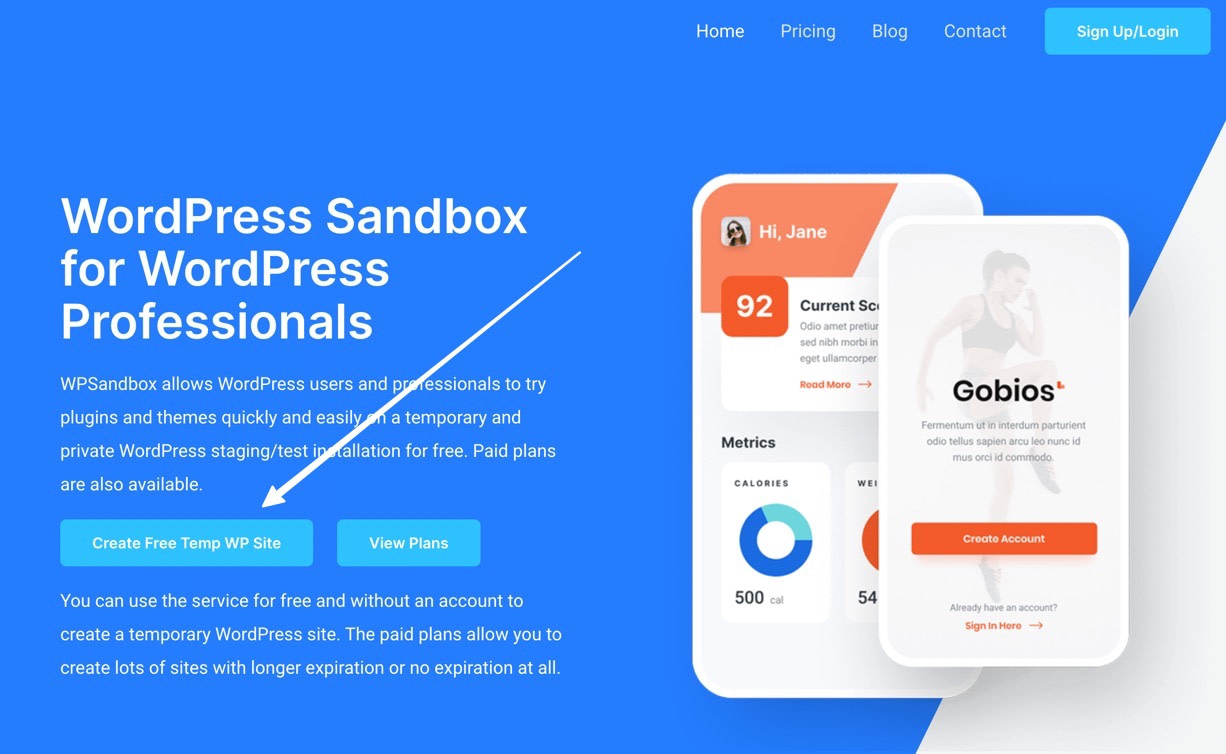
To begin, go to WPSandbox.net. You have options to sign up for a premium plan (to manage multiple test sites that don’t get deleted), but right now, we want to make a free test site.
Click the button to Create Free Temp WP Site.
The first page offers settings (WordPress versions, multisite, etc.) you might want to configure depending on your situation. For most users, the default settings are acceptable. Click Next.

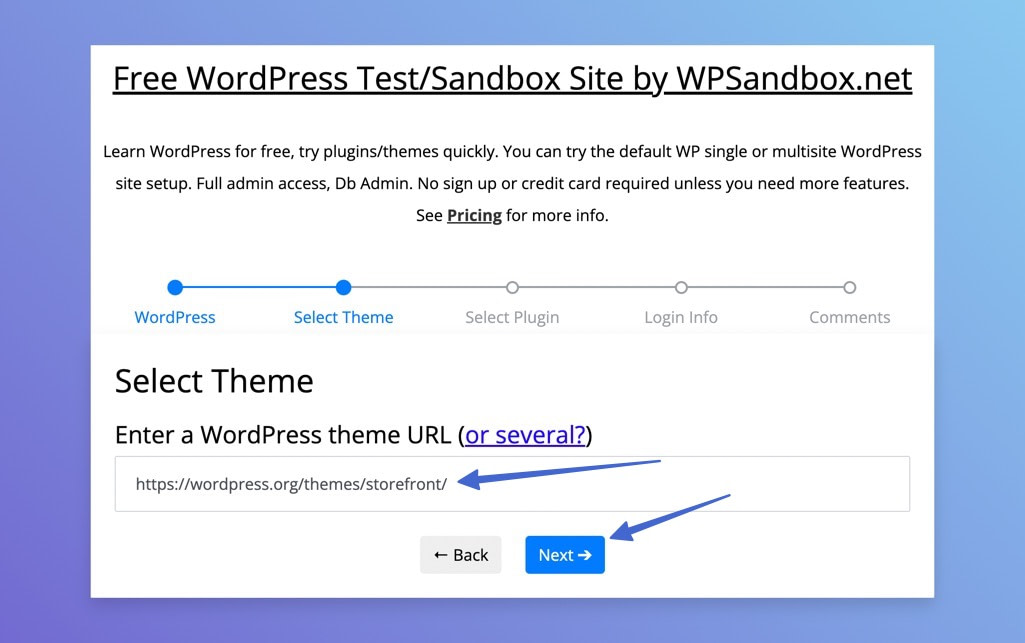
The Select Theme page asks if you’d like WPSandbox to automatically install a certain theme on the WordPress site. Leave this blank if you’d rather do it yourself. Otherwise, find the URL of the desired theme (from the WordPress.org library) and paste it into the field. Click Next.
You can also have WPSandbox automatically install plugins. Again, paste in plugin URLs from WordPress.org, and consider putting multiple URLs in there if needed. You can also leave the field blank. Click Next to continue.

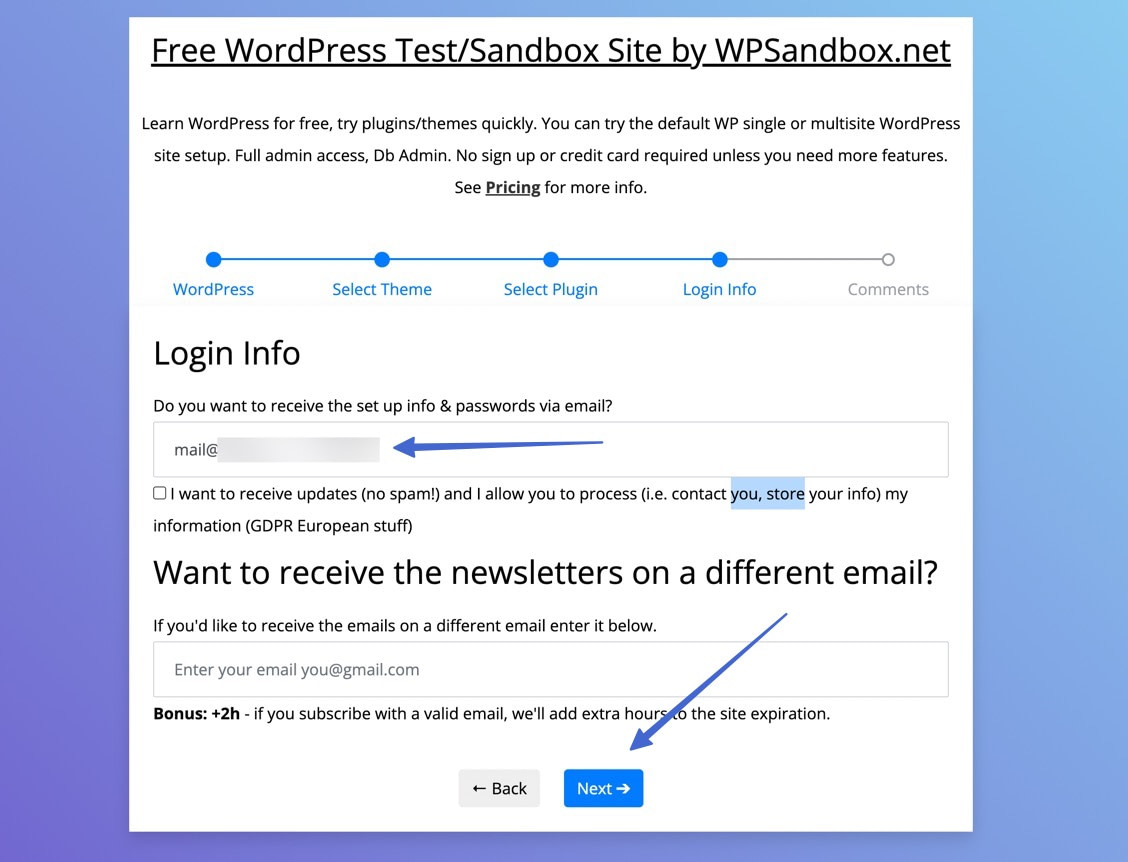
Although not required, WPSandbox will send an email with all WordPress setup information and passwords. This is helpful for logging into the test site if you need to come back to it.
Click Next to proceed.
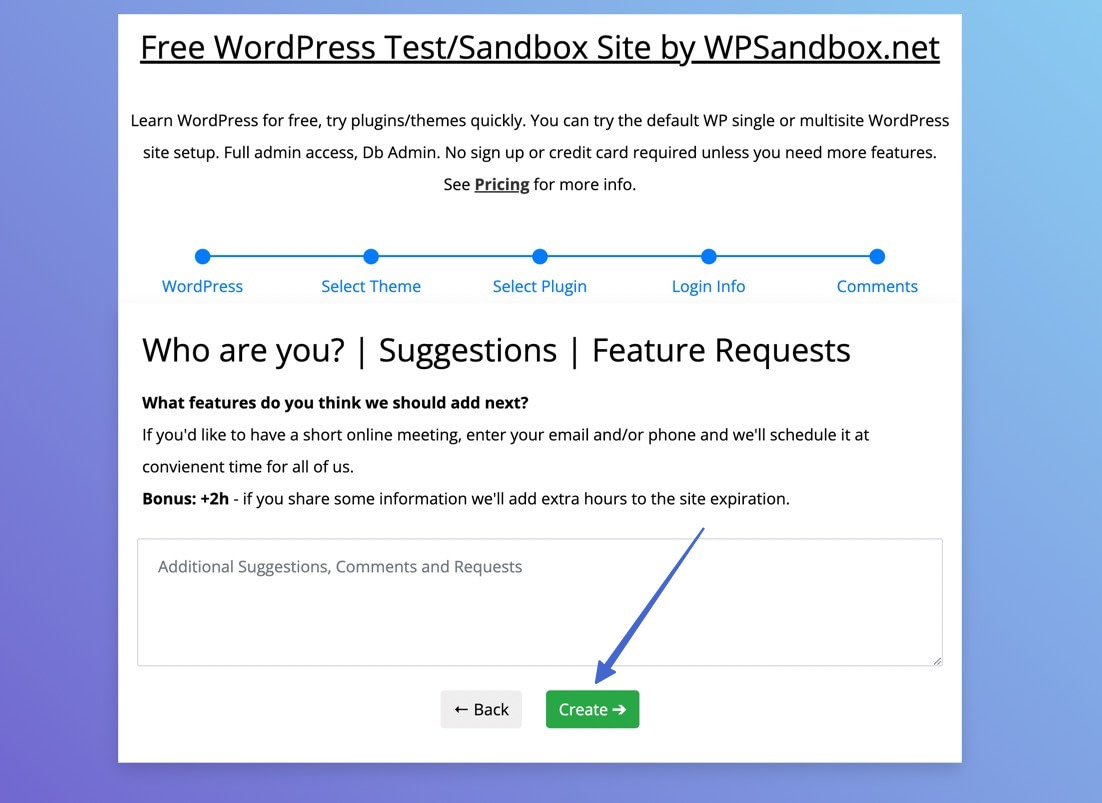
Finally, you’re able to leave suggestions or comments about WPSandbox. Feel free to use that field, or leave it blank. Click on Create to generate your free WordPress test site.
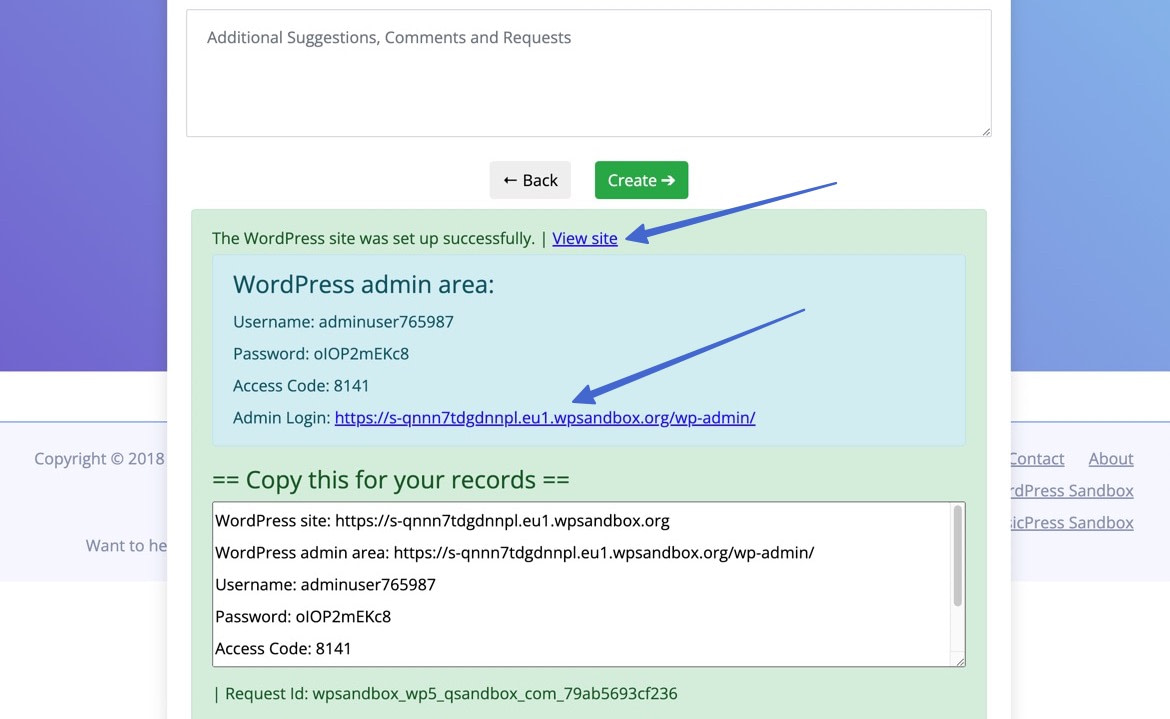
Within seconds, you’ll receive credentials to log into your WordPress Admin area.
Those credentials include:
- A username
- Password
- Access code
- Admin login
Even though it’s a temporary site, it’s wise to write down or save the username and password, just in case you close out of the site and must return.
There’s a link to View Site if you’d like to see the frontend. Otherwise, click on the Admin Login link to access the WordPress backend.
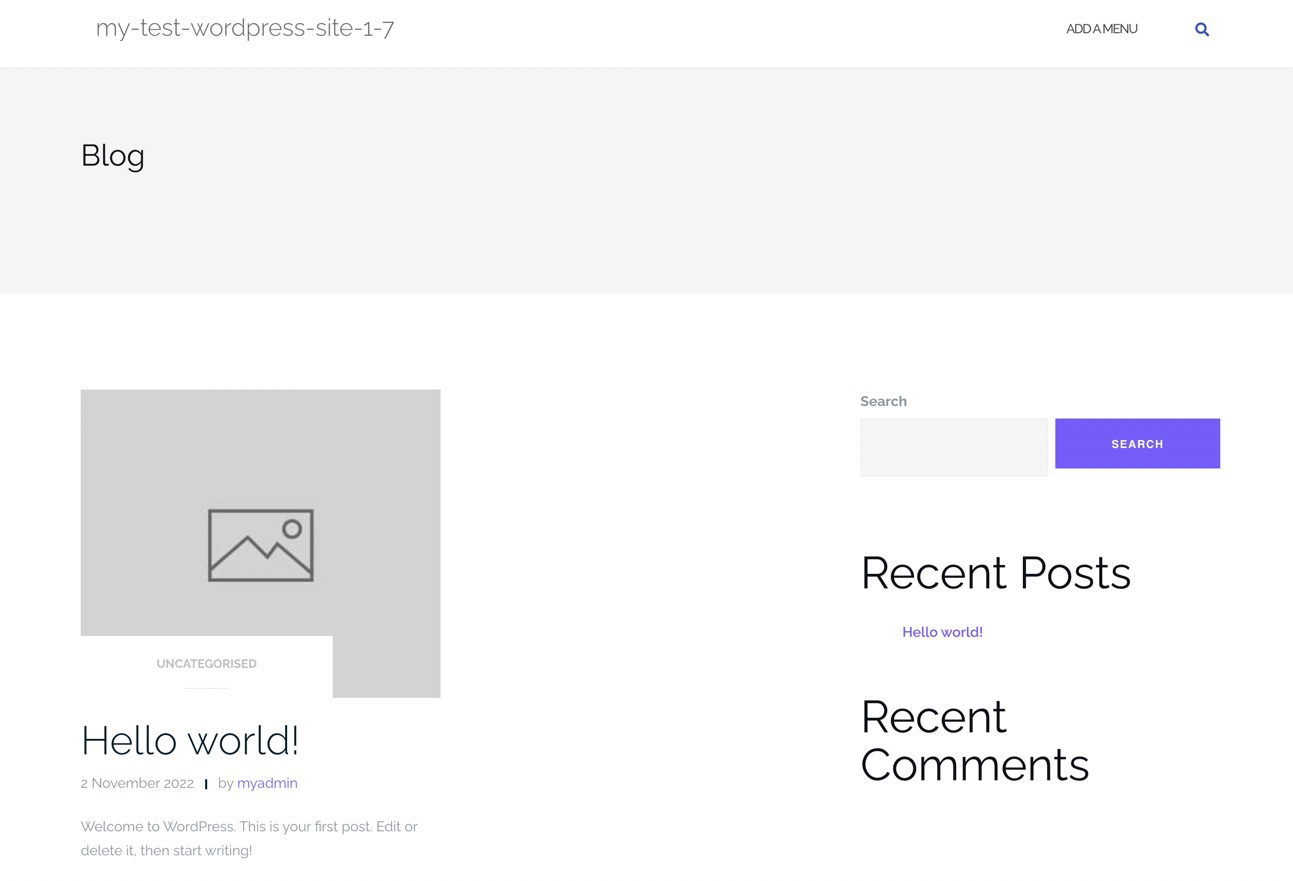
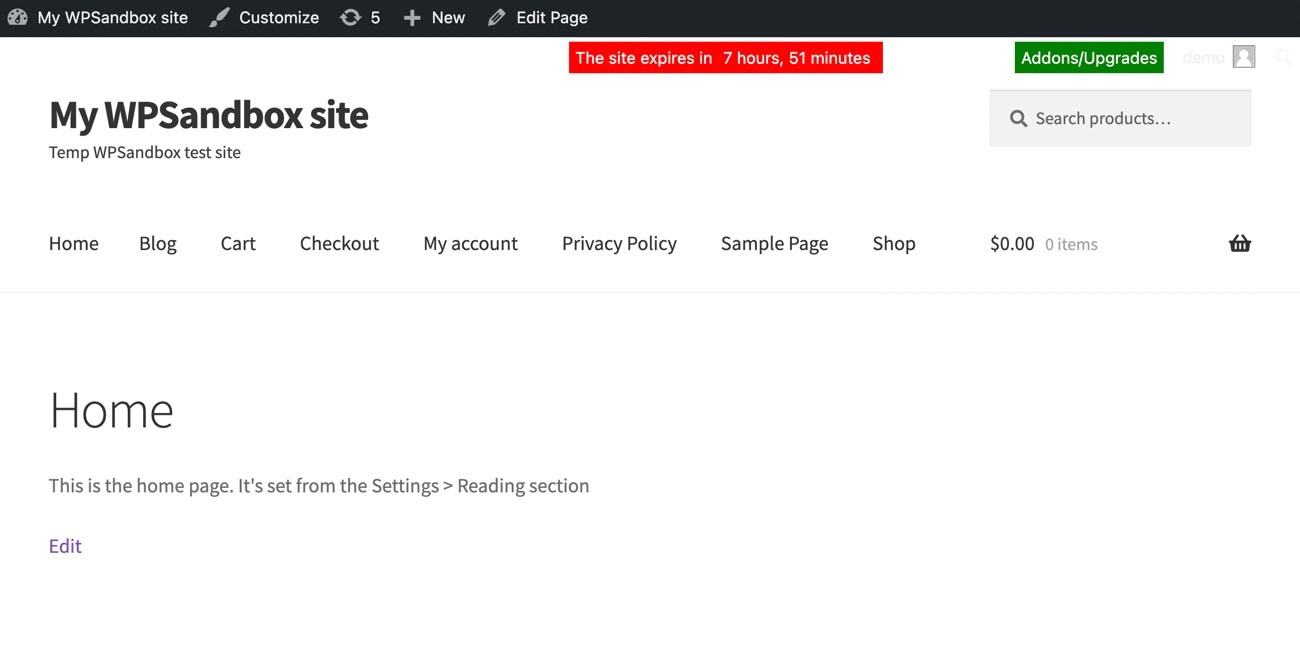
As a result, WPSandbox delivers a full WordPress dashboard, hosted on a WordPress testing server that you don’t have to worry about. Once launched, you can add posts, test plugins, or do whatever it is you need from the text site.
Note: WPSandbox shows a red countdown timer so you know when the temporary site will get deleted.

And, of course, all users can click on the View Site button in WordPress to navigate to the frontend of their site.
Bonus: use WPTest to add demo data to your WordPress test site
One downside of a fresh WordPress testing environment is that it’s almost too clean; a website with no content and data is far from a real-world situation.
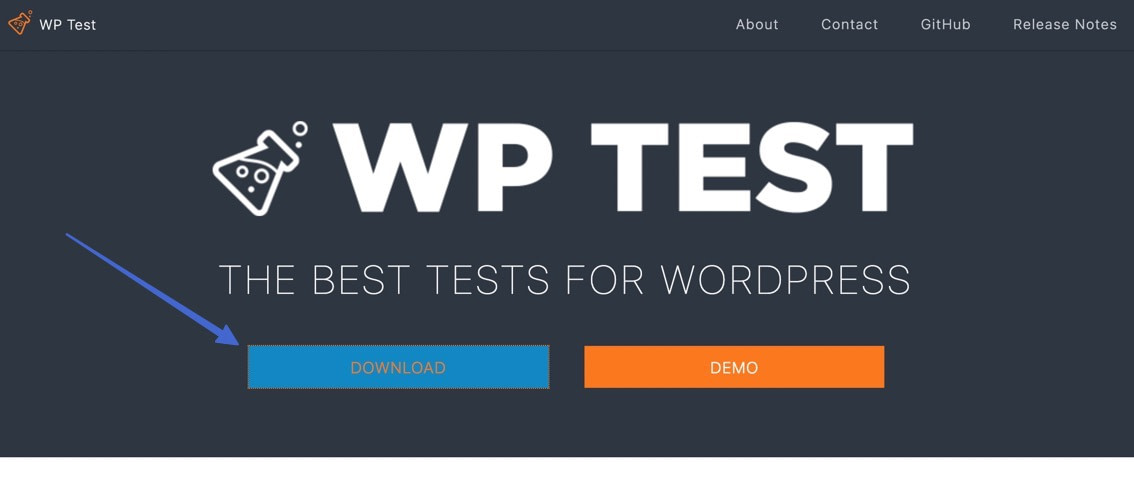
As a solution, WPTest.io provides a testing environment with demo data for measuring the integrity of WordPress plugins and themes.
It all works in tandem with one of the previously mentioned testing methods (000webhost or WPSandbox). Simply create a test site with one of those, then upload demo data from WPTest.io to that website.
The setup process is fairly intuitive. Start by downloading the WordPress test site files from WPTest.io.
Follow these steps to install those files onto a WordPress host:
- Unzip the downloaded file to your computer
- Open your test WordPress site (from the WordPress testing server you created with 000webhost or WPSandbox)
- In the dashboard, go to Tools > Import
- Choose the WordPress option
- Install the WordPress Importer plugin if not already installed
- Click the Activate Plugin & Run Importer button after the installation is done
- Find and add the wptest.xml file from the unzipped file from before
- Add that to the upload; click Upload File and Import
- You’ll see a new screen; the only setting you should change is to check the box to Download and import file attachments
- That’s it!
Once the import is finished, you’ll see a success message. You can then click around on your WordPress backend and frontend to see the newly installed data and content.
Moving a WordPress test site to your web hosting
You might be asking yourself whether or not you can turn a WordPress test site into a real, hosted one. Absolutely!
A site migration works just as it would if you were to move from an old host to a new one. You can even use the Duplicator plugin with a test site that you create using WPSandbox.
For 000webhost users, you’re always able to migrate from that host to another. As an alternative, you might consider upgrading to a premium Hostinger plan for more features.
Are you ready to make quick and free WordPress test sites?
If the more complicated WordPress local development solutions overwhelm you, or if you’re just looking for a quick way to test out a new WordPress plugin or theme, these are the simplest methods you’ll find.
Beyond clicking a couple buttons, there’s little to no setup. And your site is full-featured so there’s no limitation on your testing. To get started, just head on over to 000webhost (by Hostinger) or WPSandbox.
Have any other questions about how to use 000webhost or WPSandbox to create a WordPress test install? Let us know in the comments!


I like the idea of this being in the cloud, rather than on a local install. But rather than just “testing”, would this be a good way to also develop a WP site and then transfer it to an actual hosting account once complete? Or are their better options for that?
Thanks
That’s not the best way to develop a WordPress site. I would recommend using Local by FlyWheel if you want to develop. Poopy.life is best for testing, not developing. 🙂
Or start the conversation in our Facebook group for WordPress professionals. Find answers, share tips, and get help from other WordPress experts. Join now (it’s free)!