
The WordPress Editor is great for a lot of things, but building landing pages is not one of those things. So if you want to build a gorgeous, highly-converting landing page on WordPress, you’ll need another tool. That’s why I’m about to show you how to build a product launch page with Divi Builder in this post.
Here’s a step-by-step guide for going from blank canvas to finished landing page, complete with 25+ screenshots. All you’ll need is the Divi Builder plugin (or Divi theme), as well as your choice of WordPress theme.
Ready to build a product launch page with Divi Builder? Let’s go!
Here’s what you’ll be building in this guide
Before we get started building our example landing page, let me show you where you’re going to end up by the time you finish this guide:
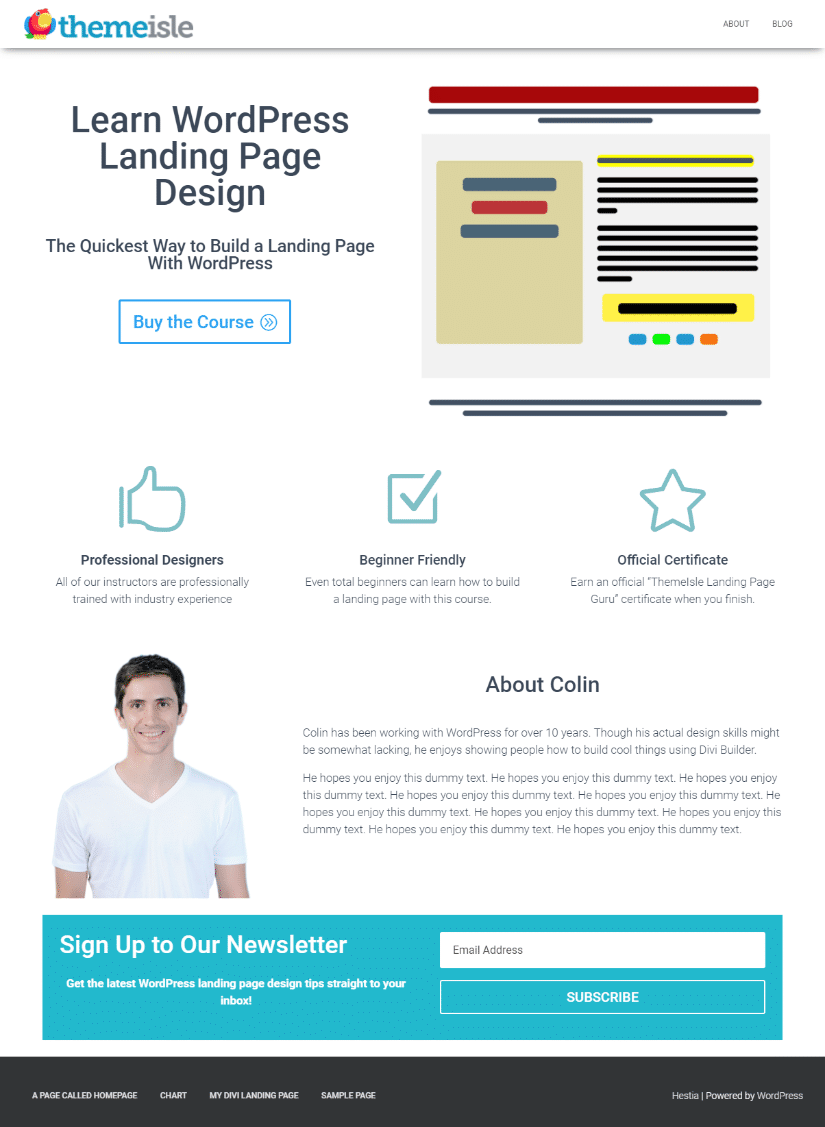
You can always get more creative with different colors, styling, or more elements. But that’s just a quick-and-dirty look at how you can build a product launch page with Divi Builder in under an hour.
Why should you build a product launch page with Divi Builder?
We’ve already covered how you can build landing pages with Elementor, as well as with SiteOrigin page builder.
So why are we throwing Divi Builder into the mix? Because, like those two other solutions, it’s a massively popular visual drag and drop page builder. That means you can build complicated landing pages and launch pages without ever needing to look at code.
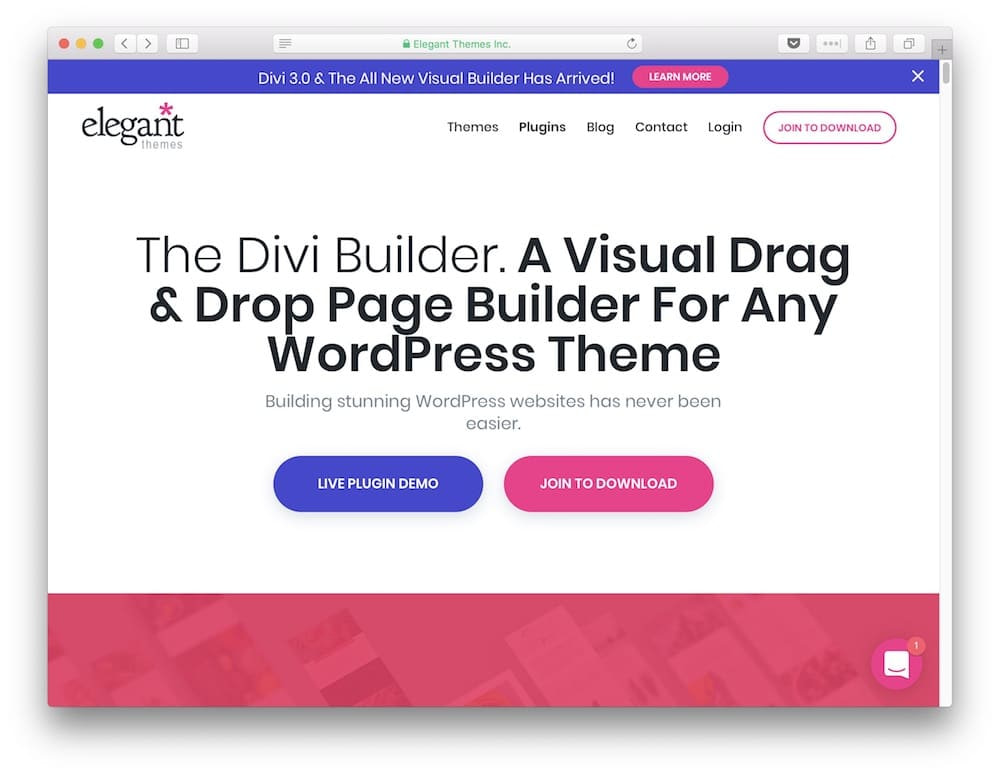
Beyond that, Divi Builder is developed by a company called Elegant Themes, which has built a massive community of helpful Divi users. That means you can find tons of neat extensions and third-party help if you ever hit a wall.
It also has these other advantages:
- Because it’s a plugin (plus there’s a theme version as well), it works with all WordPress themes, including all the Themeisle WordPress themes.
- It includes a variety of “modules” that let you add helpful content blocks like feature lists, forms, and more
- All the designs that Divi Builder creates are responsive. That is, they look good on mobile phones and tablets.
Basically, as long as you know the basic design concepts behind a landing page, you have the power to build a product launch page with Divi Builder.
Ok, let’s dive in and build something!
Step 0: Install Divi Builder and choose a theme
Divi Builder is exclusively a premium plugin, so, if you haven’t already, you’ll need to purchase the plugin at Elegant Themes to continue with this guide. To do that, you have to purchase the entire Elegant Themes membership for $89.00. For that reason, you can also use the Divi theme and still follow along with this guide if you’d prefer.
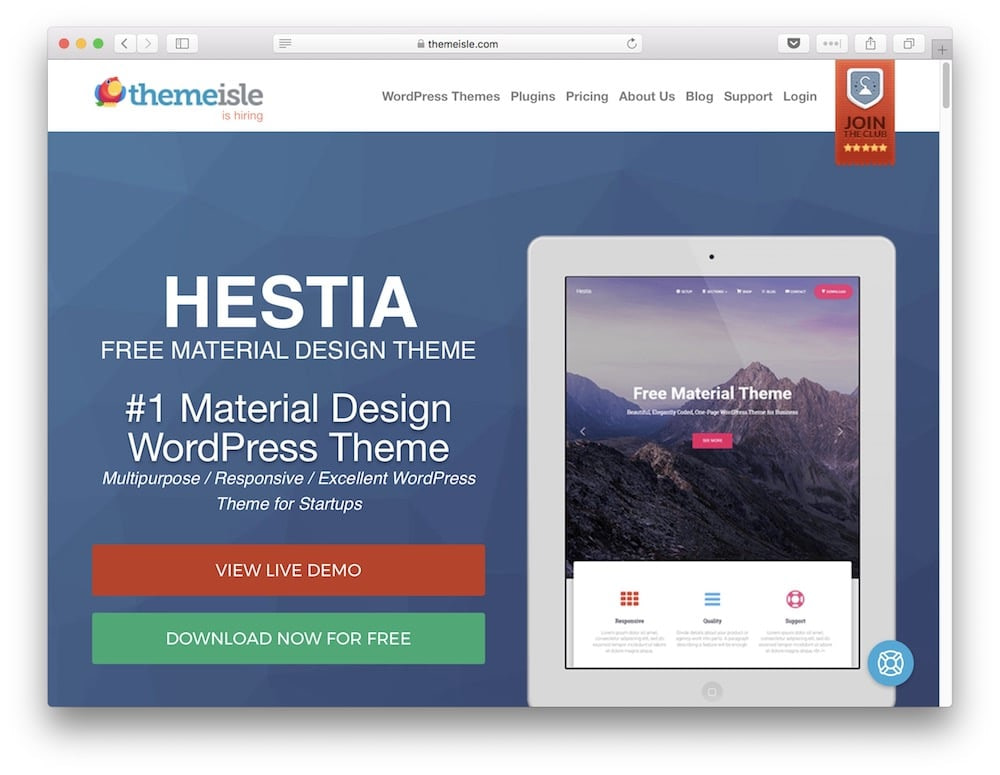
I won’t be doing that for this guide, though. Instead, I’m going to use the free version of our Hestia Theme.
Again, you can use whichever theme you prefer. I’m just opting to use Hestia because I know it includes page templates that make it easy to build a landing page with Divi Builder.
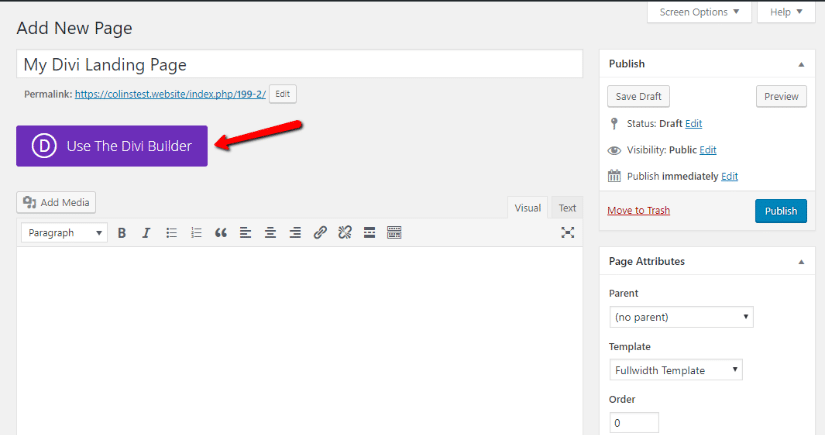
Step 1: Create a new page with full-width template and launch Divi Builder
Page templates are what determine the basic layout of your page. Essentially, they define the “canvas” that Divi Builder is allowed to work in.
Because you want to give Divi Builder free reign to style the page without your theme’s sidebar potentially getting in the way, it’s important to choose a full-width template.
If your theme doesn’t offer a full-width template, you might want to consider choosing a theme that’s a bit more modern!
The full-width template still uses your normal WordPress header area, so don’t worry about losing out on a cohesive navigation structure.
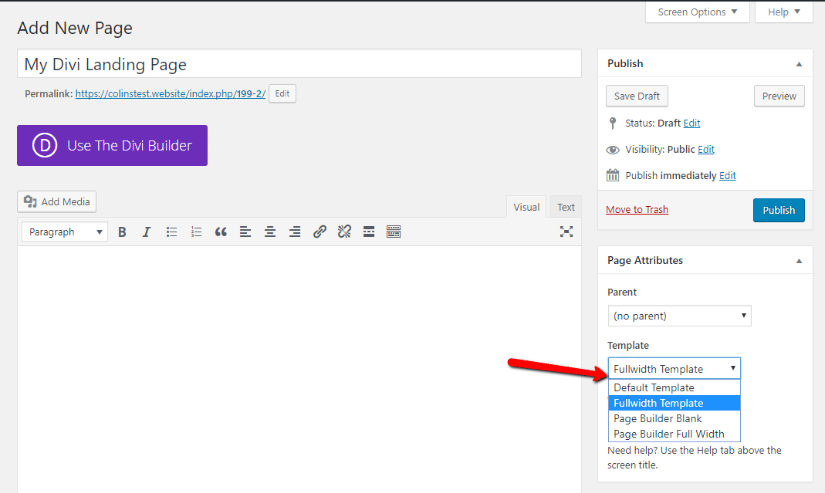
Make sure to click the Save Draft button after choosing your template. This is important so that Divi Builder uses the proper template when we load it in a second.
To launch Divi Builder, click the big Use the Divi Builder button:
Divi Builder lets you build pages in two different ways:
- Backend builder – you build your pages with abstract blocks that represent pieces of content
- Visual builder – you build your pages in the same view that your visitors will see your pages
While you can use either to build a product launch page with Divi Builder, I find the visual builder to be more intuitive for most users, so that’s what I’ll use for this guide.
To launch the visual builder, click the Use Visual Builder option:

Then, you’ll find yourself in the visual interface:

Divi uses colors to divide the different types of content on your page. These colors will help when we build the page, so here’s a quick guide to what the different colors mean in Divi Builder:
- Blue – designates sections, the largest content holder.
- Green – designates rows. Rows go inside sections. You can have multiple rows in one section.
- Black – designates modules. Modules are individual content pieces that go inside rows. You can have multiple modules inside each row.
To sum that up, from the largest element to the smallest, it goes:
Sections → Rows → Modules
Step 2: Build your basic landing page structure
Now that you’re in Divi Builder, it’s time to choose the actual basic structure for your landing page. Just like with writing, it helps to have a rough “outline” of your page in mind before you get started.
As an example, here’s a sketch that we’ve used for our two other guides:
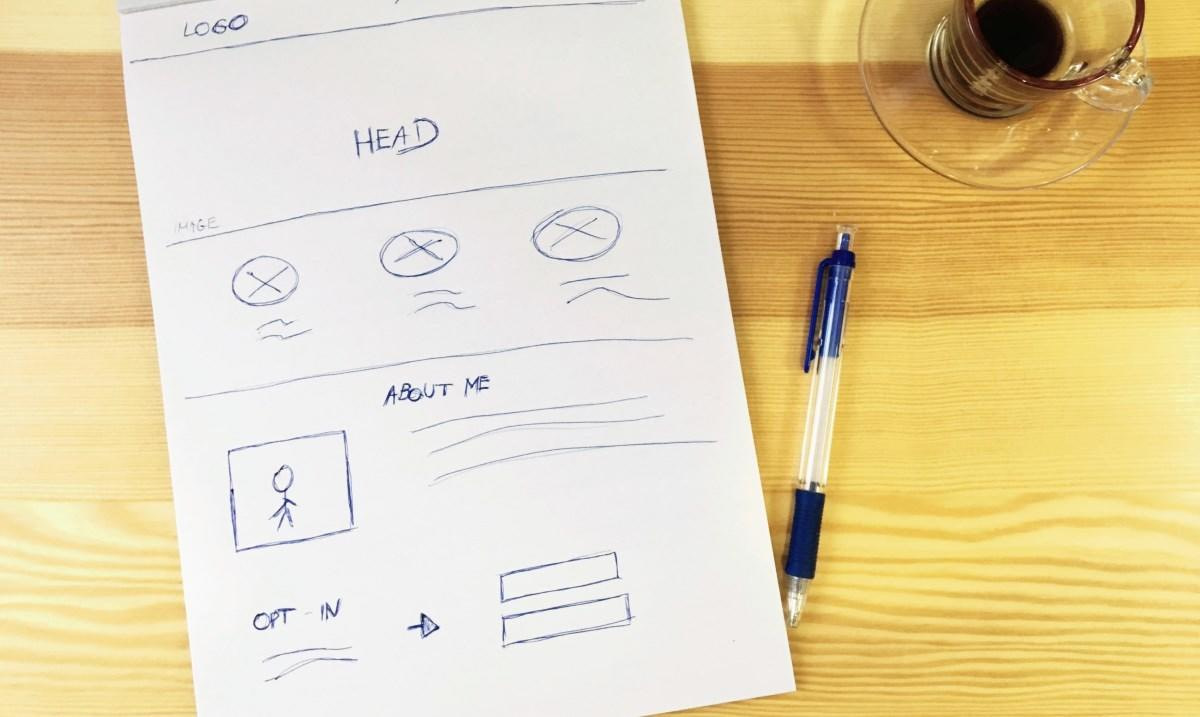
It showcases a basic product launch page with four different sections:
- Main headline section
- A “feature list” section
- About section
- Email opt-in section
I’ll follow that structure for this guide, but you can always make adjustments if you’d prefer something else.
Because the example includes four different content areas, we’re going to use four of those blue sections in Divi Builder.
A quick tour of the Divi Builder interface
Before I start digging into the actual tutorial, let me give you a quick run-down of how the Divi Builder interface functions.
To add a new section, row, or module, you just click the circular plus button for the associated element (remember the color coding I talked about before!):

Also, remember that each element fits “inside” the other one. For that reason, you’ll only see the black Insert Module button if you’ve already put a row inside your section. That is, you can’t add a module directly to a section.
When you click the Insert Module button, you’ll be able to choose a specific module type from the popup:

Then, once you insert a module, you can configure that module by using another popup:

Notice how there are three tabs at the top? That’s important because it allows you to customize styling, spacing, and more for each module. You can use these settings to fine-tune your design.
Finally, you can always access the settings panels for sections, rows, and modules by clicking on the Gear icon for each element:

This is important because sometimes you’ll need to adjust a section or row’s spacing manually to make the design look perfect.
Ok – that should give you a basic understanding of the interface – now let’s build a product launch page with Divi Builder!
Building the headline section
By default, you already start with one section in place. So for this first section, we can jump straight to adding a Row (the green icon). Let’s choose the equal two-column layout:

Now, add an Image module to the right-hand column and insert a relevant image:

Then, in the left-hand column, add a Text module. Use the Heading 1 drop-down to make it a header and center the text:

Then, go to Design → Spacing to reposition the header so it looks a bit better:

Now, add another Text module below the header to act as your subheader. Again, you can play around with the text sizing and spacing to make it look right:

Let’s round things out by adding a Button module underneath our subheading. You can play around with the button’s alignment and styling in the Design tab:

And there we go! We have a finished headline section.
Building the “Feature list” section
Next up, let’s build the feature list section. To do that, add a completely new Section by clicking the blue “plus” icon.
Then, add a new 3-column row inside the section:

An easy way to add a feature list is to use the Blurb module. To configure the Blurb module to look like the example below, don’t use the Title box. Instead, use the Content area to add your title as an h3, your subtext as regular text, and center the whole thing:

Then, in the same tab, scroll down to Image & Icon. Check the Use Icon box and choose your icon. You can also opt to use your own image, if you prefer that approach:

Repeat the process for the rest of your features and you should have something that looks like this:

And that wraps up our feature list section!
Building the “About” section
To build the “about” section, we can use pretty much the same approach as we did for the header section.
Only this time, let’s use a somewhat offset two-column design:

In the left column, you can add an Image module with either a personal photo or something else that’s relevant:

You might want to play around with the positioning to get it looking perfect.
Then, in the right column, you can add two Text modules for your header and subtext, just like before:

And that’s it! We’re on the home stretch.
Building the email opt-in section
Guess what! Divi Builder includes a pre-built email opt-in module. That makes this section pretty simple. Modules like this one are one of the reasons it’s so easy to build a product launch page with Divi Builder.
To use it, create a regular new section with a one-column layout:

Then, add the Email Optin module. You can use the Title and Content boxes to add text to the left side of your email optin. And you can also change the background color and connect to your email marketing service from this same interface:

That’s all there is to it!
Putting it all together
Congrats! You just learned how to build a product launch page with Divi Builder.
The only other thing I did to make my page look the way that it does is add a short CSS snippet to reduce the spacing between my different Divi Builder sections. This is optional, but I think it looks a better with less space in between sections.
If you want to do the same, you can add this small snippet to the Additional CSS tab of the WordPress Customizer:
:not(.et_pb_fullwidth_section).et_pb_section {
padding-top: 0px !important;
padding-bottom: 0px !important;
}
Here’s another look at the final product launch page:
If you want to turn your product launch page into your site’s homepage, all you need to do now is set up a static homepage.
Remember, to build a product launch page with Divi Builder that mimics the example, all you need is:
- The Divi Builder plugin, which is part of the Elegant Themes membership
- Our free Hestia theme (only to follow the examples – you can use any theme you want for your site)
Now get out there and build your page!


Or start the conversation in our Facebook group for WordPress professionals. Find answers, share tips, and get help from other WordPress experts. Join now (it’s free)!