
Looking to learn how to sell music online? While you might’ve come across dedicated services like Bandcamp, it’s also easier than ever to sell music through your own website.
By setting up your own website, you’re able to not just sell music online, but also have space for a list of your upcoming shows, information about your band, a merch store, and lots more.
In this guide, we’re going to introduce WordPress – a free platform that will make setting up your website simple. Then we’ll walk you through how to sell music online using WordPress.
Let’s jam!
Why using WordPress is a great way to sell music online
As a musician, there are a number of ways you can get noticed and build your audience online. This includes social media, of course, as well as dedicated platforms such as iTunes, SoundCloud, and NoiseTrade to name a very select few.
However, it’s also crucial to maintain a website for yourself or your band. This will serve as your home base, giving you a place to share information, offer samples of your music, and help fans and potential collaborators get in touch. Plus, selling your music through your own website gives you control over the process, and you won’t have to share the profits with a middleman, music stores, or any other subsidiaries.
When it comes to building a website, you have a lot of options. However, for most situations, WordPress offers the best blend of ease of use and flexibility:

WordPress offers a number of key advantages. For instance:
- The WordPress software is free, though you will need to spend a little on your own domain name and hosting.
- It’s beginner-friendly and easy to learn, which will help you get your website set up fast.
- It’s easy to change how your site looks to find a design that fits your band.
- There are a huge number of add-ons you can install on your site, helping you customize it to meet your exact needs.
We’ll introduce you to several of those tools later on. For now, what matters is that WordPress is both simple to get started with, and endlessly flexible.
The essential elements of a musician’s website
Before you put your new website together, it’s important to take some time to plan. While your site doesn’t need to be huge or complex, there are some elements you’ll want to make sure it contains.

Although every case is unique, most music-focused websites should include (at a minimum):
- Information about you and/or your band, along with plenty of images and personal bio(s)
- A contact form or page, so people can get in touch
- Samples of your music that visitors can listen to
- A list or calendar of upcoming appearances, tours, or other performances
- A storefront where people can buy your work, either in physical or digital form (or both)
- Links to your other presences across the web, such as your social media pages
This might seem like a lot, but most of these elements are quite easy to set up. Let’s take a look at how you can sell music online through your WordPress website.
How to sell music online: A musician’s DIY guide to using WordPress
At this point, it’s time to learn how to sell music online. We’ll walk you through the four most important steps, starting with the basics.
- Step 1: Purchase a domain name and hosting
- Step 2: Choose a theme for your site
- Step 3: Set up your music storefront
- Step 4: Install additional plugins as needed
Step 1: Purchase a domain name and hosting
There are two things you’ll need to get your website online. The first is a domain name, and the second is a hosting plan. Your domain name is the primary URL for your site, and can be purchased from any domain registrar on the web (including most hosting providers).
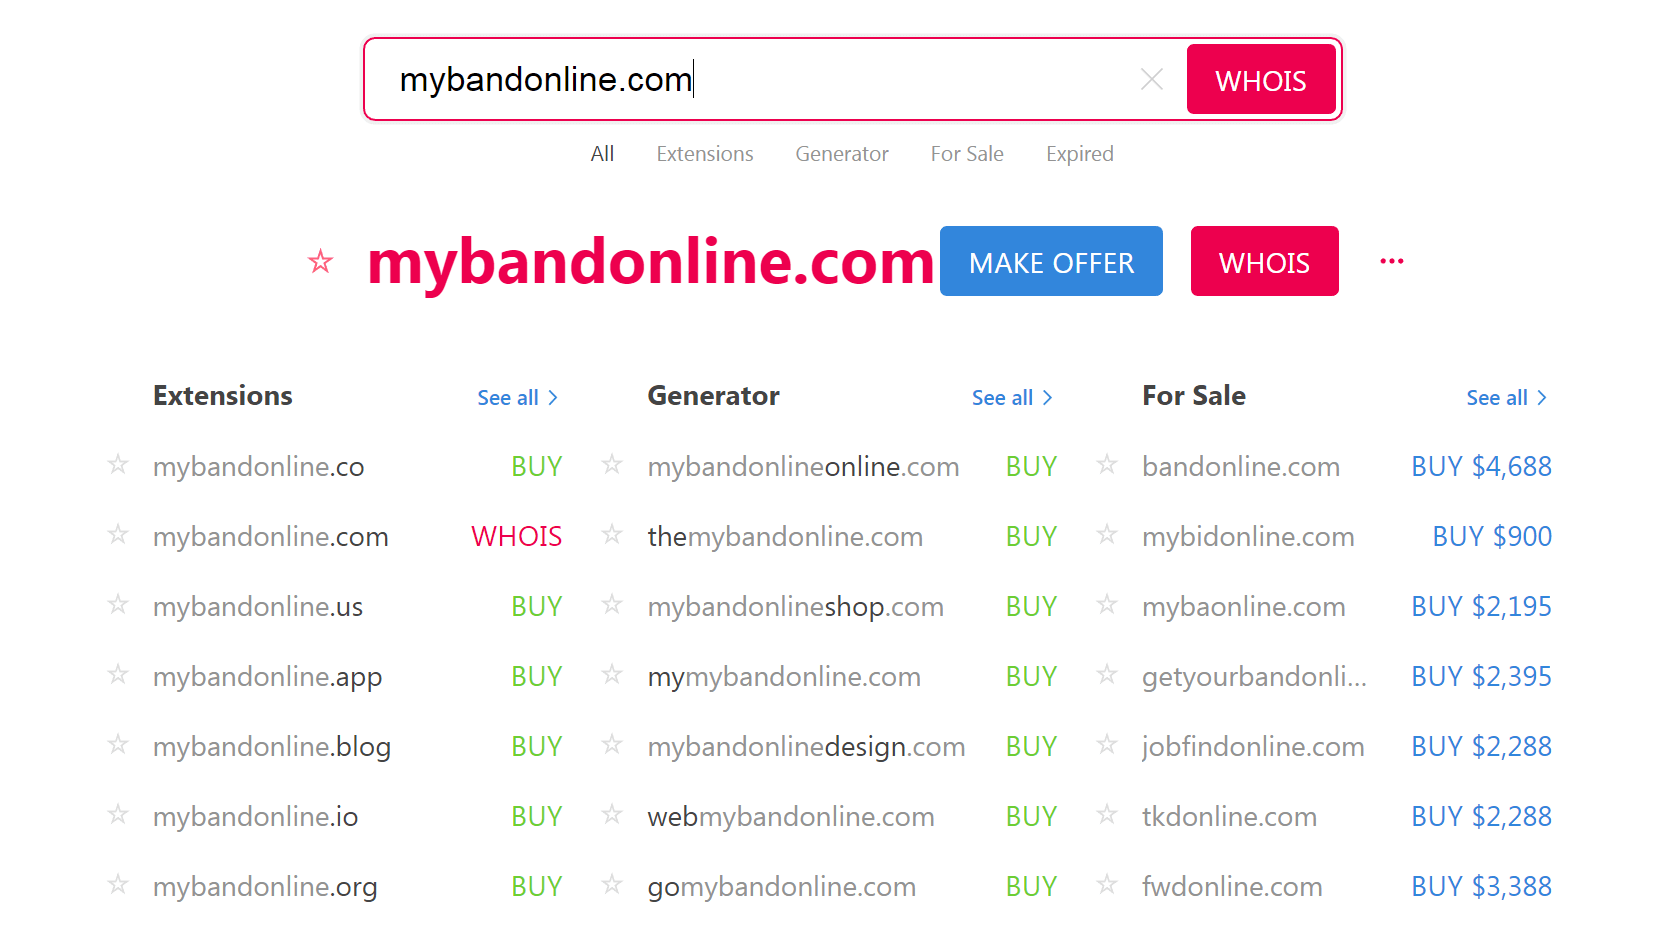
As a musician, you’ll almost certainly want to use your own name, or the name of your band or group. If the domain is taken, try adding an additional word or two, such as johndoemusic.com or johndoeonline.com:
Hosting is the engine that powers your site. When you’re just getting started, you should be fine using a basic shared hosting plan. They can be found for $5 or less per month, and will offer plenty of power for a long time.
For example, Bluehost has plans starting at just $2.75 per month and even offers a free domain name to boot.

As your site grows, you can move up to plans with better performance and more space. Just make sure to choose your hosting provider carefully, as some are more reliable than others. In addition, you’ll want to consider signing up for a plan offering WordPress-specific optimization and features.
With your domain and hosting in place, you can go ahead and set up the website itself. How you do this will vary, but many hosting providers provide simple one-click options for WordPress, or even offer plans with the platform pre-installed. If you find yourself needing to install WordPress manually, don’t worry – it’s a simple five-minute process.
Step 2: Choose a theme for your site
Now, you have a basic WordPress site up and running. The next step in learning how to sell music online is to give your site the right look. This means installing a theme – a WordPress add-on that completely overhauls your site’s layout and appearance.
There are thousands of themes to choose from. You can find many for free in the WordPress Theme Directory, including our flagship theme, Neve, which happens to have a visually appealing, pre-built site designed specifically for music bands.

However, if that look doesn’t appeal to you for some reason and you don’t want to spend time editing it, feel free to explore other options. Just be sure to pay attention to ratings and reviews.
While you can choose any WordPress theme for your music site, you may want to consider looking for one specific to your niche within the music industry. There are lots of music-focused themes to choose from, providing layouts and features perfectly suited to the type of site you’re building. You may even be able to find options geared towards your particular genre or musical style:

Of course, once you’ve installed a theme, you can tweak it to better suit your needs. This means replacing the stock imagery with your own branding, and usually changing up the layout, colors, and fonts. The WordPress Customizer will make this an easy task.
Step 3: Set up your music storefront
With your theme in place, it will be easy to start setting up the key pages you’ll need (such as a contact page and a list of events). However, we are talking about how to sell music online – which means you’ll need some kind of storefront.
WordPress doesn’t include ecommerce functionality by default, but you can easily add it using a plugin. Like themes, plugins are add-ons that can be installed on your site. Instead of focusing on visuals, however, plugins provide new features and options.
There are plenty of WordPress plugins to help you sell your music. WooCommerce, for example, is a popular and easy-to-use option:

This tool helps you set up a storefront in minutes, and sell whatever you’d like. It’s also free, and you won’t need to pay any extra fees on transactions made on your site.
WooCommerce is a strong option if you’re looking to sell physical CDs and merchandise, or a mix of physical and digital items. If you only want to sell downloads of your music, Easy Digital Downloads is also worth a look:
This plugin is also free to use, and even more streamlined than WooCommerce. Its focus on digital sales means you won’t have to deal with a lot of unneeded features. Plus, setting up your store and products with Easy Digital Downloads is a quick process.
Step 4: Install additional plugins as needed
By now, you’ve learned how to set up your WordPress site and how to sell music online with it. This may be all you need – but you might also benefit from some additional features.
There are lots of plugins that can come in handy on a musician’s website. Here are just a few options to get you started:
- 👉 Sonaar Audio Player: This plugin provides you with plenty of options for embedding audio players on your site, creating playlists, and displaying track-specific artwork.
- 👉 Seriously Simple Podcasting: Despite the name, this solution offers a range of media-related tools that work as well for showcasing your music as they do for hosting podcasts.
- 👉 Events Manager: If you use your site to promote performances, this tool will help you set up a calendar and even sell tickets.
With the right plugins, you can add just about any feature imaginable to your WordPress music site.
Final thoughts on selling music online 🏁
Learning how to sell music online is a lot easier than you might expect. These days, getting a website up and running is simple. Plus, with the right platform – such as WordPress – you’ll have easy access to all the tools and features you’ll need.
To recap, there are four main steps involved in learning how to sell music online:
- Purchase a domain name and hosting. 💻
- Choose a theme for your site. 🎨
- Set up your storefront. 👨💻
- Install additional plugins as needed. 🖱️
Do you have any questions about how to set up and customize your website? Let us know in the comments section below!


Or start the conversation in our Facebook group for WordPress professionals. Find answers, share tips, and get help from other WordPress experts. Join now (it’s free)!