
While there’s a lot that goes into making your ecommerce store successful, each product’s WooCommerce product page is the make or break spot where you either get your customer to add a product to their cart or they move onto something else.
After all, if you want to make a lot of sales, you need to do more than just make your products available. You also have to convince people to take a chance on them. This means creating persuasive product pages, that show off what you have to offer in the best possible light.
🛒 Looking for beginner-friendly info on how to start an online store? We have an in-depth guide that takes you step-by-step through the process. Read it here.
In this guide, we’re going to walk you through the process of optimizing a WooCommerce product page by focusing on improving a product’s name, description, images, and attributes/variations.
📚 Table of contents:
- Step 1: Create a clear and descriptive product name
- Step 2: Write a compelling product description
- Step 3: Include plenty of high-quality product images
- Step 4: Add attributes and/or variations to your product
- Step 5: (Optional) Enhance your WooCommerce product page with plugins
Step 1: Create a clear and descriptive product name
Your product’s title gets a lot of focus around your store. Beyond being the most prominent text on the individual WooCommerce product page, it also usually shows up in your store’s shop and category archive pages. And depending on which widgets you’re using, it also might make an appearance in your store’s sidebar or footer.
To make your product’s name as effective as possible, it should:
- Clearly describe what the item is and what it can do.
- Include a primary keyword – relevant to the product if possible – to help with Search Engine Optimization (SEO). Usually, this happens naturally as a result of the first tip.
- Remain as concise as possible, given the above two considerations.
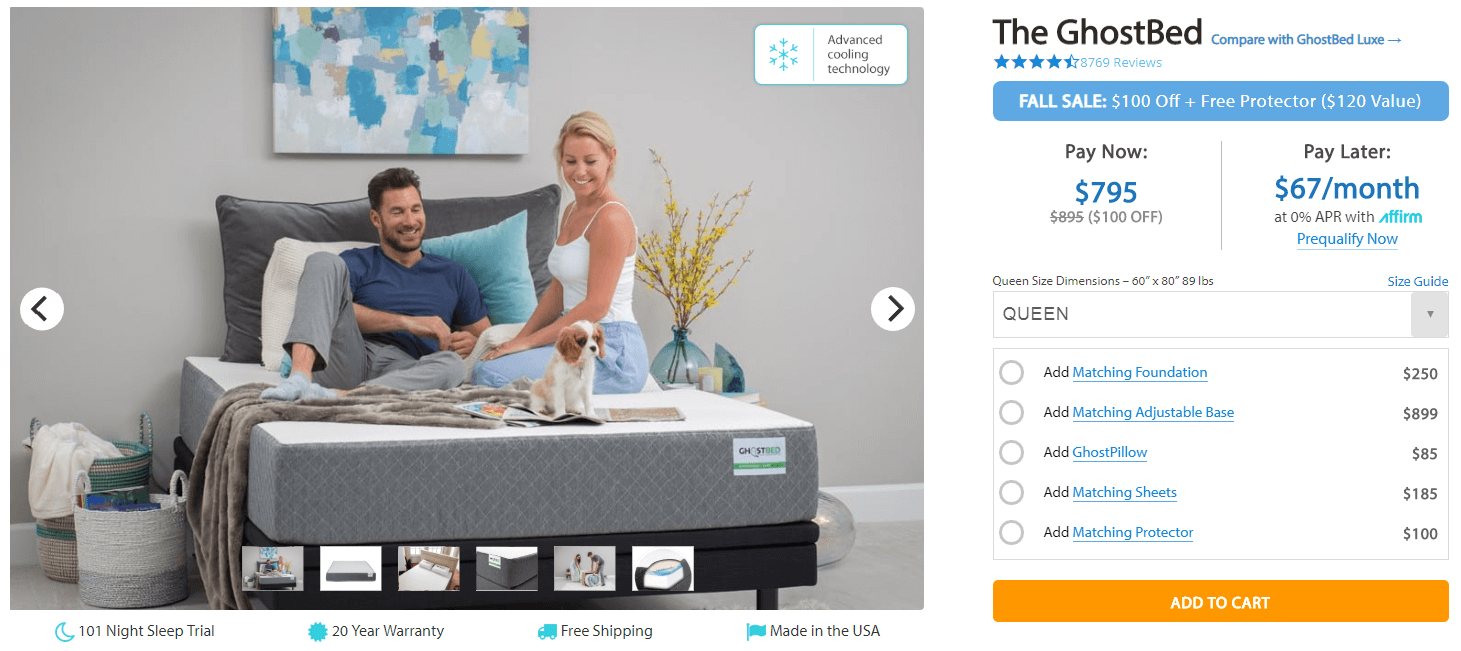
To illustrate the point, here’s a type of product name you’ll often find on Amazon and similar stores:
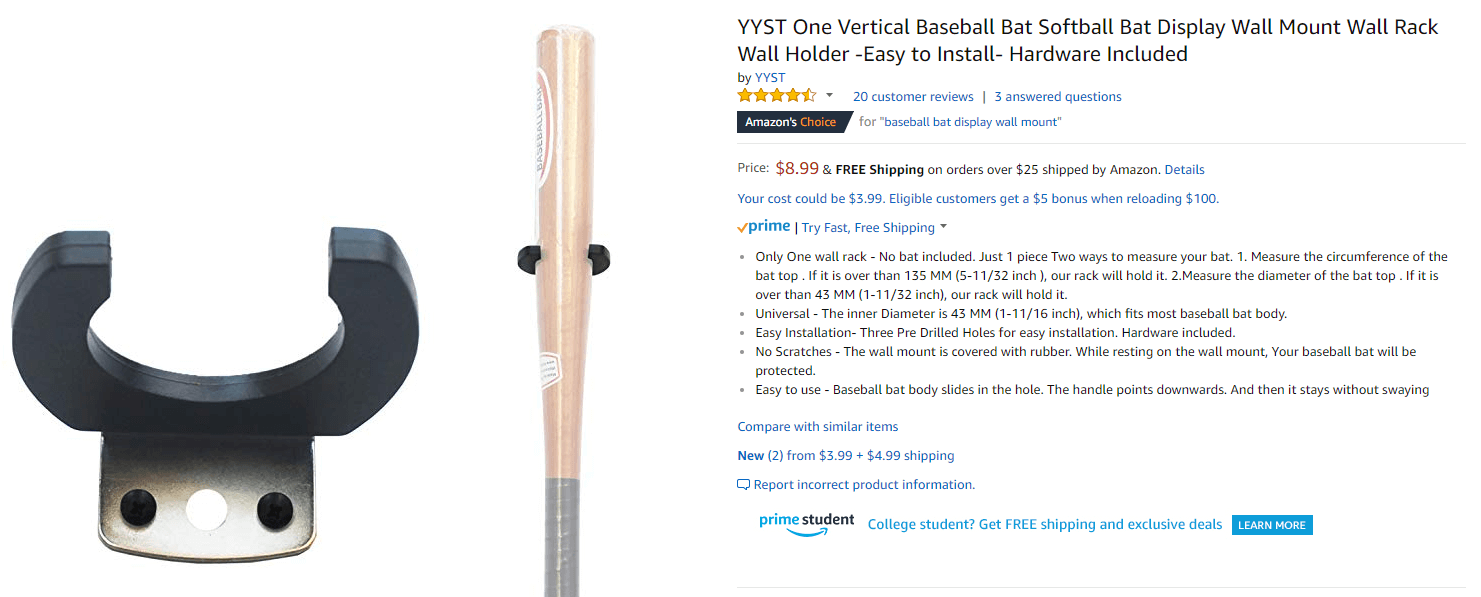
It’s certainly descriptive, although far too lengthy and convoluted, and it’s an example of ‘keyword stuffing’. While you should use a keyword or two, your titles should also be clear and easily-readable to the human eye.
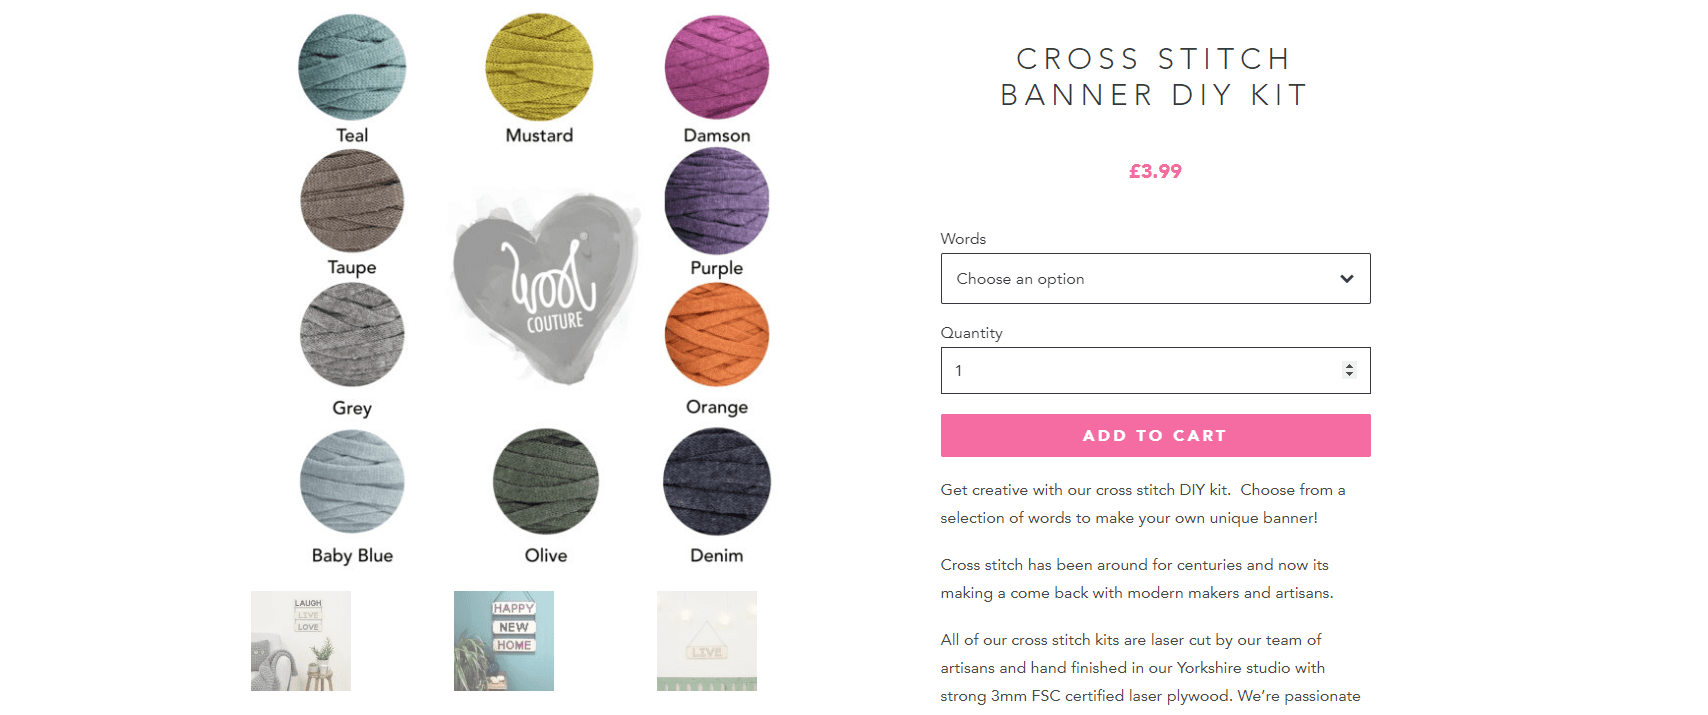
On the other hand, this product name gets the job done:
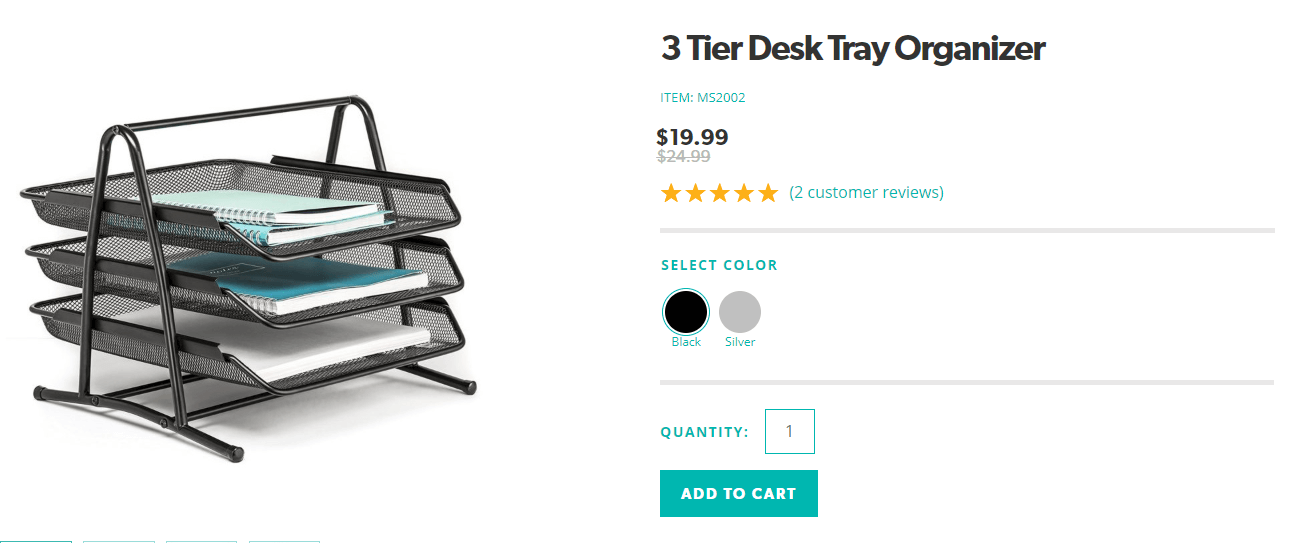
It’s clear, concise, and tells you what’s most important about the product. Plus, the keyword is worked into the title in an unobtrusive and human-friendly way.
Step 2: Write a compelling product description
With your product’s title, it’s best to avoid the temptation to get creative. However, your WooCommerce product page description is also where you get to ‘sell’ the item to your potential customers.
There are actually two descriptions on a WooCommerce product page. The full description is created using the default WordPress editor underneath the product name, and will be displayed on the product’s individual page:
On the other hand, the ‘product short description’ is a brief summary of the item. Think of it kind of like an “excerpt” for your product. Some WooCommerce themes show this on the shop page:
Beyond sometimes appearing on the shop page, most WooCommerce themes also show both the short and long description on the individual product page. You can see the difference between the two on the example product page below:
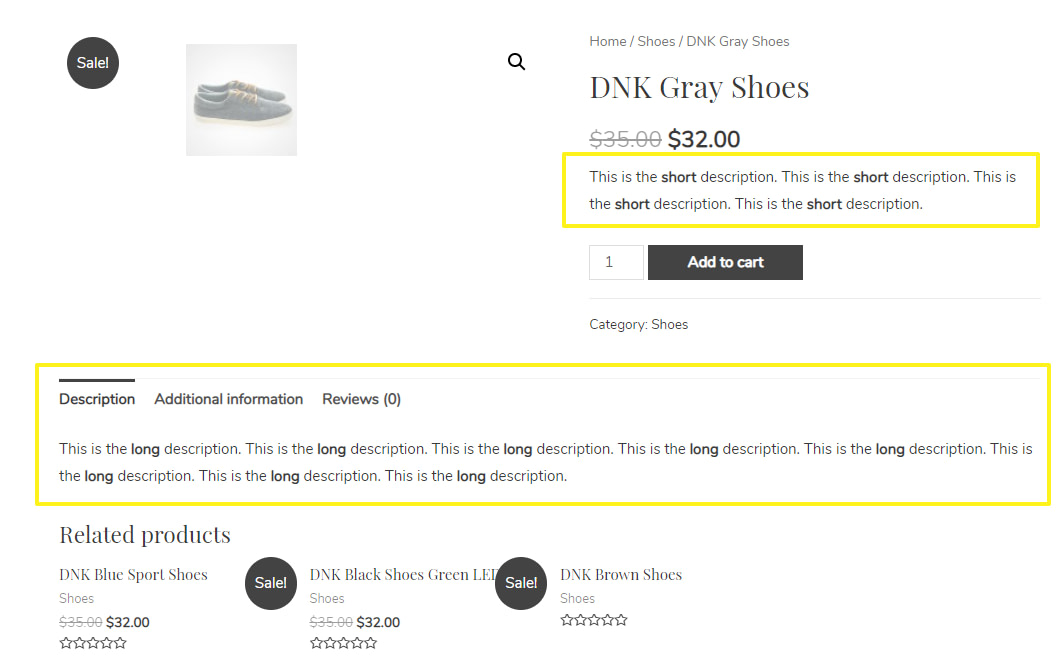
Product long description
Your approach to writing these two descriptions will naturally differ. You’re best off creating the full description first. This can be as long and detailed as you’d like, but keep the following tips in mind as you’re writing it:
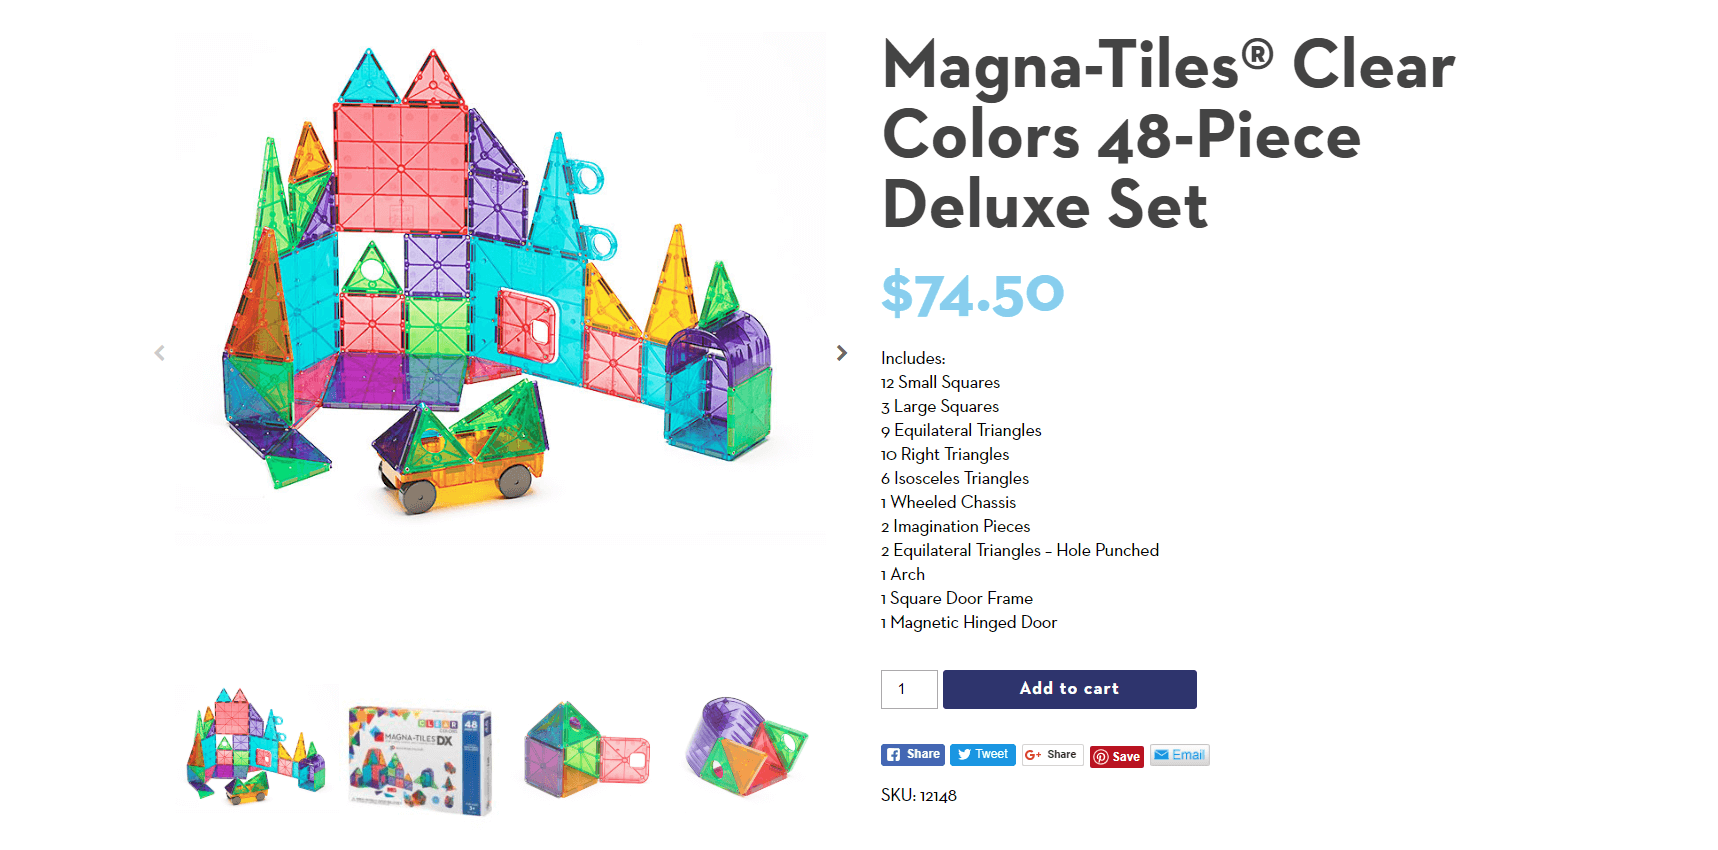
- Include the most important information first. Especially if your description is long, customers may not read (or skim) to the end. Therefore, the vital details they need to make a purchasing decision should be included early on.
- Provide your description with a clear structure. Instead of just writing a wall of text about the product, break up different types of information into unique sections. For example, you could start with a few sentences of description, followed by a bulleted list of features, with additional sections for technical specs or any other relevant details.
- Make it clear to potential customers how the product will benefit them. Think about the product from a user’s perspective. How will it make their life easier, simplify an important task, or otherwise fulfill an unmet need?
Product short description
Once you’re done with the full description, you can select the most vital elements to include in the Product short description. You’ll find this field underneath the WordPress editor:
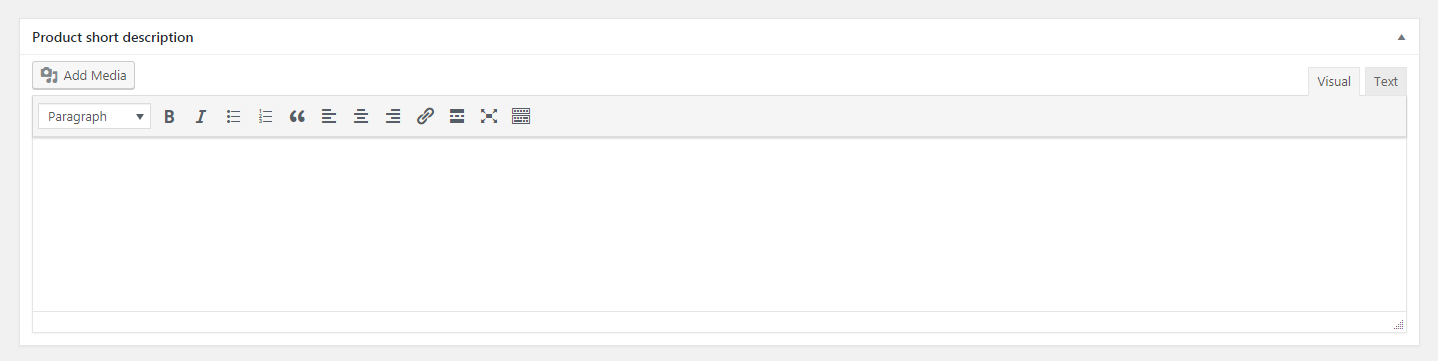
As the name suggests, it’s best to keep this description brief and to the point. Because of how most WooCommerce themes position this description, it’s basically the “hook” to get customers to keep reading the long description.
Highlight the product’s key attributes, and focus on its benefits to your audience. Don’t get too detailed – you can leave the nitty-gritty stuff to the long description.
Finally, just as with your product title, it can be smart to work a few carefully-chosen keywords into both of these descriptions. Just make sure you’re incorporating them naturally and only where relevant. While optimizing your WooCommerce product page for search engines is important, ensuring it’s easy and smooth for humans to read comes first.
Step 3: Include plenty of high-quality product images
You’re probably well aware that imagery is often much more persuasive than text. This is especially pertinent when it comes to making a purchase online. Few people will commit to buying a product they’ve never seen an image of, and what the item looks like almost always has an effect on their final decision.
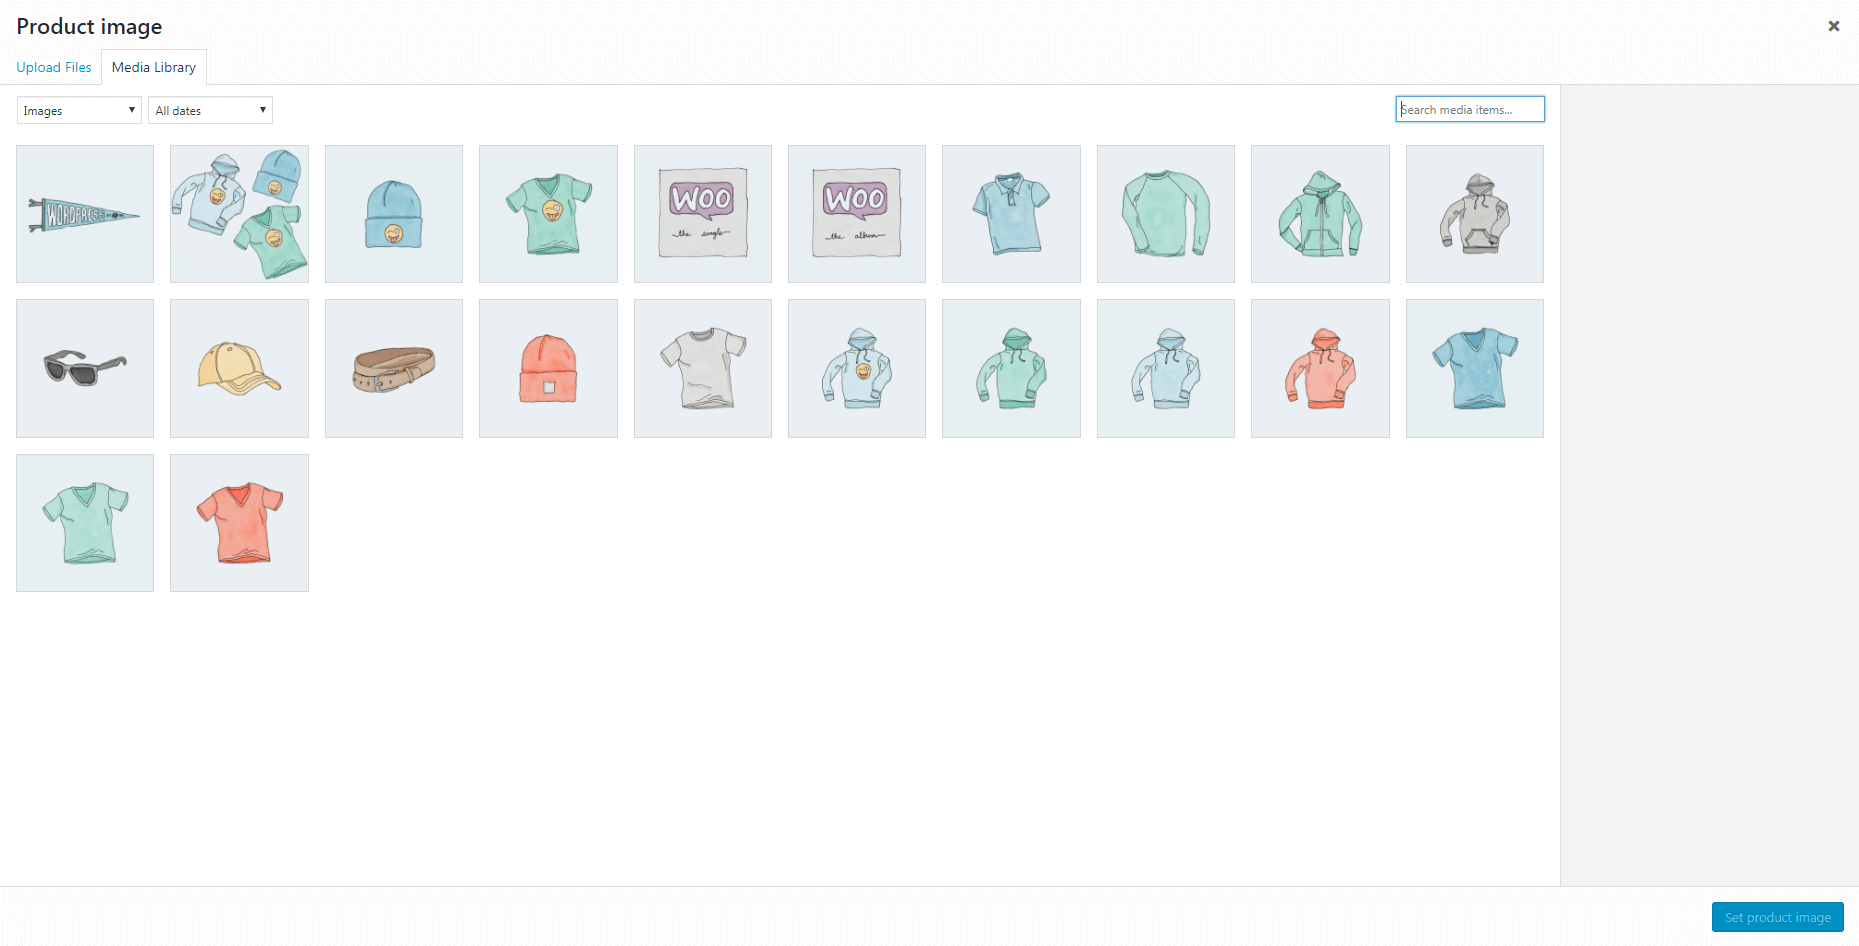
Therefore, including at least one image on each WooCommerce product page is vital:
You can do this by selecting Product image from the right-hand menu in the editor, and uploading an image to your Media Library:
Of course, not just any image will do. Your product’s featured image should be:
- High quality: A low-resolution, poorly-lit, or unprofessional photo is hardly a persuasive argument to buy.
- A decent size: Small images don’t offer much detail, so you’re better off uploading a larger image and scaling it down where necessary.
- Original: Even if your product isn’t unique (i.e., other sellers are offering the exact same item), taking and displaying your own images comes across as more trustworthy and professional than using a stock photo.
Use product galleries, too
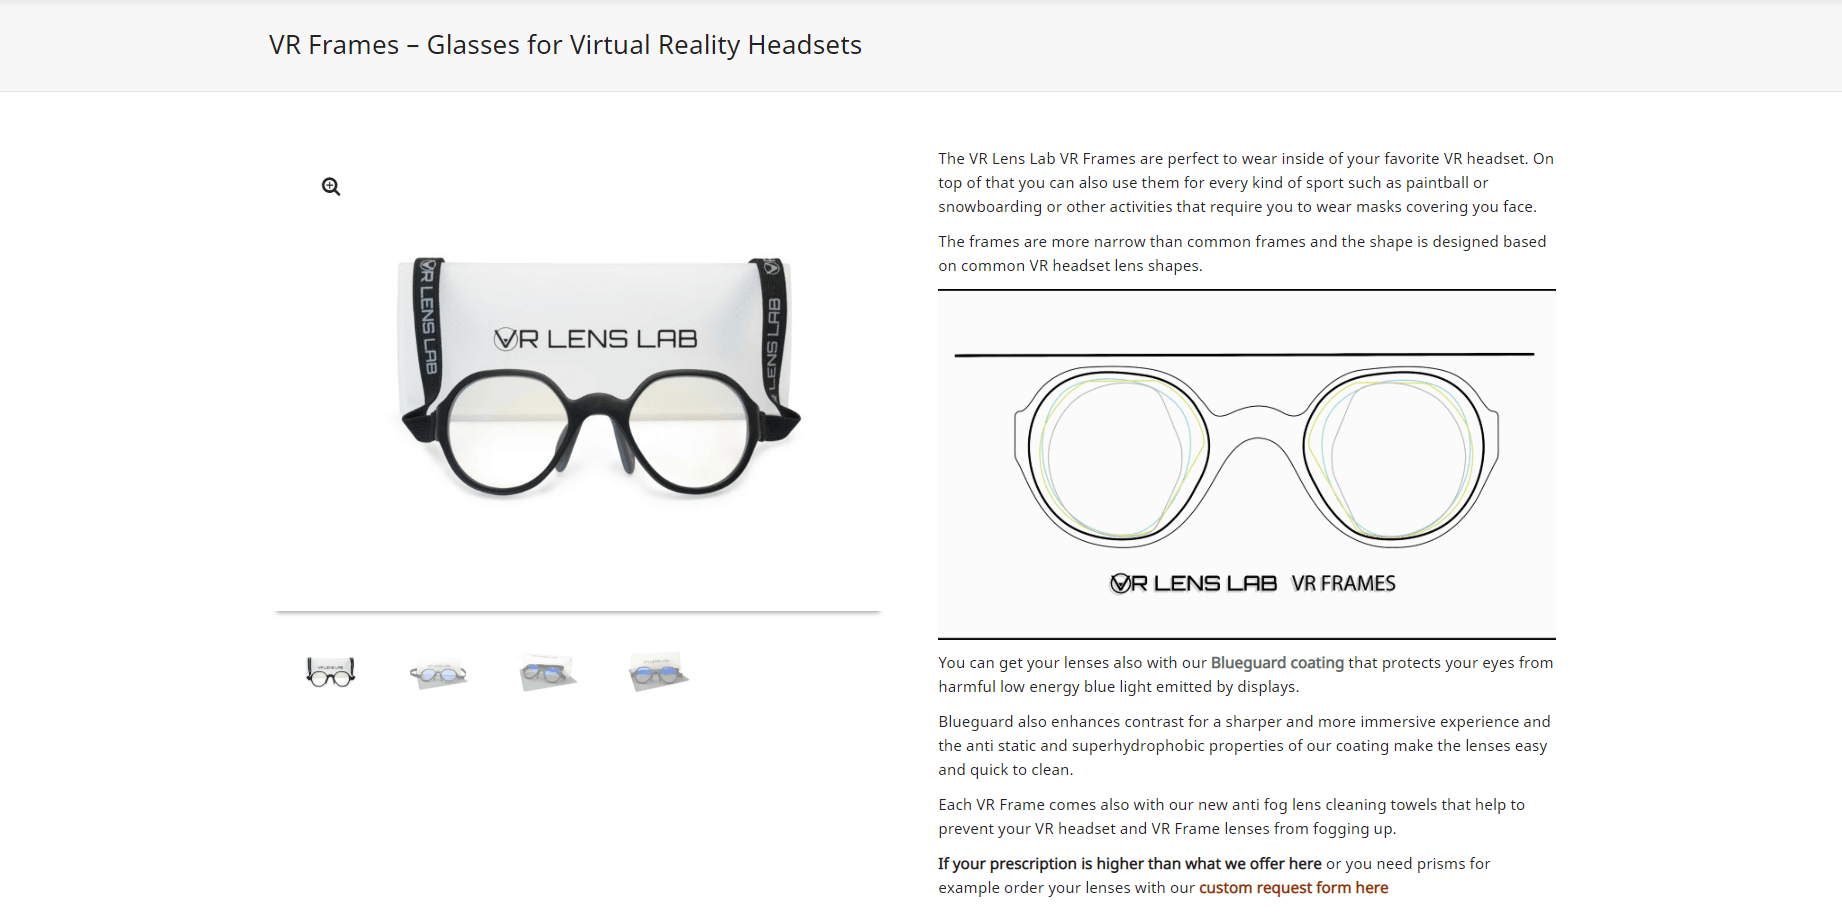
In most cases, you won’t want to stop at just one image. For all but the simplest of items, it’s best to include a variety of product images. You can show the product from multiple perspectives, display examples of its variations, and provide shots of any accessories it might come with:
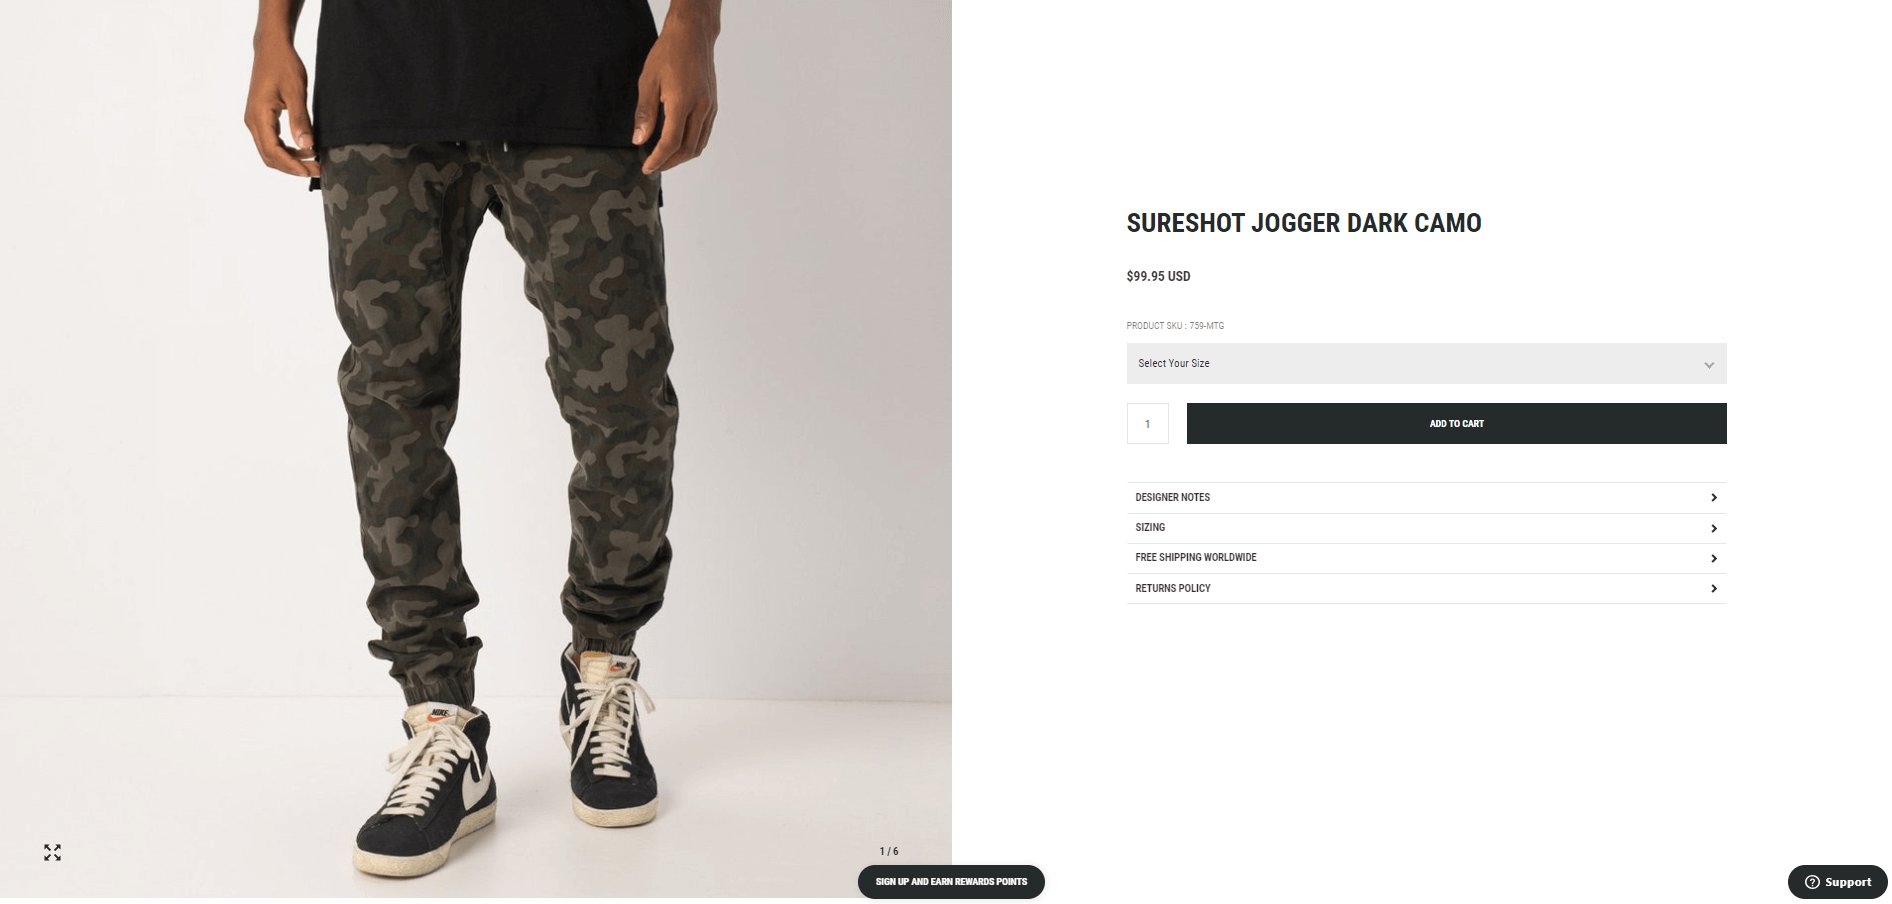
Another smart move is to add one or more pictures showing the product in use. This helps potential customers get a better feel for how the item might fit into their daily lives:
On your WooCommerce product page, you can use the Product gallery section in the sidebar to upload as many images as you’d like. They’ll all be displayed near the main product photo. The exact setup of these images will vary depending on the theme you’re using, but most will look something like this:
Taking your time to add plenty of high-quality, representative images of your product is one of the best ways to convince visitors to make a purchase.
Step 4: Add attributes and/or variations to your product
Last but not least, let’s talk about two WooCommerce features to help you more clearly describe your products – attributes and variations. For many products, using these two features appropriately can make for a better product page.
WooCommerce product attributes
If you check out the Product data section underneath the WordPress editor, you’ll find a tab called Attributes. This is where you can add key descriptive terms to help describe your product’s characteristics:
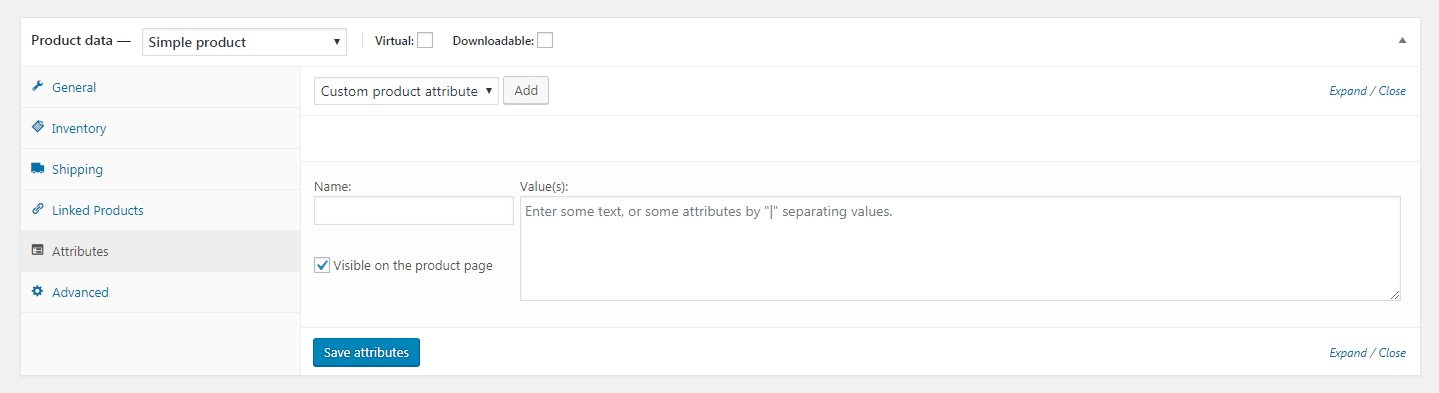
These attributes might include the product’s color, the material it’s made from, its size, and so on. Once you’ve added and saved a custom attribute, it displays in the Additional Information area of your WooCommerce product page. It will have the same style as product dimensions (which you can set in the Shipping tab):
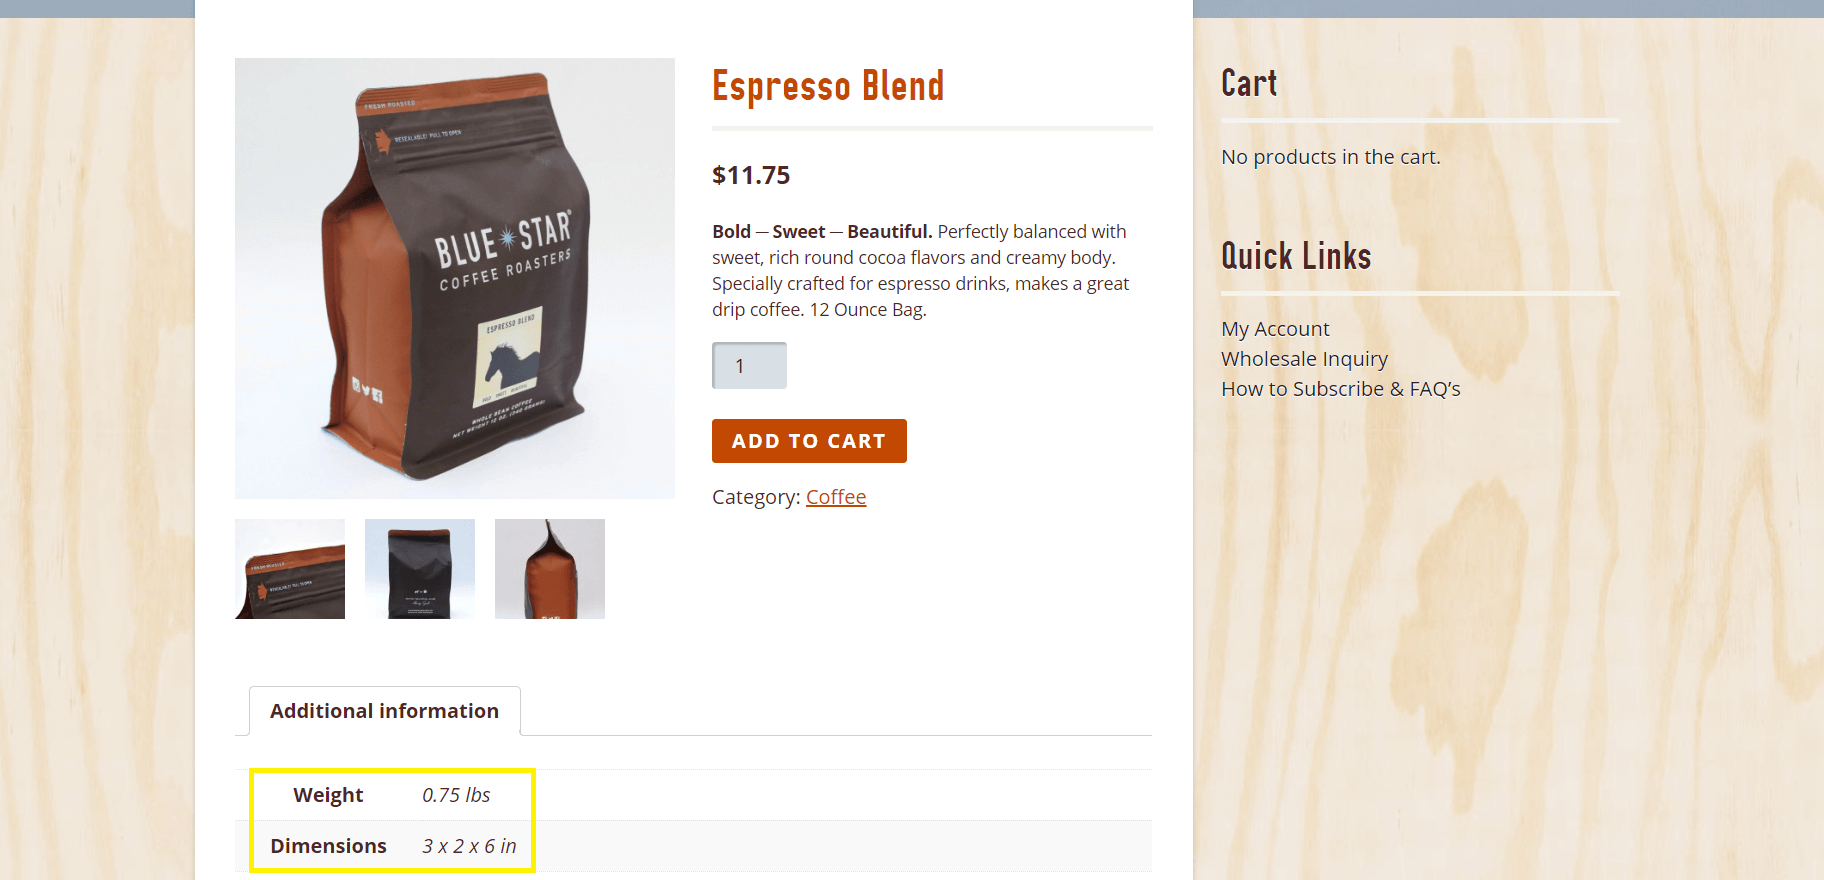
This is a clearer way of immediately displaying this information to potential customers than merely listing it in the product description. Plus, showcasing each product’s key attributes this way makes it easier for customers to search for items with the exact characteristics they want.
WooCommerce product variations
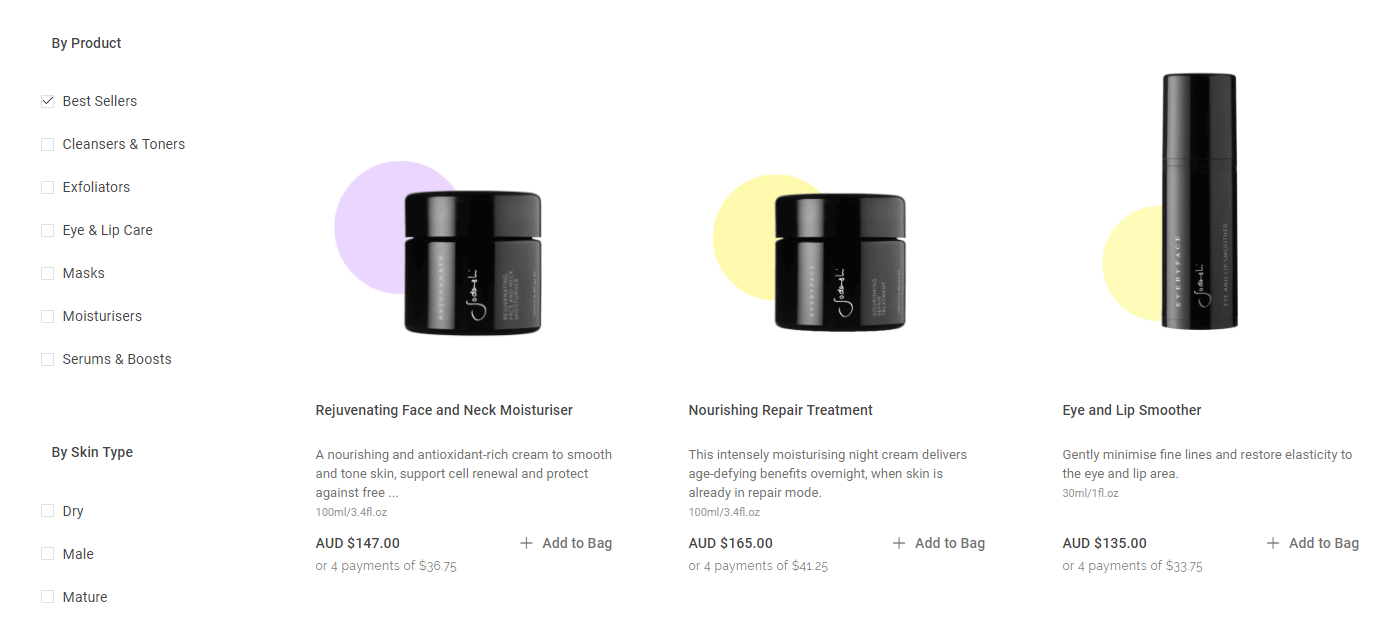
You can add attributes to just about any product. Variations, on the other hand, are only relevant in certain cases – but are still useful:

Variations are actually based on attributes. The difference is that attributes just provide more information, while you can use variations to let shoppers purchase “different” versions of a product.
For example, you can let shoppers choose the color of a t-shirt rather than creating separate product pages for each color. Common examples of when to use variations are things like:
- Size – e.g. a t-shirt that comes in small, medium, large, etc.
- Color – e.g. a t-shirt that comes in red or blue.
- Weight – e.g. coffee that you sell in 8 oz, 16 oz, and 32 oz bags.
- Etc.
To add variations to an item, you’ll first need to select Variable product from the drop-down menu in the Product data section. Then, you can follow a few simple steps to add and save as many variations as you’d like. Once you’re done, you’ll see them displayed on the product page:
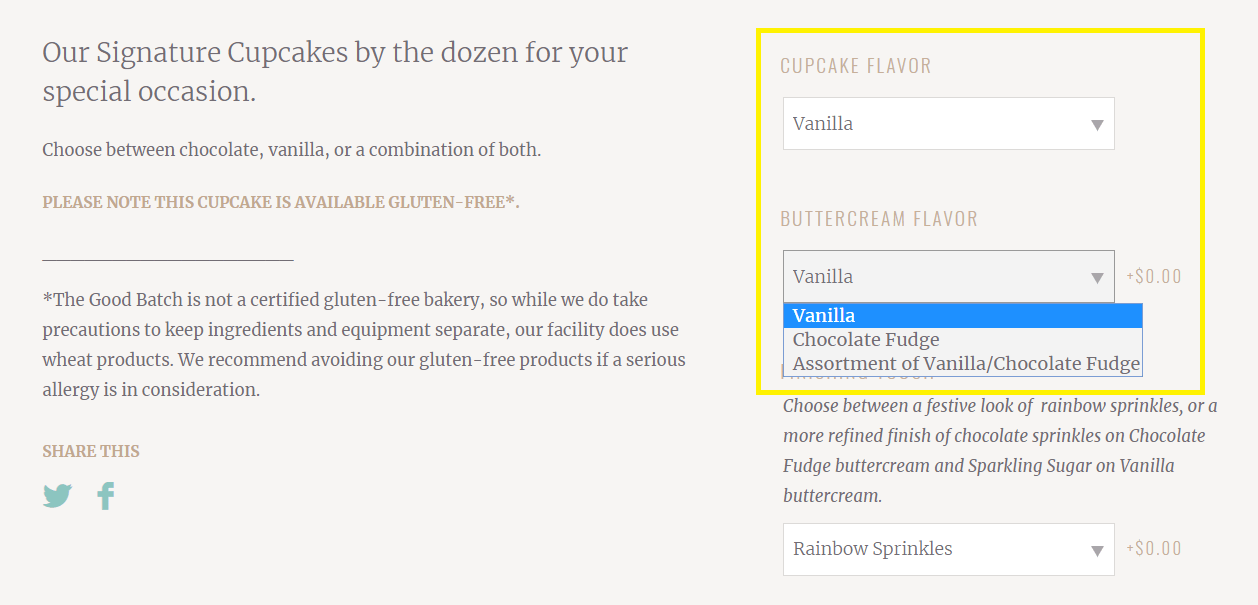
When applicable, using variations is important because it makes it easy for customers to pick the exact item they want without requiring you to create lots of separate items. For example, if you create separate product listings for each size of a t-shirt that you sell, that would be confusing. By using variations, shoppers can much more easily find the exact product that they want.
Step 5: (Optional) Enhance your WooCommerce product page with plugins
This last step is for those of you who want to take your online store functionality to the next level. While the previous four steps that we covered in this post are enough to efficiently optimize your product pages, you can unlock even more features if you are willing to invest in a premium plugin.
If you consider buying a premium plugin for extra product page optimization, you can choose from two of our plugins made in-house:
Personalized Product Fields Manager Pro
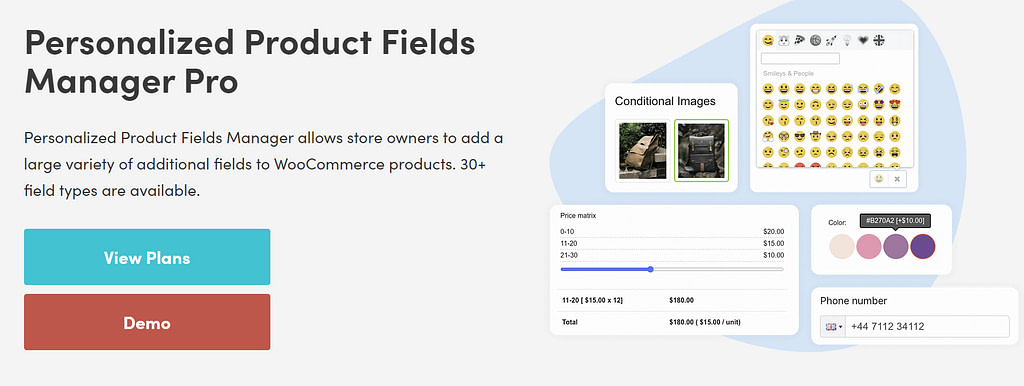
This plugin will largely extend your product presentation page by providing 30+ additional fields to better describe your WooCommerce products. You can add more details like a color picker, price matrix, checkboxes, bulk quantities, various images, number and measure input, custom text, owner information, and a lot more.
Key Features 🕵️
- 30+ additional product fields
- Inquiry form for users to ask for more information about your products
- Cart edit that allows users to edit their product preferences right from the cart page
- Repeater, which lets users repeat meta fields on the product page and select different variations
- Import & export function for meta fields
- Fields pop-up function
Price 💰
- Essential – $99 per year: One website, 30+ meta fields, import/export meta, 1-year updates and support
- Plus – $199 per year: Three websites, all features from the previous plan + meta fields repeater, cart edit, fields pop-up, and quantities pack
- VIP – $399 per year: 50 websites, all the features from the previous plans + domain checker and variation quantity matrix
Sparks for WooCommerce
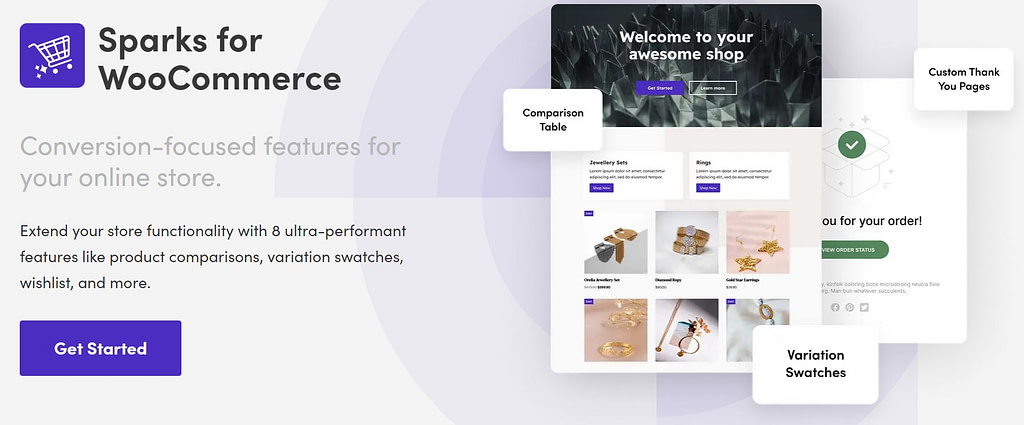
Sparks is a plugin that extends your WooCommerce site functionality with useful features meant to help you convert more visitors to customers. This plugin’s features are multipurpose and not limited to product pages. But when it comes to optimizing a product page, Sparks brings to the table variation swatches, product comparison tables, advanced product reviews, quick view options, and more.
Key Features 🕵️
- Eight WooCommerce-related features to enhance your online shop
- Product comparisons that allow users to compare various products based on their specifications
- Variation swatches for colors, prices, images, and labels
- Custom Thank You pages where you can redirect users after a product purchase
- Advanced product review with more review options and sections
- Product quick view
Price 💰
- Personal – $49 per year for one website
- Business – $99 per year for three websites
- Agency – $199 per year for 50 websites
Conclusion 🧐
One of WooCommerce’s main selling points is how easy it is to use. You can create a store and list your first few products in under an hour. However, if you want to see results, you’ll need to take your time with the process.
While there’s a lot of information you can add to a WooCommerce product page, these are the five most important optimizations you’ll want to address:
- Create a clear and descriptive product name.
- Write a compelling product description.
- Include plenty of high-quality product images.
- Add attributes to help describe your product. And if necessary, consider using those attributes to create separate product variations that shoppers can purchase.
- Step 5: (Optional) Enhance your WooCommerce product page with plugins like Spark or PPOM.
Do you have any questions about how to create an effective WooCommerce product page that drives sales? Let us know in the comments section below!


Or start the conversation in our Facebook group for WordPress professionals. Find answers, share tips, and get help from other WordPress experts. Join now (it’s free)!