
If you started your online journey with a personal blog but now you think it’s time to approach things from a business perspective, then switching from WordPress blog to website is a natural step along the way.
Of course, there’s always the option to build a website from scratch, but why would you go with the more time-consuming alternative? You already have your own virtual space, all it takes is new furnishings, so to speak.
In this post, you’ll learn how to turn your WordPress blog into a real website complete with a static homepage, a custom domain name, important pages, social media integrations, and more.
Let’s dive in!
Why turn your WordPress blog into a website
Before getting to the how-to part, let’s answer one of the most pertinent questions in the world: why?
Why would you want to make a website out of your WordPress blog? We’re giving you a few good reasons:
💼 You change the label from personal to professional. If now people treat your blog as a place where you share your thoughts and opinions, a professional website will advertise you as an expert in your field.
🔊 It’s a good starting point to promote yourself and your services, regardless of your expertise. Be it design, content writing, development, music, art, or whatever you are good at.
👔 You’re making yourself available to potential clients. Through an actual website, you are able to showcase your work and background so that, when a client is looking for someone like you for a project, they will know they can hire you.
🧐 You won’t lose your current readers and SEO. If you make a website out of your existing blog, you hit the road with a reader base, no matter how small. It’s easier to build up from there than from zero traffic.
💰 You can monetize your content, sell digital or physical products, and basically found a business of your own.
How to convert your WordPress blog to website
Now, let’s get practical. Following the next steps should be enough to be able to call yourself a site owner by the time you’ve finished the revamp.
Here’s what we’ll do:
Find web hosting
If you’re a WordPress.com user, then go with either of these two options:
- Upgrade to WordPress.com’s Business plan. This plan is the best choice because it allows you to add custom themes and plugins to your site. In the other plans, you will depend on their default customization and won’t be allowed to design the site your way.
The downside here is that this plan is pretty expensive – $25 per month with annual billing or $30 per month with month-to-month billing. In this case, you might consider trying the self-hosted alternative 👇
2. Move to WordPress.org (self-hosted WordPress) if you’re not already hosting your blog on this platform. This option is more affordable and, once installed, gives you full control over what you can add to your site. The trick here is that you need to find a good web host because it doesn’t provide you with one.
We recommend Bluehost as a cheap and reliable solution to start with – $2.75 per month. Yet, if you want to do more research on hosting, you can begin with the reviews and ratings of thousands of WordPress users.
Switch to a custom domain
During the transition to a new host or plan, you will be able to switch to a new domain name, which is what you should do to have a custom web address.
This is an example of how Bluehost handles the domain name during the setup process:
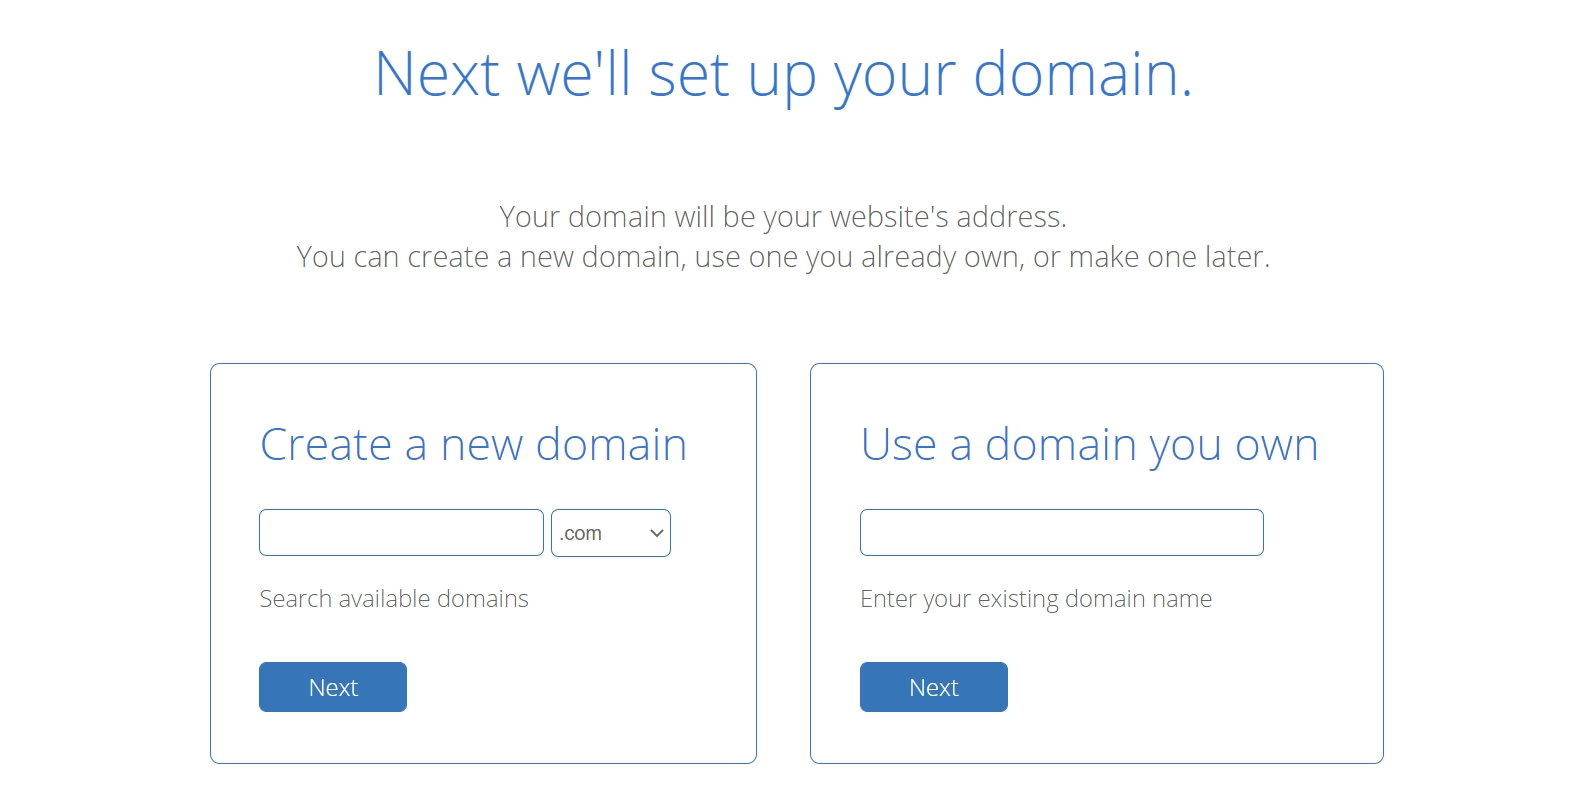
You can either keep your current blog domain or find a brand new one. The advantage of the paid WordPress service is that you can have a professional domain format. So, instead of www.myblog.wordpress.com you can get yourself a friendlier format like www.myblog.com.
The domain you choose doesn’t have to end in .com. The extension can be local, international, or custom.
If you don’t want to keep your existing domain, you can consult some of the best domain name tools out there that can generate ideas of all sorts for you based on your input.
After you’ve decided on a web host and a domain name, you need to migrate your blog content based on these three scenarios. The tutorial will show you how to move your content without the fear of losing something you care about. See what scenario applies to you and follow the steps.
Find a theme you like
The WordPress ecosystem is full of themes for all purposes, tastes, budgets, and whatnot.
Neve, our top theme, is just an example of a multipurpose (both free and premium) WordPress theme that offers the full set of customization options to build a professional site in little time.
You can also find themes in the two most popular WordPress repositories:
The WordPress.org repository has over 12,000 free themes

If you are ready to pay for a theme, Themeforest is the most popular marketplace for premium themes and plugins.

Or in curated posts like these:
Create a custom homepage
After finding the theme that’s matching your intentions, you need to create a custom homepage. It’s a new, necessary page that most personal blogs don’t have. Professional websites must have a homepage, so make it a priority to design something that clearly describes what your site is about.
Here’s an example:
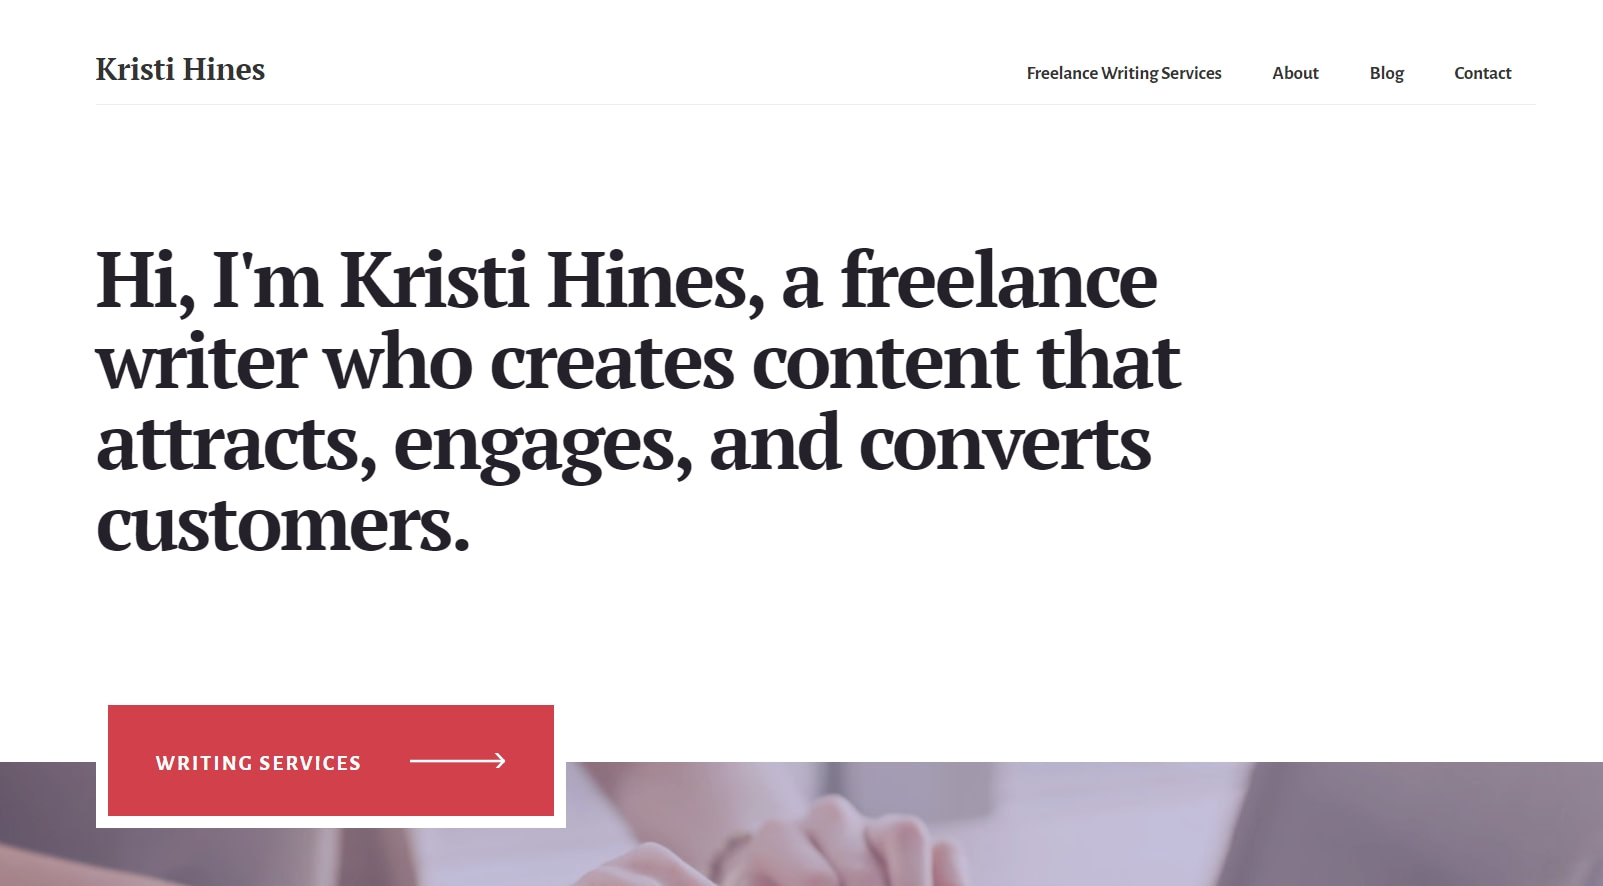
To set up a static homepage like this, you can follow this tutorial.
If you’re using a theme like Neve, for example, that has lots of starter sites, you can build a homepage directly on top of a pre-made template and take your inspiration from there.
If you’re creating a homepage from scratch, you can start with the native WordPress block editor. Or, if you want even more flexibility, consider a visual drag-and-drop page builder plugin such as Elementor.
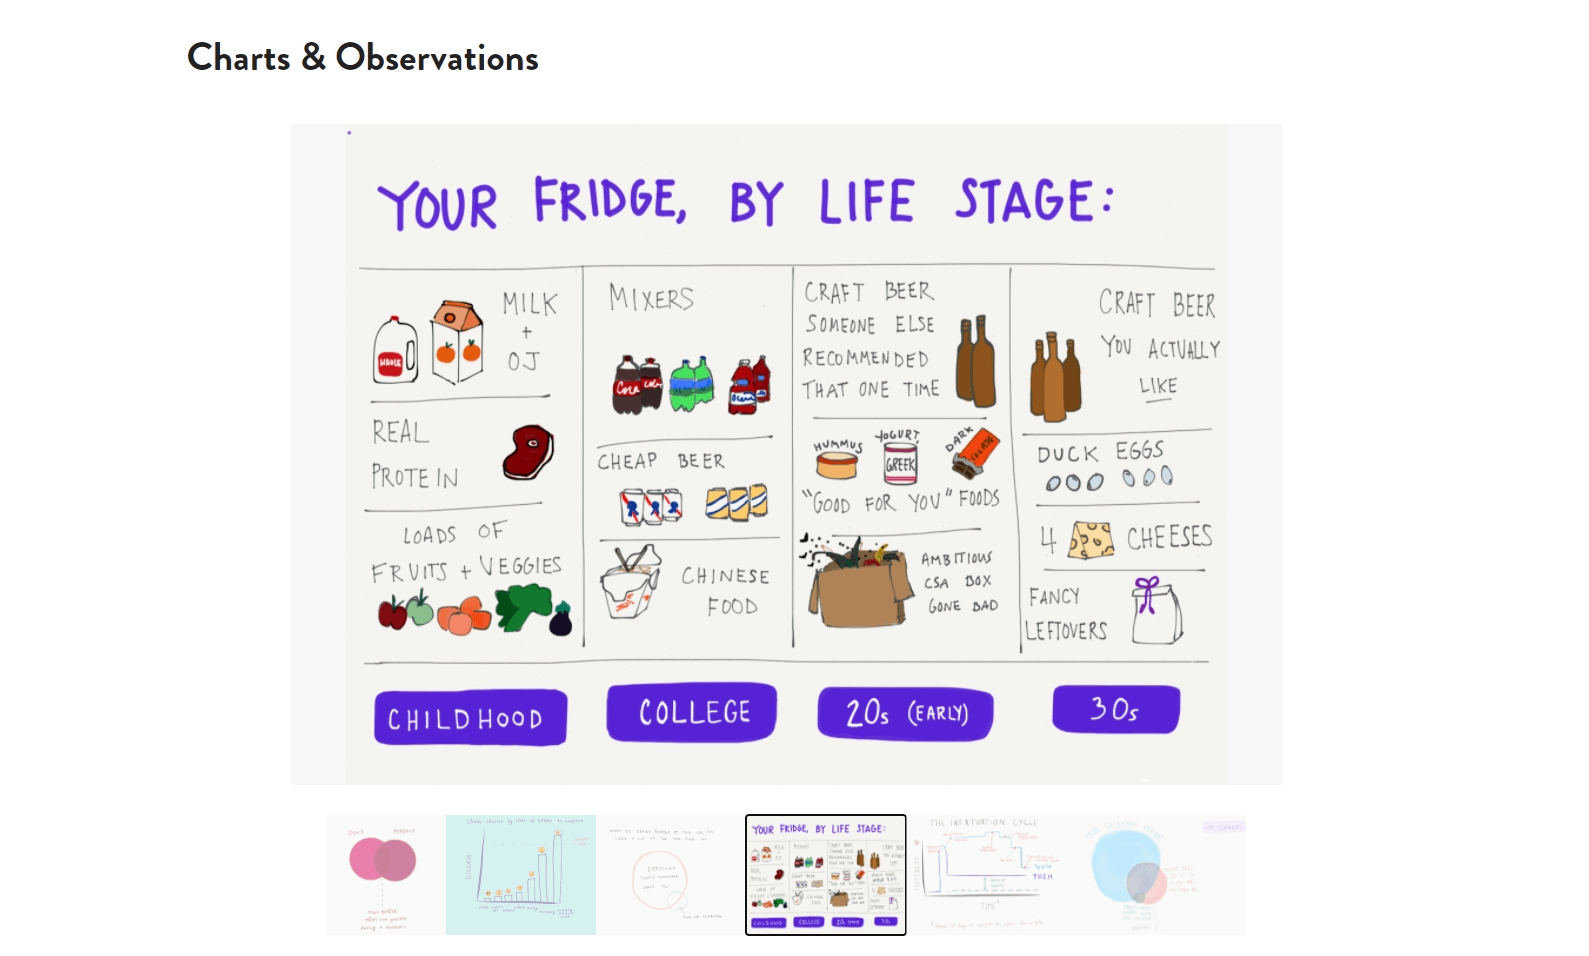
As you’re building your design, don’t forget to showcase excerpts from the most relevant sections (e.g. if you offer web design services, feature a preview of your best projects) with clear call-to-action buttons.
Add new pages
After sketching out the homepage, you should add a few useful pages that every website should have – About and Contact pages.
If you already have these pages on your blog, check them again and rewrite the content to match your new goals. Make it sound more business-like if that’s the direction you want to follow. Present your professional background, experience, and link to the other pages (e.g. your Portfolio or your Services).
Including a simple contact form on the Contact page will let people get in touch with you easily.
Portfolio. Here, you can showcase the best projects you’ve worked on so far, those that you are proud of, that could recommend you to clients. Having a sample of your working style on your site will attract people who like your work.
A Services / Hire Me page should not miss from your site if you’re looking to get hired. It’s a way of letting people know you’re available to collaborate, which will open the door for more opportunities. Here, you can give information about your hourly rates, schedule, and working conditions.
Online store. This is obviously a page that you need if you want to sell something, be it digital or physical. In order to create an online store, it’s not enough to just add a new page. You also need to install the WooCommerce plugin and make some tweaks.
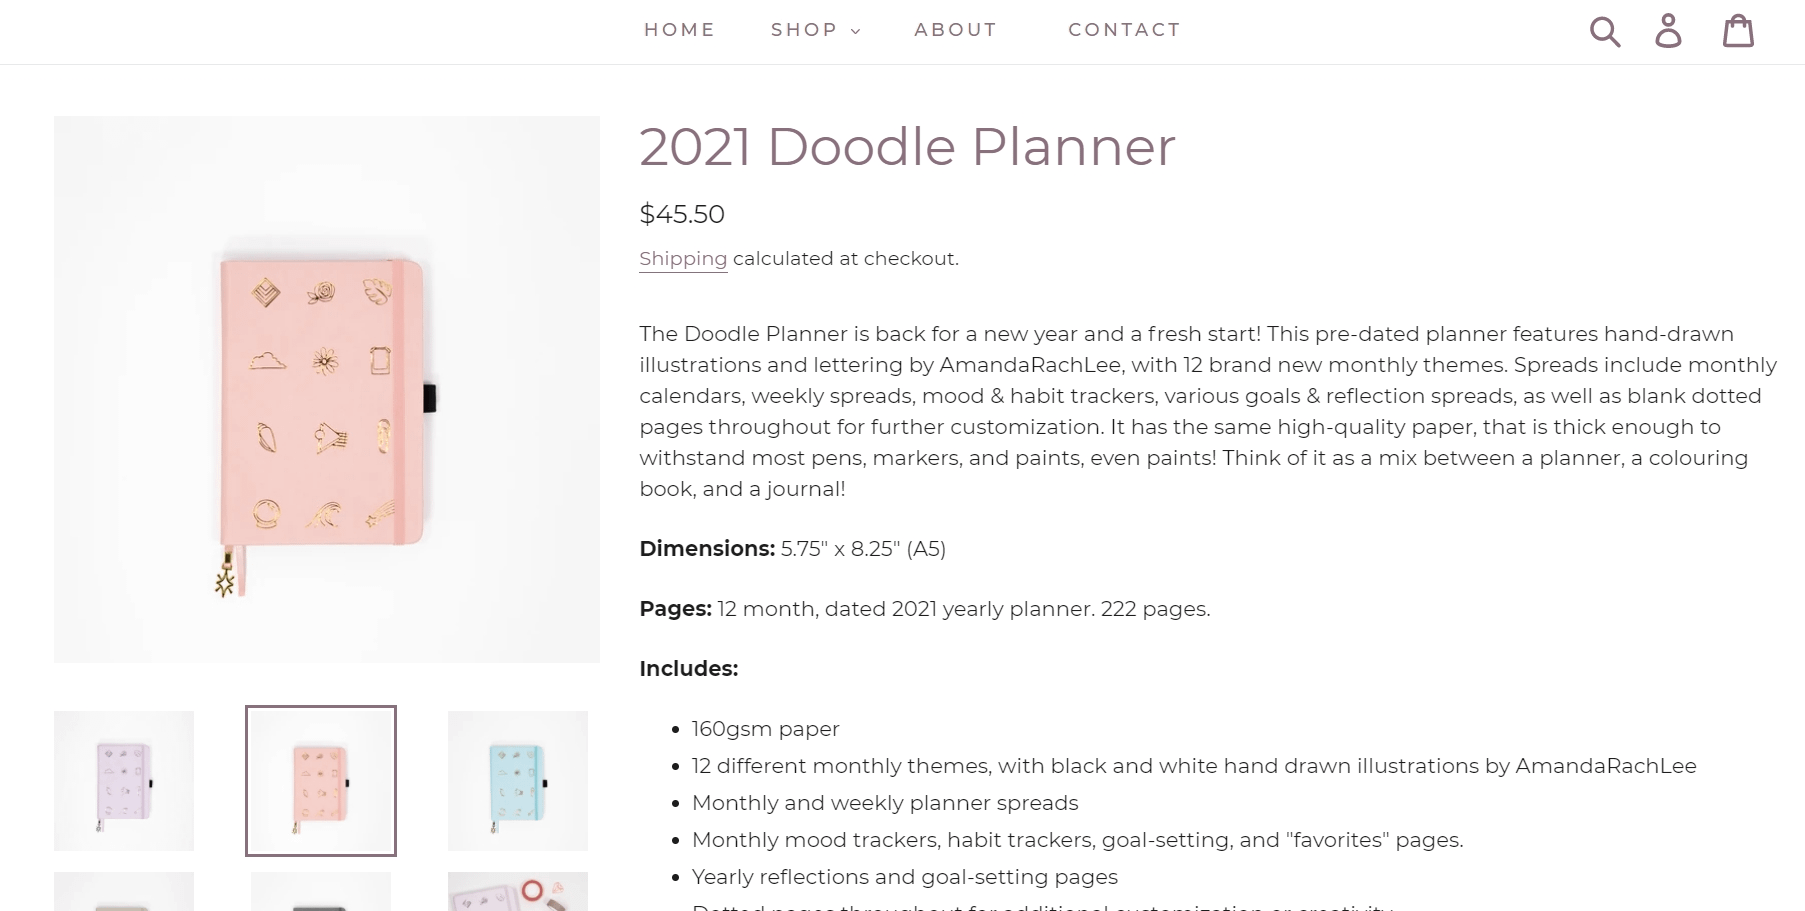
If you want to learn more about starting an online store with WordPress, check out this tutorial that brings out all the basics for you (from setup to payment gateways, shipping, and extended WooCommerce functionality).
If your site is based on writing (magazine, news, reviews, tutorials, storytelling), then you can add a page about Advertising. Here you can disclose the ways people can advertise their products or services on your site. For instance, if you write paid reviews, you can communicate the price and the terms for such a deal. You can also add details about affiliate programs and partnerships.
Other examples of useful pages are:
- Podcast/Video – if you’re into podcasting and/or vlogging.
- Pricing – where you can describe and compare your plans if you’re offering memberships or digital products.
- Events – for consultations, workshops, live streaming, courses, etc.
Keep the blog functionality
Even though your goal was to own a website instead of a blog, you should never get rid of the latter. Keep the blog as a separate page because it will bring you a lot of benefits and will help your website grow in terms of SEO and exposure to potential clients.
A blog in a business context comes with many advantages:
- It gives your business a voice. You can use the blog to share stuff about your professional endeavors, news, things you’ve tested, advice for people who want to have the same job as you, and so on. The blog builds up a community around your website, so use it for practical reasons.
- It will move you higher in the search engines. The blog is a perfect way to keep your site updated with fresh content, optimized for SEO, and relevant to new readers. Because every post you publish opens the gate to new visitors.
- It’s a method to promote yourself and your services. You can use your expert content to include call-to-action (for instance, a download link to your eBook, a recent podcast, paid products, affiliate links). In other words, a blog will always be a gate to promotion and monetization. Here’s how to monetize a blog and use it as a tool for professional purposes.
Simply put:
Blog content → SEO → traffic → conversions and clients → brand → community → business growth
But do not overlook the importance of crafting an efficient blog content strategy because you will need that in the long term. We wrote more about creating a blog strategy that will double your chances of success with your business, so check out the post to learn what are the five steps to put a working blogging strategy in place.
Make your site social media friendly
Last but not least, integrating your site with your social media accounts will get you more followers and will spread the word about your work. Likewise, adding social media feeds to a site gives it a vibe of freshness and a boost in engagement.
If you’re not sure how social media integration is done, here are a few ideas for each popular social network:
You can link your site to either your business pages (if you’ve created separate social media business pages) or to your personal accounts.
If building a Facebook business page for your website is something you have in mind for the future, then you might find this tutorial useful. It presents every single step that will get you a fancy Facebook business page.
But after the page is live, your job is not done yet. Actually, it’s just the beginning. You still need to grow the page every day, attract followers, and give people reasons to engage with your content. How to do that? By going through these six tips that will teach you to get people to like, share, and comment on your Facebook posts.
Takeaways from switching from WordPress blog to website
As you have probably noticed, switching from WordPress blog to website, and especially making a brand out of it, requires time and long-term maintenance.
But if you’re at that stage in your career when you need to initiate a serious business plan, then a website is undoubtedly one essential step to mark as solved. If you already have a blog, that’s even better, just build on top of it.
To recap, here’s what you need to do to start calling your blog a website from now on:
- Find (better) web hosting
- Switch to a custom domain
- Get a theme that matches your professional purpose
- Design a custom homepage
- Add new pages (About, Contact, Portfolio, Advertising, Services, Store, etc.)
- Keep the original blog page and create a content strategy
- Add social media proof
Still have any questions about how to convert a WordPress blog to website? Ask us in the comments!


Or start the conversation in our Facebook group for WordPress professionals. Find answers, share tips, and get help from other WordPress experts. Join now (it’s free)!